How to Inject Compounded Tirzepatide
Introduction
Starting a medical weight loss journey often brings a mix of excitement and hesitation, especially when it involves self-administered injections. If you have spent years navigating restrictive diets and inconsistent results, the transition to a clinical program can feel like a significant leap forward. At TrimRx, we understand that while the science behind GLP-1 and GIP therapies is impressive, the practical “how-to” is what matters most in your daily life. If you are wondering whether a personalized program is the right fit, you can complete the free assessment quiz to get started.
Learning how to inject compounded tirzepatide properly ensures that you receive your medication safely and effectively while minimizing discomfort. This post covers everything from preparing your workspace and drawing the correct dose to selecting the best injection sites and maintaining sterile techniques. For a broader overview of site selection across GLP-1 medications, GLP-1 injection sites: a complete guide for all medications is a helpful companion read.
Understanding Compounded Tirzepatide
Before diving into the injection process, it is helpful to understand what you are using. Tirzepatide is a dual-acting medication. It works as both a glucagon-like peptide-1 (GLP-1) and a glucose-dependent insulinotropic polypeptide (GIP) receptor agonist. These are hormones naturally produced in the body that help regulate blood sugar levels and signal to the brain that you are full.
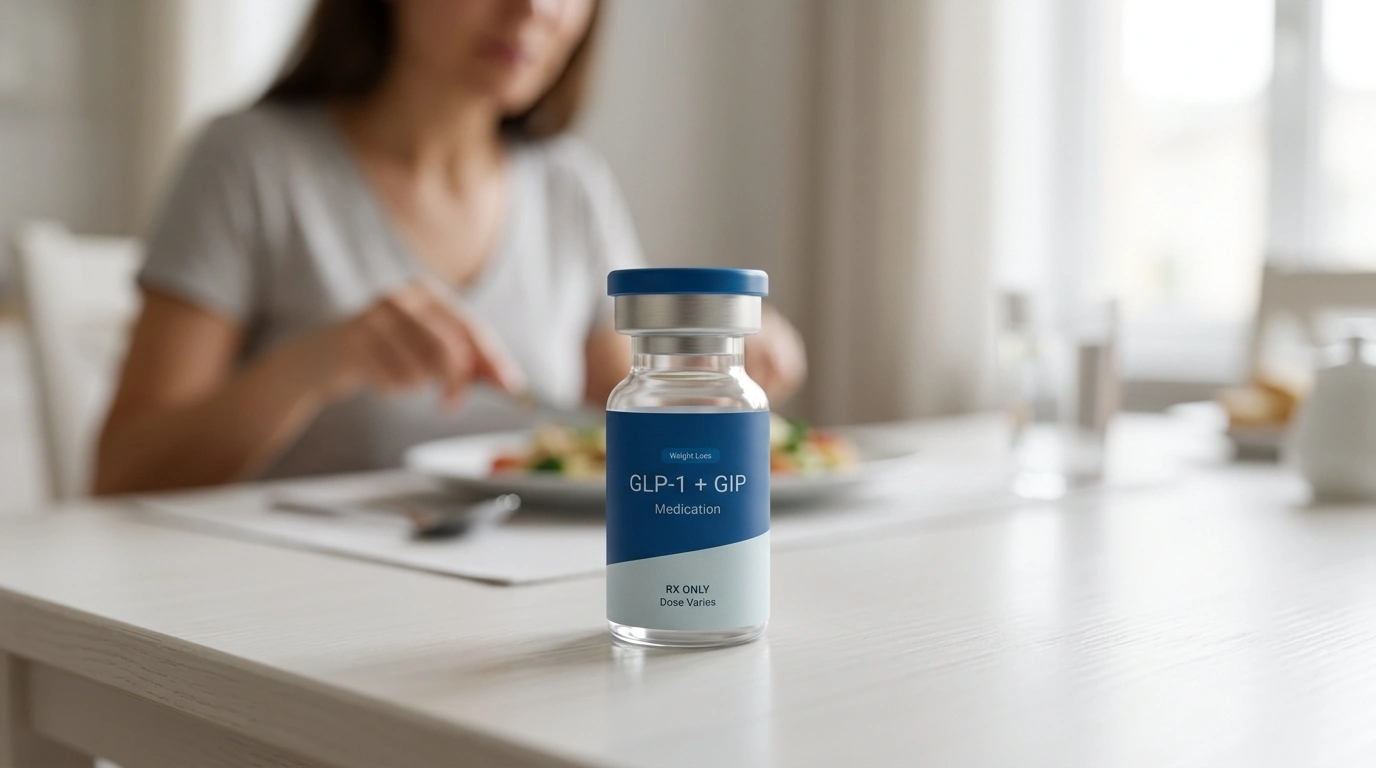
Compounded tirzepatide is a version of this medication prepared by specialized, FDA-registered and inspected compounding pharmacies. Unlike branded versions like Mounjaro® or Zepbound®, which typically come in pre-filled auto-injector pens, compounded versions usually arrive in a multi-dose vial. This requires you to manually draw the medication into a small insulin syringe. If you want a deeper look at the mechanics of rotating injection points, how to rotate injection sites for semaglutide and tirzepatide explains the pattern in more detail.
Quick Answer: Injecting compounded tirzepatide involves using a sterile insulin syringe to draw a specific volume of medication from a vial and administering it into the fatty tissue just under the skin. The most common sites are the abdomen, thigh, or back of the arm.
Preparation and Workspace Setup
The foundation of a successful injection is a clean and organized environment. Since you are breaking the skin barrier, maintaining sterility is the most important factor in preventing infection.
Gathering Your Supplies
Before you begin, gather all the necessary items in a well-lit area. You will need:
- Your vial of compounded tirzepatide (usually stored in the refrigerator).
- A sterile, single-use insulin syringe.
- Two alcohol prep pads.
- A cotton ball or gauze (optional).
- A Sharps container or a puncture-proof plastic container for disposal.
Inspecting the Medication
Take the vial out of the refrigerator a few minutes before injecting to allow it to reach room temperature, which can make the injection more comfortable. Check the liquid carefully. It should be clear and colorless or slightly yellowish. If the medication is cloudy, contains visible particles, or has changed color significantly, do not use it and contact your provider.
Key Takeaway: Proper preparation reduces the risk of infection and ensures you are using the medication correctly. Always inspect the vial for clarity and expiration before proceeding.
Step-by-Step Injection Guide
Following a consistent routine helps turn the injection process into a simple habit. Follow these steps carefully every time you administer your dose.
Step 1: Wash Your Hands
Wash your hands thoroughly with soap and warm water for at least 20 seconds. Dry them with a clean towel or paper towel. Avoid touching other surfaces after washing.
Step 2: Prepare the Vial
Remove the plastic cap from the vial if it is new. Use an alcohol prep pad to firmly wipe the rubber stopper on top of the vial. Let the alcohol air dry for about 15 to 20 seconds. Do not blow on it or fan it, as this can introduce bacteria.
Step 3: Draw Air Into the Syringe
Remove the cap from the needle. Pull the plunger of the syringe back to the line that matches your prescribed dose. This fills the syringe with air. This step is important because it equalizes the pressure in the vial, making it easier to draw out the liquid.
Step 4: Insert the Needle and Inject Air
Place the vial on a flat surface. Insert the needle straight down through the center of the rubber stopper. Push the plunger all the way down to inject the air from the syringe into the vial.
Step 5: Draw the Medication
With the needle still inside, turn the vial and syringe upside down (invert them). Ensure the tip of the needle is submerged in the liquid. Slowly pull the plunger back until the top of the black plunger seal reaches the line for your specific dose.
Step 6: Remove Air Bubbles
Check the syringe for air bubbles. If you see any, gently tap the side of the syringe with your finger so the bubbles rise to the top. Push the plunger slightly to force the bubbles back into the vial, then pull back again to reach your correct dose. Once the dose is accurate and bubble-free, pull the needle out of the vial.
Step 7: Prepare the Injection Site
Choose your injection site (see the next section for details). Clean the skin with a fresh alcohol prep pad using a circular motion, starting from the center and moving outward. Allow the skin to dry completely.
Step 8: Administer the Injection
Hold the syringe like a pencil or a dart in your dominant hand. With your other hand, you may gently pinch a two-inch fold of skin, though this is not always necessary for everyone. Insert the needle quickly and fully into the skin at a 90-degree angle. Push the plunger down steadily until all the medication is injected. For a closer look at the broader technique behind self-injection, how to inject GLP-1: our team’s step-by-step method for 2026 walks through the process.
Step 9: Remove and Dispose
Wait about five seconds, then pull the needle straight out. Do not rub the site, as this can cause irritation; if there is a tiny drop of blood, you can press a cotton ball against it briefly. Immediately drop the used syringe into your Sharps container.
Selecting and Rotating Injection Sites
Compounded tirzepatide is a subcutaneous injection, meaning it must go into the fatty layer of tissue just below the skin, not into a muscle or a vein. Selecting the right spot and rotating your sites is vital for comfort and medication absorption.
The Best Areas for Injection
There are three primary areas recommended for subcutaneous injections:
- Abdomen: This is the most common site. Stay at least two inches away from your belly button.
- Thigh: Use the front or outer part of the mid-thigh.
- Back of the Arm: This is often easier if someone else is helping you, as it can be difficult to reach the fatty tissue on the back of your own upper arm.
The Importance of Site Rotation
You must rotate your injection site every week. This means if you injected in the right side of your stomach last week, use the left side or a thigh this week. Do not use the exact same spot twice in a row. If you want a clearer explanation of why this matters, why change injection sites for tirzepatide breaks down the reasoning.
Constant irritation of the same spot can lead to a condition called lipohypertrophy, where lumps of fat form under the skin. These lumps can be unsightly and, more importantly, they can prevent the medication from being absorbed properly into your system.
Note: If you have a bruise, scar, or skin irritation at a potential injection site, choose a different area that is clear and healthy.
Dosing Precision: Units vs. Milligrams
One of the most confusing aspects of using compounded medication is the difference between “units” on a syringe and the “milligrams” (mg) of the drug itself.
Compounded tirzepatide concentrations vary depending on the pharmacy. Your prescription might say “Inject 2.5mg,” but your syringe is marked in “units” (usually up to 50 or 100 units). You must follow the specific instructions provided by your clinical team. If you want to understand how rotation patterns fit into a broader GLP-1 routine, GLP-1 injection sites: a complete guide for all medications offers a simple overview.
Never guess your dose. Always refer to the medication label or the instructions provided through our platform. If the volume of liquid you are instructed to draw seems different than a previous month, it may be because your dose increased or the concentration of the medication changed.
Storage and Handling Requirements
Proper storage is essential to maintain the stability and potency of the peptides in your medication.
- Refrigeration: Most compounded tirzepatide should be stored in the refrigerator between 36°F and 46°F. Do not freeze the medication. If the vial accidentally freezes, do not use it, even after it thaws.
- Light Sensitivity: Keep the vial in its original packaging or a dark place. Exposure to direct sunlight or intense indoor light for long periods can break down the medication.
- Travel: If you are traveling, keep your vial in a small insulated cooler bag with a cold pack, but ensure the vial does not directly touch the ice pack to avoid freezing.
- Discarding: Pay attention to the “Beyond Use Date” (BUD) printed on your vial. Compounded medications have different stability timelines than mass-produced branded drugs. Once a vial is punctured, it is generally recommended to use or discard it within 28 days to ensure sterility.
Managing Common Injection Side Effects
Most people tolerate the injection itself very well, as insulin needles are extremely thin. However, some minor side effects at the injection site can occur.
- Redness or Itching: A small red bump or slight itching at the site is common and usually fades within a day or two.
- Bruising: This can happen if you hit a small capillary. To minimize bruising, avoid rubbing the site after injecting.
- Nausea: While not a site-specific side effect, nausea is a common systemic side effect of tirzepatide. Injecting in the thigh rather than the abdomen has been reported by some individuals to help reduce the intensity of nausea, though clinical evidence on this is varied.
If you experience signs of a severe allergic reaction—such as hives, swelling of the face or throat, or difficulty breathing—seek medical attention immediately.
Bottom line: Minor skin irritation is normal and usually temporary. Rotating your injection sites and using room-temperature medication can help minimize these issues.
Safety and Best Practices
To ensure your journey remains safe and productive, keep these best practices in mind:
- Never share syringes or vials: Even if the needle is changed, sharing a vial can lead to cross-contamination and the spread of bloodborne illnesses.
- Single-use only: Never reuse a syringe. The needle becomes dull after one use, making the next injection painful and increasing the risk of infection.
- Sharps disposal: Never throw used needles directly into the household trash or recycling. Use a dedicated Sharps container to protect waste management workers and your family.
- Check for leaks: If you notice a small drop of liquid on your skin after removing the needle, do not “re-inject” or try to add more medication. This is common and will not significantly impact your dose.
The TrimRx Approach to Personalized Care
At TrimRx, we believe that the medication is only one part of the equation. Sustainable weight loss requires a personalized strategy that accounts for your unique health profile. Our platform connects you with licensed providers who supervise your program entirely online. If you are ready to see whether a personalized path is right for you, you can complete the free assessment quiz to explore your options.
Our programs include access to compounded medications shipped from FDA-registered and inspected compounding pharmacies, ensuring you receive high-quality support throughout your journey. We prioritize transparency and empathy, providing the tools you need to feel empowered during every step of the process.
Conclusion
Mastering the technique of how to inject compounded tirzepatide is a straightforward process that becomes easier with practice. By focusing on a clean environment, precise dosing, and proper site rotation, you can ensure your treatment is as comfortable and effective as possible. Remember to always handle your supplies with care and follow the specific guidance provided by your healthcare team. If you want a broader look at how injection placement works across GLP-1 medications, GLP-1 injection sites: a complete guide for all medications is a useful next read.
A successful weight loss journey is built on consistency and the right support system. We are here to provide the clinical oversight and personalized resources necessary for you to reach your health goals. Our mission is to help you embrace a healthier lifestyle through a transparent, science-backed approach.
If you are ready to take the next step toward a healthier version of yourself, your first step is simple.
Next Step: Complete our free online assessment quiz to see if a personalized weight loss program is right for you.
FAQ
Does the injection hurt?
Most patients describe the sensation as a minor pinch, similar to a quick rubber band snap. Because insulin syringes use very thin, short needles designed for subcutaneous use, they are much less painful than the larger needles used for blood draws or vaccinations. If you want more detail on placement and comfort, how to rotate injection sites for semaglutide and tirzepatide explains why site rotation matters.
What should I do if I miss a dose of compounded tirzepatide?
If you miss a dose, you can take it as soon as you remember, provided it is within 4 days (96 hours) of your scheduled time. If more than 4 days have passed, skip the missed dose and wait until your next regularly scheduled day. Never “double up” on doses to make up for a missed one. If you need guidance on whether you are a fit for a personalized program, take the free assessment quiz and review the next steps.
Can I inject compounded tirzepatide into my muscle?
No, tirzepatide is specifically designed to be absorbed through the subcutaneous fat layer. Injecting into a muscle (intramuscularly) can change the speed at which the medication is absorbed, which may increase side effects or reduce effectiveness. Always aim for fatty areas like the abdomen or thigh. For a broader look at proper injection technique, how to inject GLP-1: our team’s step-by-step method for 2026 is a helpful reference.
How do I know if I am drawing the right amount?
The correct volume depends on the concentration of your medication and your prescribed dose in milligrams. You should always refer to the specific instructions provided with your prescription from our platform. If you are unsure, contact your provider to clarify how many “units” on the syringe match your current “milligram” dose. If you are still deciding on treatment, complete the free assessment quiz to see whether a personalized program is right for you.
Disclaimer: This content is for informational purposes only and does not constitute medical advice. It is not intended to diagnose, treat, cure, or prevent any disease or condition. Individual results may vary. Always consult a qualified healthcare professional before starting any weight loss program or medication.

Transforming Lives, One Step at a Time
Keep reading

Should You Taper Off Tirzepatide or Just Stop? What the Evidence Says
There is very little direct evidence either way, and anyone who tells you otherwise is filling a gap with confidence. The withdrawal trials that…
Stalled on Tirzepatide Even After a Dose Increase: Your Options
The first thing to check is how long it has been since the increase, because most people ask this question too early. A dose…

Why Did Tirzepatide Stop Working After Three Months of Fast Loss?
Five things explain almost all of it, and the first is the least satisfying: the fast stretch was never going to last. Weight loss…


