Mastering Your Weekly Routine: Where to Give Yourself a Shot of Ozempic
Introduction
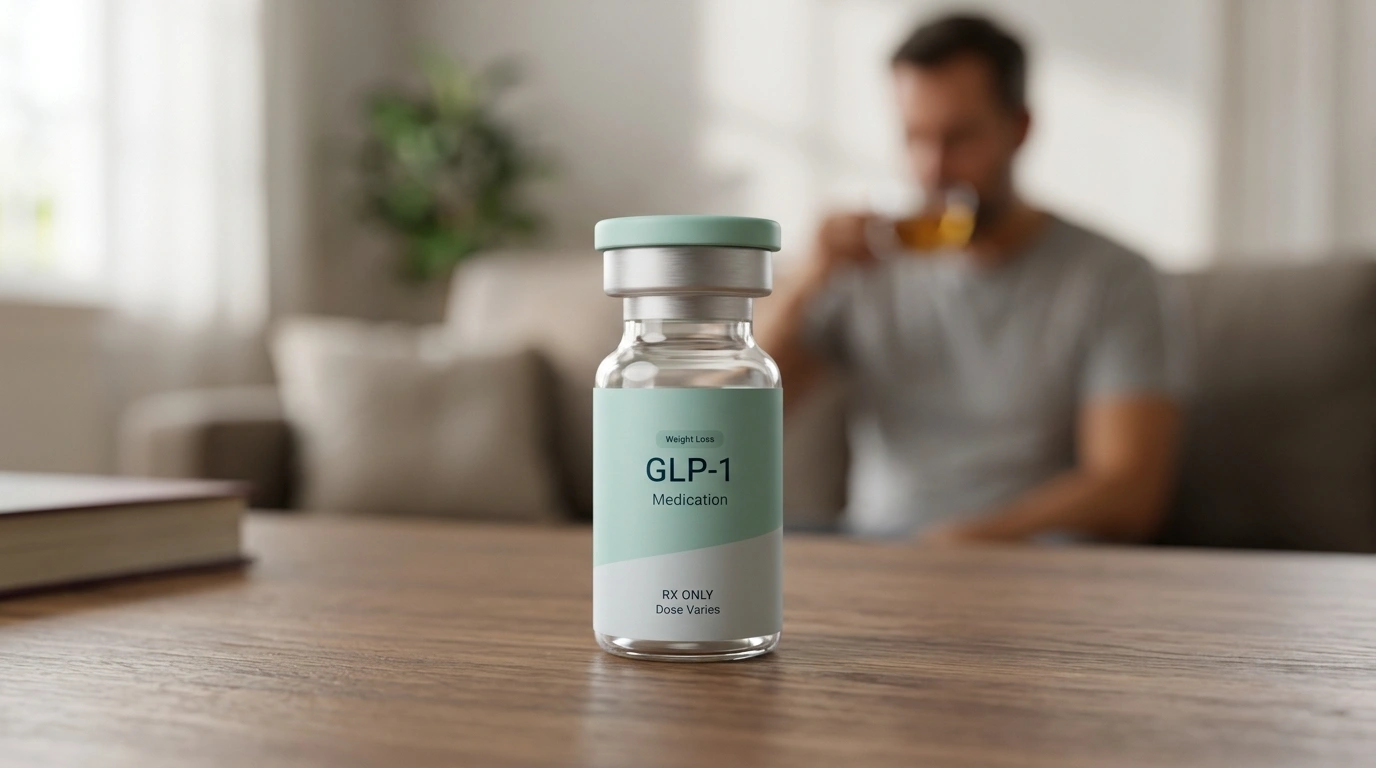
Taking the first step toward a healthier version of yourself often involves navigating unfamiliar territory, and for many, the transition from oral medications to a weekly injectable can feel like a significant hurdle. Statistics suggest that nearly one in four people experience some level of anxiety regarding needles, yet the clinical efficacy of GLP-1 medications has made this delivery method a cornerstone of modern weight management. You are not alone if you feel a sense of hesitation as you hold your medication pen for the first time; it is a natural reaction to a new medical habit. However, once you understand the “where” and “how” of the process, what once felt intimidating quickly transforms into a seamless, two-minute part of your weekly self-care routine.
At TrimRx, our journey began with a shared vision to help individuals embrace healthier lifestyles by merging cutting-edge telehealth innovations with effective weight loss solutions. We understand that sustainable weight loss is achieved through a combination of science, empathy, and a transparent approach. This is why we have designed our platform to be a user-friendly and supportive space where you can receive personalized, medically supervised care. Whether you are using Ozempic® or exploring Compounded Semaglutide through our personalized assessment quiz, knowing the exact mechanics of administration is vital for your success and comfort.
The purpose of this article is to provide you with a definitive guide on the best practices for administering your medication. We will explore the primary injection sites—the abdomen, thigh, and upper arm—and explain the physiological reasons why these areas are chosen. You will also learn the importance of site rotation, how to prepare your skin, and the step-by-step process to ensure you receive your full dose every time. Beyond the physical act of the injection, we will discuss how to manage common side effects and how our Quick-Access Supplements can support your body during this transition.
By the end of this post, you will feel empowered and confident in your ability to manage your treatment. We believe that when you are armed with the right information, you can move past the initial nerves and focus on the results. This guide is structured to take you from the basic anatomy of an injection to the nuances of long-term maintenance, ensuring that every question you have about where to give yourself a shot of Ozempic is answered with clarity and precision. Together, we will turn this weekly requirement into a confident step toward your long-term health goals.
The Science of Subcutaneous Injections
Before we dive into the specific locations on your body, it is helpful to understand what a subcutaneous injection actually is and why it is the preferred method for medications like Semaglutide or Tirzepatide. Unlike an intramuscular injection, which goes deep into the muscle tissue (like a flu shot), or an intravenous injection, which goes directly into a vein, a subcutaneous injection targets the fatty layer of tissue located just beneath the skin and above the muscle.
Why the Fatty Layer Matters
The subcutaneous layer contains fewer blood vessels than muscle tissue. This is intentional. Because there is less blood flow, the medication is absorbed more slowly and steadily over time. For a once-weekly medication like Ozempic®, this slow “drip” into the bloodstream is what allows the hormone-mimicking properties of the drug to remain active in your system for a full seven days. If the medication were accidentally injected into a muscle, it would be absorbed too quickly, which could lead to increased side effects and a shorter duration of effectiveness.
Identifying the Target Areas
To ensure the medication reaches this fatty “cushion,” you need to select areas of the body where subcutaneous fat is naturally more abundant. While everyone’s body composition is unique, there are three primary regions recognized by medical professionals as the most effective for self-administration: the abdomen, the front of the thighs, and the back of the upper arms.
If you are curious whether these medications are the right fit for your unique biology, we encourage you to take our free assessment quiz to see if you qualify for our prescription weight loss program.
Where to Give Yourself a Shot of Ozempic: The Three Primary Sites
Choosing the right spot is the easiest way to keep your injections comfortable. Most people develop a preference over time, but in the beginning, it is useful to understand the benefits of each location.
1. The Abdomen (Stomach Area)
The abdomen is the most common choice for many because it is easily accessible and offers a large surface area for rotation.
- The Placement: You should aim for the area between your ribs and your pubic bone, staying at least two inches away from your belly button (umbilicus).
- Why it Works: The fat layer in the abdomen is generally consistent in depth, which helps ensure the needle reaches the correct layer every time. It is also an area where most people can easily see what they are doing, which reduces the anxiety of “flying blind.”
- Precautions: Avoid areas with visible scars, stretch marks, or moles. Do not inject into skin that is bruised, red, or tender. If you have recently had surgery in the abdominal area, consult with a provider through our personalized program before using this site.
2. The Thigh (Front and Outer Area)
For those who find the abdomen sensitive or who prefer to sit down while administering their dose, the thigh is an excellent alternative.
- The Placement: Focus on the front and outer side of the thigh. Imagine a rectangle on the top of your leg, halfway between your knee and your hip. This “meaty” part of the thigh usually provides ample subcutaneous tissue.
- Why it Works: This site is very stable. By sitting down, you can relax the muscle, making it easier to pinch a fold of skin and ensure the needle stays in the fatty layer.
- Precautions: Avoid the inner thigh, as the skin is more sensitive and there are more blood vessels and nerves closer to the surface in that area.
3. The Upper Arm (Back of the Arm)
While effective, the upper arm can be slightly more challenging for self-administration because it often requires a bit of reaching or the help of a mirror.
- The Placement: The target is the back of the upper arm, specifically the fatty area over the triceps muscle.
- Why it Works: Some individuals report that they feel the needle even less in the arm than in the abdomen. If you have a partner or family member who is comfortable assisting you, the upper arm is a great secondary site.
- Precautions: It can be difficult to “pinch” the skin on your own arm. If you cannot comfortably reach and pinch the area, it may be better to stick to the abdomen or thigh to ensure proper depth.
The Importance of Rotating Injection Sites
One of the most critical aspects of learning where to give yourself a shot of Ozempic is understanding that “where” must change every single week. If you inject into the exact same square inch of skin repeatedly, you risk developing a condition called lipohypertrophy.
What is Lipohypertrophy?
This is a medical term for the accumulation of extra fat or scar tissue under the skin. It can manifest as small, rubbery lumps that feel firm to the touch. While these lumps are generally not dangerous, they can significantly interfere with how your body absorbs the medication. If you inject into a lump of scar tissue, the Semaglutide may not enter your bloodstream at the correct rate, which can lead to fluctuating blood sugar levels or a stall in your weight loss progress.
How to Create a Rotation Schedule
We recommend viewing each of the three main sites as “zones.” Within each zone, there are dozens of potential injection points. A simple way to stay organized is to follow a “clock” or “grid” pattern:
- Week 1: Right side of the abdomen (3 o’clock position relative to the navel).
- Week 2: Left side of the abdomen (9 o’clock position).
- Week 3: Upper right thigh.
- Week 4: Upper left thigh.
By the time you return to the first spot, the tissue has had three full weeks to heal and recover. To help maintain your body’s wellness during this journey, many of our members find that adding GLP-1 Daily Support helps manage the common adjustments your system goes through.
Preparing for Your Injection: A Step-by-Step Guide
Preparation is the key to a stress-free experience. Before you even remove your medication from the refrigerator, ensure you have a clean, well-lit space to work.
Gathering Your Supplies
You will need your Ozempic® pen (or a Compounded Semaglutide vial and syringe), a fresh alcohol swab, and a puncture-resistant sharps container. If you are using a pen, you must also have a new, sterile pen needle.
Temperature Matters
One professional tip that many people find helpful is to let the medication sit at room temperature for about 15 to 30 minutes before injecting. Cold liquid can occasionally cause a slight stinging sensation. By letting it warm up slightly, the process becomes even more comfortable. Always check the liquid through the pen window first; it should be clear and colorless. If it looks cloudy or has particles in it, do not use it.
Step-by-Step Administration
- Wash Your Hands: Use warm water and soap. Cleanliness is the first step in preventing any minor skin infections.
- Clean the Site: Use the alcohol swab to wipe your chosen injection site in a circular motion. Let the skin air-dry completely. Do not blow on it, as this can reintroduce bacteria.
- Prepare the Pen: Remove the pen cap and attach a new needle. If it is a brand-new pen, you may need to perform a “flow check” (priming) to ensure a drop of liquid appears at the tip.
- Select Your Dose: Dial the pen to your prescribed dose as determined by your personalized treatment plan.
- The Pinch: Gently pinch a one-to-two-inch fold of skin. This lifts the fatty tissue away from the underlying muscle.
- The Injection: Insert the needle straight into the skin at a 90-degree angle. Press the dose button all the way down until the counter returns to zero.
- The Six-Second Rule: Do not pull the needle out immediately. Count slowly to six to ensure the full volume of the medication has left the needle and entered the subcutaneous space.
- Withdraw and Dispose: Pull the needle straight out and place it directly into your sharps container.
Enhancing Your Journey with Support and Supplements
While the injection is the “engine” of your weight loss journey, what you do between shots matters just as much. At TrimRx, we believe in a holistic approach that combines advanced medical science with supportive daily habits.
Managing Injection Site Reactions
It is perfectly normal to see a small amount of redness or experience a slight itch at the site for a few hours. However, if you find that your skin is consistently sensitive, you might want to look into our Weight Loss Boost supplement, which is designed to support overall metabolic health and wellness.
If a “pea-sized” bump appears, do not massage it. This is simply the medication sitting in the fatty tissue. Massaging the area can cause the medication to absorb too quickly or lead to bruising. Simply let it dissipate naturally.
The Role of Nutrition and Hydration
Medications like Wegovy® or Mounjaro® work by slowing gastric emptying, which means you feel fuller for longer. Because of this, it is easy to forget to hydrate. We recommend drinking plenty of water throughout the day, especially on your injection day. Proper hydration keeps the skin resilient and can help mitigate some of the common gastrointestinal side effects like nausea or constipation.
To further support your digestive system and ensure you are getting the necessary nutrients while eating smaller portions, consider our GLP-1 Daily Support. It is specifically formulated to fill the gaps and help you feel your best as your body adapts to your new routine.
Troubleshooting Common Injection Issues
Even with the best preparation, you might encounter a few hiccups. Knowing how to handle them calmly is part of the learning curve.
What if the Dose Counter Doesn’t Reach Zero?
If you press the button and the counter stops before hitting zero, it usually means your pen is empty or the needle is blocked. In this case, you have not received your full dose. You should remove the needle, attach a new one, and try to complete the remaining portion of the dose. If the pen is empty, you will need to start a new pen to get the rest of your milligrams.
What if I See Liquid Leaking After the Injection?
If you pull the needle out and see a stream of liquid, it is likely because you didn’t wait the full six seconds. While it can be tempting to re-inject, do not do so. You have likely received most of the dose, and an extra injection could lead to over-medication. Simply make a note of it and ensure you count more slowly next week.
What if I Forget Where I Injected Last?
This is why keeping an injection log is so helpful. Whether you use a physical calendar or an app on your phone, marking the date and the location (e.g., “Left Thigh”) ensures you don’t repeat the same spot too soon. If you are ever unsure, it is always safer to pick a completely new zone, like moving from the abdomen to the thigh.
The TrimRx Commitment to Your Success
At TrimRx, we are more than just a provider of medications; we are your partners in health. Our brand is built on the values of empathy, innovation, and trustworthiness. We understand that your journey is unique, which is why we don’t believe in a one-size-fits-all approach. Whether you are interested in Zepbound®, Oral Semaglutide, or Compounded Tirzepatide, our goal is to make sustainable weight loss attainable and tailored to you.
Our comprehensive service includes everything you need to succeed: doctor consultations, the medication itself, necessary lab work, and unlimited support. We pride ourselves on transparent service—meaning our approach and support remain consistent regardless of your dosage changes. Furthermore, we prioritize your safety by working exclusively with FDA-registered and inspected pharmacies. It is important to note that while we partner with these pharmacies for the shipping of your medications, TrimRx focuses on the technology and support side of your care.
We believe that by providing you with high-quality information and personalized weight loss solutions, we can help you achieve the results you’ve been searching for. If you haven’t yet started your journey, take our free quiz today and let us help you map out a path that works for your life.
Frequently Asked Questions
1. Does the injection site affect how much weight I lose?
Generally, the clinical effectiveness of the medication remains the same regardless of whether you inject into the abdomen, thigh, or arm. However, some individuals find that they experience fewer side effects, such as nausea, when injecting into the thigh compared to the abdomen. If you are experiencing significant discomfort, you might try switching sites to see if your body reacts more favorably.
2. Can I inject into my arm if I am doing it by myself?
Yes, it is possible, but it can be technically difficult to pinch the skin and press the button at the same time. If you choose the arm, we recommend standing in front of a mirror to ensure you have the correct placement. If you cannot comfortably pinch the skin, the abdomen or thigh is usually a safer bet for self-administration.
3. What should I do if I see a bruise at the injection site?
A small bruise is usually caused by the needle hitting a tiny blood vessel near the surface of the skin. It is not a cause for alarm. To minimize bruising in the future, avoid rubbing the site after the injection and ensure you are inserting the needle at a clean, 90-degree angle. If a bruise is present, simply avoid that specific spot for your next few injections.
4. How should I store my Ozempic pen between doses?
Before its first use, your pen should be stored in the refrigerator. Once you have used the pen for the first time, it can be kept at room temperature (up to 86°F) or in the refrigerator for up to 56 days. Regardless of where you store it, always keep the pen cap on to protect the medication from light and ensure it is kept away from extreme heat.
Conclusion
Mastering the art of self-injection is a powerful milestone in your weight loss journey. By understanding the nuances of where to give yourself a shot of Ozempic, you are taking control of your health with precision and care. Whether you choose the accessibility of the abdomen, the stability of the thigh, or the convenience of the upper arm, the key is consistency and the commitment to rotating your sites.
Remember, these medications are tools designed to work in harmony with your body’s natural processes. By combining your weekly dose with supportive measures like our Weight Loss Boost and maintaining a close connection with your care team, you are setting the stage for long-term, sustainable success. We are honored to be a part of your story and look forward to supporting you every step of the way. If you’re ready to take the next step, complete our assessment quiz and discover the personalized care that TrimRx has to offer. Together, we can make your health goals a reality.
Transforming Lives, One Step at a Time
Keep reading

Ozempic Alternatives: Your Options Compared
If Ozempic isn’t the right fit, whether because of cost, side effects, availability, or results, you have real alternatives. The closest ones are other…
Ozempic vs Wegovy: Same Drug, Different Purpose
Here’s the fact that surprises most people: Ozempic and Wegovy are the same medication (semaglutide), just sold under different brand names, at different doses,…

When Do “Ozempic Vulva” Changes Start and Stabilize? A Timeline
Vulvar and genital changes from GLP-1 weight loss follow the pace of your weight loss, so they typically begin within the first few months…

