Mastering Your Weekly Routine: Exactly Where to Give the Ozempic Shot for Best Results
Introduction
Nearly 40% of adults who begin a new injectable medication report feeling some level of “needle hesitancy” during their first month of treatment. It is a natural human response to feel a flicker of apprehension when tasked with self-administering a clinical treatment, especially one as transformative as Ozempic®. However, the transition from uncertainty to confidence is often shorter than most people expect. Within just two or three weeks, what once felt like a daunting clinical task usually becomes a seamless, five-minute part of a Sunday morning or Monday evening routine.
At TrimRx, our journey began with a shared vision to help individuals embrace healthier lifestyles by merging cutting-edge telehealth innovations with effective weight loss solutions. We understand that the “how” and “where” of your medication are just as important as the medication itself. Our platform is a user-friendly and supportive space where individuals receive personalized, medically supervised care—all designed to make sustainable weight loss attainable and tailored to the individual. We believe that sustainable weight loss should be achieved through science, empathy, and a transparent approach.
The purpose of this guide is to provide you with an authoritative, deep-dive exploration into the logistics of your treatment, specifically focusing on where to give the ozempic shot to maximize comfort and effectiveness. We will cover the three FDA-approved injection sites, the critical importance of site rotation to prevent skin complications, and the step-by-step technique required for a successful dose. Furthermore, we will explore how our personalized programs and supportive supplements can help manage the side effects often associated with GLP-1 medications.
By the end of this article, you will not only know the physical locations for your injection but also understand the biological reasoning behind these choices. Whether you are currently on a prescribed plan or are considering taking our personalized assessment quiz to see if you qualify for medications like Ozempic®, Wegovy®, or Compounded Semaglutide, this guide serves as your partner in health. We are here to ensure that your journey is defined by clarity and confidence, rather than guesswork.
The Science of Subcutaneous Delivery
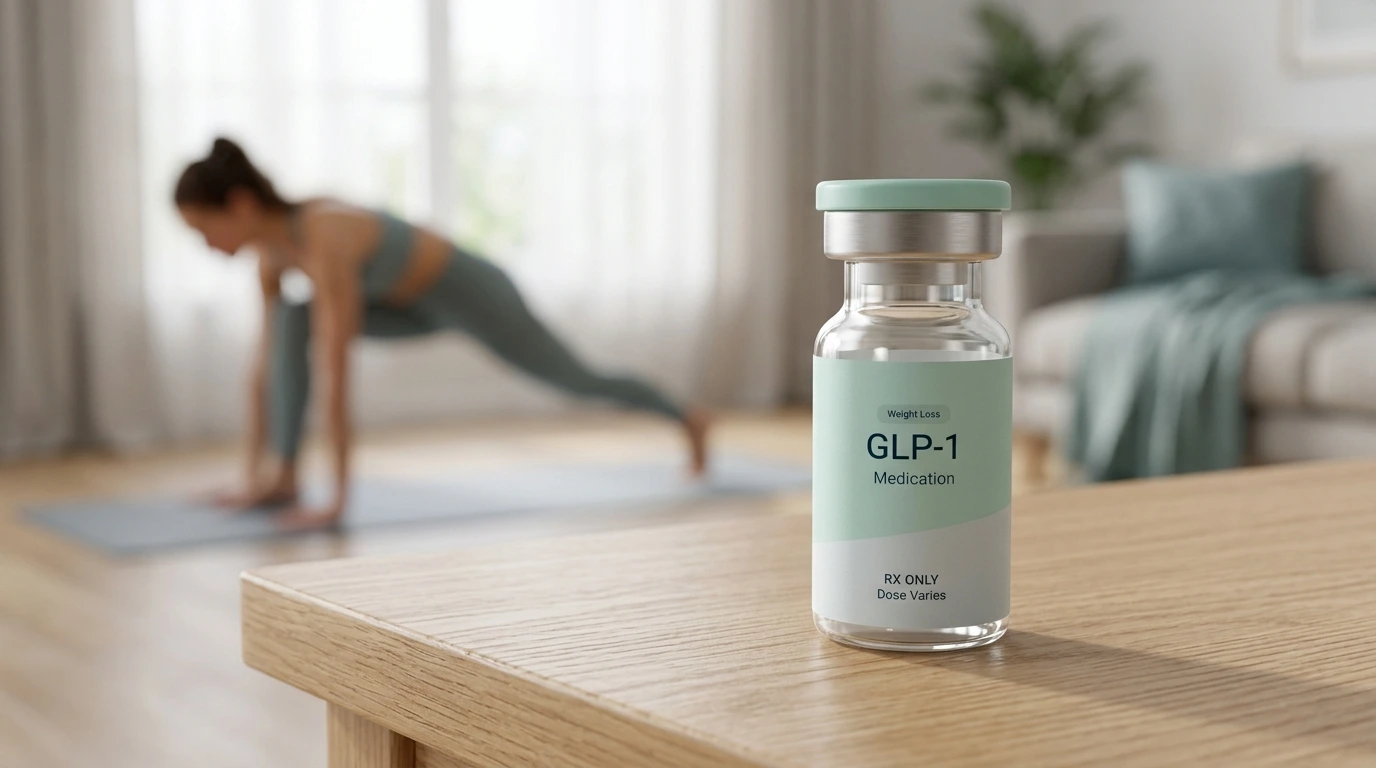
Before we look at specific locations, it is vital to understand why Ozempic® (semaglutide) is administered the way it is. This medication is a GLP-1 receptor agonist, designed to mimic a naturally occurring hormone in your body that regulates appetite and blood sugar. To work effectively over a full seven-day period, the medication must be released slowly into the bloodstream.
This is why we use subcutaneous injections—meaning the needle goes into the fatty tissue layer just beneath the skin but above the muscle. The fatty tissue has fewer blood vessels than muscle, which allows the medication to be absorbed at a steady, controlled rate. This “slow release” is what gives semaglutide its long half-life, making once-weekly dosing possible. If the medication were accidentally injected into a vein or a muscle, it would be absorbed too quickly, potentially increasing the intensity of side effects and reducing the duration of its effectiveness.
Where to Give the Ozempic Shot: The Three Primary Sites
The FDA has approved three specific regions for Ozempic® injections. These areas are chosen because they typically contain a sufficient layer of subcutaneous fat and are easily accessible for self-administration.
The Abdomen: The Gold Standard for Accessibility
The stomach, or abdomen, is the most frequently chosen site for those wondering where to give the ozempic shot. It offers a large surface area, which is incredibly beneficial for weekly rotation.
When using the abdomen, you should aim for the area between your ribs and your pelvic bone. However, there is a critical rule: you must stay at least two inches away from your belly button (umbilicus). The tissue directly around the navel is often tougher and more fibrous, which can interfere with the needle’s path and the medication’s absorption. Many individuals find the abdomen the most comfortable because the skin is generally less sensitive than the limbs. If you are starting your journey and want to see if a personalized plan is right for you, we encourage you to take our free assessment quiz to explore your options.
The Front of the Thigh: A Convenient Alternative
The thighs provide an excellent alternative, particularly for individuals who may have had recent abdominal surgery or those who simply find the “pinch” of the stomach uncomfortable. The target area for a thigh injection is the front and outer part of the upper leg.
You should avoid the inner thigh, where the skin is thinner and there are more nerves and blood vessels. Instead, focus on the “meaty” part of the top of your leg. One practical benefit of using the thigh is that it allows you to use both hands easily to stabilize the injection pen. It is a stable, firm surface that many find less intimidating than the abdomen.
The Outer Upper Arm: When You Have Assistance
The back of the upper arm is the third approved site. This area contains a good amount of fatty tissue, making it ideal for subcutaneous absorption. However, for most people, this is the most difficult area to reach alone.
Injecting into the arm usually requires a “pinch” to ensure the needle doesn’t hit the deltoid muscle. Because of the angle, it is often best to have a partner or family member assist you if you choose this location. If you are self-injecting and do not have assistance, we generally recommend sticking to the abdomen or thigh to ensure the needle enters at a straight, 90-degree angle.
The Importance of Site Rotation
One of the most common mistakes in self-injection is returning to the exact same “sweet spot” week after week. While it is tempting to use the spot that felt the least painful, repetitive injections in the same square centimeter of skin can lead to a condition called lipohypertrophy.
Understanding Lipohypertrophy
Lipohypertrophy is the accumulation of extra fat or scar tissue under the skin’s surface caused by repeated trauma to the same area. These lumps might not always be visible to the eye, but you can often feel them as firm, rubbery areas beneath the skin.
The danger of injecting into a site with lipohypertrophy is not just physical discomfort; it is pharmacological inconsistency. Scarred or thickened tissue does not absorb medication as predictably as healthy tissue. This could mean that your dose of Ozempic® or Compounded Semaglutide isn’t fully utilized by your body, leading to fluctuations in blood sugar control or a plateau in weight loss progress.
Developing a Rotation Strategy
We recommend a “clock-face” or “grid” approach to site rotation. For example, if you prefer the abdomen, you might inject at the “12 o’clock” position relative to your belly button on week one, “3 o’clock” on week two, and so on. Even moving the needle just one inch away from the previous week’s site is sufficient to allow the tissue to heal.
To keep track, many of our members find it helpful to keep a simple log or use a calendar. Consistency is key, and knowing exactly where you injected last week ensures you are protecting your skin health for the long term.
Step-by-Step Guide to a Perfect Injection
Proper technique is the bridge between having the medication and benefiting from it. At TrimRx, we prioritize transparency and safety, which is why we want every individual to feel like an expert in their own care.
Phase 1: Preparation and Inspection
Before you even remove the pen cap, check the window of your Ozempic® pen. The liquid must be clear and colorless. If it looks cloudy, contains particles, or has changed color, do not use it. This could indicate that the medication has been compromised by temperature or light.
Next, wash your hands thoroughly. Cleanliness is the first line of defense against injection-site infections. Once your hands are dry, select your site and wipe the skin with an alcohol swab. Let the alcohol air-dry completely—injecting into wet alcohol is one of the primary causes of the “sting” people report during shots.
Phase 2: Attaching the Needle and Priming
Always use a new, sterile needle for every single injection. Reusing needles not only increases the risk of infection but also dulls the needle tip, making the injection significantly more painful.
- Remove the paper tab from a new needle.
- Push and screw the needle straight onto the pen until it is tight.
- Pull off the outer needle cap (save it for later) and then the inner needle cap.
- If it is a brand-new pen, you must check the flow (priming). Turn the dose selector to the flow check symbol and press the button until a drop appears at the needle tip. This ensures any air is removed and you are getting the full dose.
Phase 3: The Injection
With your dose dialed (as prescribed by your healthcare provider), gently pinch a fold of skin if necessary (common for the thigh or arm, less so for the stomach).
Insert the needle at a 90-degree angle. Press the injection button and hold it down. You will see the dose counter return to zero. Critical Step: Once the counter hits zero, do not pull the needle out immediately. Count slowly to six. This pause ensures that the entire volume of the medication has been dispersed from the needle into the subcutaneous tissue.
If you are feeling nervous about the side effects of your medication, such as occasional nausea, consider incorporating our GLP-1 Daily Support into your routine. It is designed to support overall wellness and comfort throughout your journey.
Optimizing for Comfort: Pro-Tips from the Experts
While the needle used for Ozempic® is incredibly thin—comparable to a strand of hair—the sensation of the injection can be influenced by several factors.
- Temperature Matters: Injecting cold medication straight from the refrigerator can cause a localized stinging sensation. We recommend taking your pen out of the fridge about 15 to 20 minutes before your injection to let it reach room temperature.
- Relax the Muscle: If you are injecting into your thigh, make sure your leg is fully relaxed. Tensing your muscles can make the subcutaneous layer thinner and the entry more uncomfortable.
- Avoid Visible Vessels: Look for a clear patch of skin. Avoid any areas where you can see small veins, bruises, or redness.
- Numbing the Area: If you are particularly sensitive, you can apply an ice cube to the injection site for 30 seconds before cleaning it with alcohol. This can temporarily numb the surface nerves.
For those looking to maximize their metabolic health alongside their medication, our Weight Loss Boost supplement provides additional support to help you feel your best as your body adjusts to a new weight loss trajectory.
The TrimRx Philosophy: More Than Just a Prescription
At TrimRx, we believe that sustainable weight loss should be achieved through science, empathy, and a transparent approach. We don’t just provide access to medications; we provide a partnership. Our brand is empathetic, innovative, trustworthy, and supportive. We offer compassionate care that respects every individual’s unique journey by combining advanced medical science with modern technology.
Our medications, including Ozempic®, Wegovy®, and Zepbound®, are provided through FDA-registered and inspected pharmacies. While we do not provide direct medical supervision, we partner with these high-quality facilities to ensure that the medication you receive is handled with the highest safety standards.
We also offer compounded versions of these popular medications. It is important to note that while the pharmacies we work with are FDA-registered and inspected, compounded medications themselves are not FDA-approved in the same way as branded medications like Ozempic®. However, they offer a vital alternative for personalized care and consistent access. Regardless of your dosage changes, our commitment to transparent service remains consistent—there are no hidden fees, and our comprehensive service always includes the medication, lab work (where applicable), and unlimited support.
To begin your journey with us and find out which of our programs fits your life, please complete our free assessment quiz.
Storage and Handling for Safety
Knowing where to give the ozempic shot is only half the battle; knowing how to store the medication is the other half. Proper storage ensures the semaglutide molecule remains stable and effective.
- Prior to First Use: Your Ozempic® pens should be stored in the refrigerator between 36°F and 46°F. Never freeze the medication. If a pen accidentally freezes, it must be discarded, as the protein structure of the semaglutide will be destroyed.
- After First Use: Once you have used the pen for the first time, you can keep it in the refrigerator or at room temperature (59°F to 86°F) for up to 56 days. This flexibility makes it easier to travel or keep your pen in a convenient bedside drawer.
- Light Protection: Always keep the pen cap on when you aren’t using it. Semaglutide is sensitive to light, and prolonged exposure can cause the medication to break down prematurely.
Common Myths and Misconceptions
When researching where to give the ozempic shot, you may encounter conflicting information online. Let’s clarify a few common points:
- Myth: The stomach is more effective for weight loss than the thigh.
- Fact: Studies have shown that the absorption rate of semaglutide is remarkably consistent across all three approved sites. Choosing the abdomen won’t make you lose weight “faster” than choosing the thigh. The best site is the one that allows you to be consistent and comfortable.
- Myth: You should massage the site after the injection.
- Fact: You should not rub or massage the area after injecting. This can actually push the medication into the muscle or cause it to leak back out through the needle track. If you see a tiny drop of blood, simply apply gentle pressure with a clean tissue or cotton ball.
- Myth: You can inject through your leggings or shirt.
- Fact: Always inject into bare skin. Injecting through clothing is unsterile and can introduce bacteria or fabric fibers into the injection site, leading to infection or irritation.
Managing Your Journey with TrimRx Supplements
Weight loss is a holistic process. While medications like Mounjaro®, Zepbound®, or Oral Semaglutide do the heavy lifting of regulating hunger hormones, your body still needs specific nutrients to thrive during the transition.
We offer two primary “Quick-Access” supplements that do not require our assessment quiz and are designed to complement your prescription:
- GLP-1 Daily Support: This is specifically formulated for those on a GLP-1 regimen. It helps address common nutritional gaps and supports digestive comfort, which can be a game-changer during the initial weeks of treatment.
- Weight Loss Boost: This supplement is designed to support metabolic health and energy levels. Many individuals find that as they consume fewer calories, they appreciate the extra nutritional foundation this product provides.
By integrating these into your personalized plan, you aren’t just losing weight—you are building a healthier version of yourself with the full support of our science-backed tools.
Conclusion
Mastering the logistics of your weight loss journey—from knowing where to give the ozempic shot to understanding the nuances of site rotation—is a powerful step toward taking control of your health. By choosing the abdomen, thigh, or upper arm and following a strict rotation schedule, you ensure that your medication works as intended while keeping your skin healthy and resilient.
At TrimRx, our commitment to your success goes far beyond the delivery of a pen. We are here to provide the empathy, innovation, and personalization you deserve. Whether you are navigating your first dose or are looking to optimize your long-term results, we invite you to be a part of our supportive community.
Are you ready to see which personalized weight loss solution is right for you? Start our free assessment quiz today and discover how we can help you achieve sustainable, medically backed results. Together, we can make your health goals a reality through transparency, science, and unwavering support.
FAQ
1. What should I do if I see a small amount of liquid on the tip of the needle after I inject?
This is perfectly normal. A tiny drop of liquid on the needle tip or a small drop of blood at the injection site does not mean you missed your dose. As long as you held the needle in for the full six seconds after the counter hit zero, you have received your medication. Simply dab the site with a clean tissue if needed.
2. Can I use the same site every week if I move the needle slightly?
Yes, you can stay within the same general area (like the abdomen), but you must move the injection point at least one to two inches away from the previous week’s spot. This gives the subcutaneous tissue time to recover and prevents the formation of hard lumps or scar tissue.
3. Does it matter what time of day I give myself the Ozempic® shot?
Ozempic® can be injected at any time of the day, with or without food. The most important factor is consistency—try to take it on the same day every week. If you need to change your “shot day,” you can do so as long as the time between two doses is at least three days (72 hours).
4. What is the difference between Ozempic® and Compounded Semaglutide provided through TrimRx?
Ozempic® is a brand-name, FDA-approved medication. Compounded Semaglutide is a customized medication prepared by an FDA-registered and inspected pharmacy. While the compounded version itself is not FDA-approved, it contains the same active ingredient (semaglutide) and is often used to ensure patients have access to their treatment during supply shortages or for more personalized dosing needs. Both options are available through our personalized weight loss program.
Transforming Lives, One Step at a Time
Keep reading

Ozempic Alternatives: Your Options Compared
If Ozempic isn’t the right fit, whether because of cost, side effects, availability, or results, you have real alternatives. The closest ones are other…
Ozempic vs Wegovy: Same Drug, Different Purpose
Here’s the fact that surprises most people: Ozempic and Wegovy are the same medication (semaglutide), just sold under different brand names, at different doses,…

When Do “Ozempic Vulva” Changes Start and Stabilize? A Timeline
Vulvar and genital changes from GLP-1 weight loss follow the pace of your weight loss, so they typically begin within the first few months…

