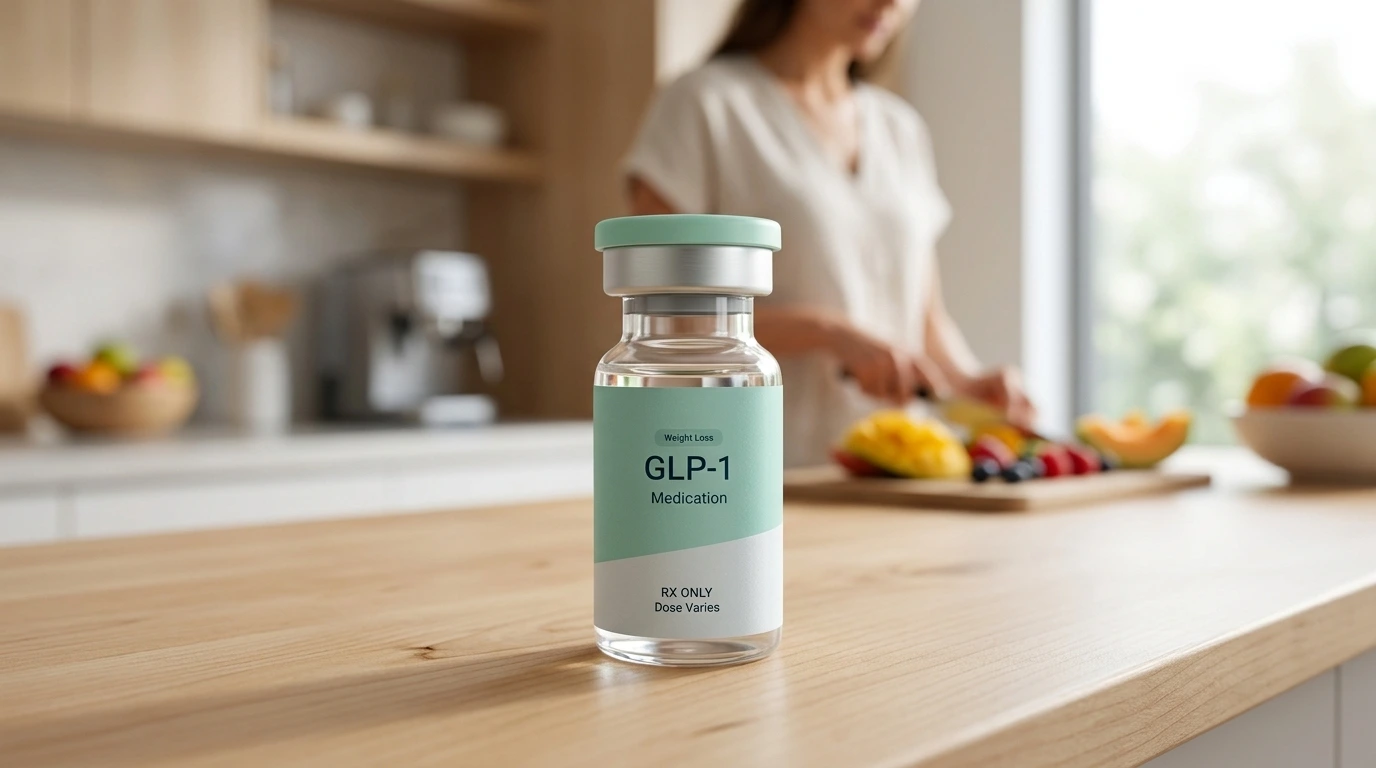
How Do You Give an Ozempic Shot?
Introduction
Standing in your kitchen with a small, motorized pen in your hand can feel like a daunting moment. If you have just been prescribed Ozempic® for the first time, you might feel a mix of excitement for your health journey and a healthy dose of nerves about the needle. Many people have never self-injected a medication before, and the transition from a pill to a weekly shot can feel like a major hurdle. At TrimRx, we believe that the more you understand the process, the more empowered you will feel to take this step toward your goals. If you want a broader refresher on the medication itself, understanding what a semaglutide injection is can help set the stage. This article will walk you through every specific detail of the injection process, from prepping your supplies to selecting the right site and managing your pen. By breaking this down into simple, repeatable steps, we can turn a source of anxiety into a quick, five-minute part of your weekly routine.
Getting Ready for Your Weekly Injection
Before you even touch the medication, you need to set the stage for a successful experience. The process of giving yourself a subcutaneous injection—which means an injection into the fatty tissue just under the skin—requires a clean environment and a few specific tools. You should choose a time of week when you are not rushed. Most people prefer a consistent day, such as a Sunday evening or a Monday morning, to help them remember the schedule.
You will need a small collection of supplies. First, you need your Ozempic® pen. Ensure it is the correct medication and that it has not reached its expiration date. You will also need a fresh, disposable needle, an alcohol swab, and a sturdy container for disposal. Do not use a standard trash can for your used needles. You should use an FDA-cleared sharps container or a heavy-duty plastic household container, like a laundry detergent bottle with a screw-top lid, to ensure safety for yourself and sanitation workers.
Preparing Your Physical Space
Start by washing your hands thoroughly with warm water and soap. This is the most basic yet most effective way to prevent infection at the injection site. Once your hands are clean, place your supplies on a flat, well-lit surface. If you have been keeping your pen in the refrigerator, you might find that letting it sit at room temperature for about 15 to 30 minutes makes the injection feel more comfortable. Cold medication can sometimes cause a slight stinging sensation that room-temperature liquid does not.
Inspecting the Medication
Take a close look at the liquid inside the glass window of your pen. It should be clear and colorless. If the liquid looks cloudy, contains visible particles, or has changed color, do not use it. This could indicate that the medication has been exposed to extreme temperatures or has broken down. In such cases, you should contact your pharmacist for guidance. Always verify that the name on the pen matches your prescription to avoid any dosing errors.
Step 1: Attaching the Needle
Each Ozempic® pen is designed to be used with a fresh needle for every single injection. Reusing needles is dangerous because it increases the risk of infection and can dull the needle tip, making the shot more painful. The needles used for these pens are ultra-fine, meaning they are much smaller and thinner than the needles used for blood draws or vaccines. If you want a closer look at the pen itself, understanding how Ozempic pens work for your health journey can be a useful companion guide.
To attach the needle, pull off the paper tab from a new needle pack. Push the needle straight onto the end of the pen and turn it clockwise until it is tight. Once it is secure, you will see two caps on the needle. Pull off the outer needle cap but do not throw it away yet; you will need it later. Then, pull off the inner needle cap and discard it. You will now see the very small needle at the tip of the pen.
Step 2: Checking the Flow (Priming)
If you are using a brand-new pen for the first time, you must check the flow of the medication. This is often called “priming” the pen. It ensures that any air bubbles are removed and that the needle is working correctly so you receive the full dose. You do not need to do this for a pen you have already used; it is only for the very first dose out of a fresh pen.
Turn the dose selector at the end of the pen until you see the flow check symbol. This looks like a small dashed line with a droplet. Hold the pen with the needle pointing upward. Press and hold the dose button until the dose counter returns to zero. You should see a small drop of medication appear at the tip of the needle. If no drop appears, you can repeat this process up to six times. If a drop still does not appear, change the needle and try once more. If it still fails, the pen may be defective.
Step 3: Selecting Your Prescribed Dose
Once the pen is ready, you need to dial in the specific amount of medication your healthcare provider has prescribed. Most people start on a lower dose, such as 0.25 mg, to allow the body to adjust before moving up to higher doses like 0.5 mg, 1 mg, or 2 mg.
Turn the dose selector until the counter shows your prescribed dose. You will hear a clicking sound as you turn the dial. It is important to look directly at the dose counter window to ensure the correct number is aligned with the pointer. If you accidentally turn the dial too far, do not worry. You can simply turn it backward or forward until you reach the correct number. The pen will not allow you to dial more medication than is left in the reservoir.
Step 4: Choosing and Preparing the Injection Site
Ozempic® is intended for subcutaneous injection, which means it needs to go into the fat layer, not into a muscle or a vein. There are three primary areas where you can safely give yourself this shot:
- The Abdomen: This is the most common site. You should aim for the area at least two inches away from your belly button.
- The Thigh: The front of your thigh is a convenient spot, especially if you prefer to be seated while you inject.
- The Upper Arm: This is the back of the fleshy part of your arm. Because this spot can be hard to reach on your own, you might need a partner to help you if you choose this location.
Key Takeaway: The medication works equally well regardless of which site you choose. The most important factor is rotating your location every week to keep your skin healthy.
The Importance of Rotation
You should never inject into the exact same spot two weeks in a row. Constant injection in one tiny area can cause the tissue to thicken or develop lumps, a condition called lipohypertrophy. These lumps can make it harder for your body to absorb the medication correctly. You do not have to switch from your stomach to your thigh every week, but you should move at least an inch or two away from your previous site. Many people find it helpful to imagine a clock face on their stomach and move to a different “hour” each week.
Cleaning the Skin
Once you have picked your spot, take an alcohol swab and wipe the skin in a firm, circular motion. Let the skin air-dry for a few seconds. Do not blow on it or fan it with your hand, as this can introduce bacteria. Injecting into skin that is still wet with alcohol can cause a temporary stinging sensation.
Step 5: Delivering the Medication
Now it is time for the injection itself. Hold the pen so that you can clearly see the dose counter window. This is vital because the window tells you when the injection is finished.
Insert the needle straight into your skin. You do not need to press excessively hard, but the pen should be firm against the skin. Unlike some other injections, you do not necessarily need to pinch the skin unless you are very thin, in which case a small pinch can help ensure you hit the fat layer.
Press and hold down the dose button. You will see the dose counter begin to move back toward zero. You might hear a clicking sound as the medication is dispensed. Once the counter reaches zero, do not pull the pen out immediately.
The Six-Second Rule
After the counter hits zero, keep the needle in your skin and count slowly to six. This pause allows the full volume of the medication to be completely absorbed by your tissues. If you pull the needle out too fast, some of the liquid might leak out of the skin or stay inside the needle. After you have counted to six, you can pull the needle straight out. It is normal to see a tiny drop of blood or a very small amount of clear liquid at the site; you can gently press a cotton ball on the area, but do not rub it.
Step 6: Safe Disposal and Storage
Safety does not end once the needle is out of your skin. You must remove the needle from the pen immediately after every use. Carefully place the outer needle cap back onto the needle without touching the tip. Once the cap is on, unscrew the needle and drop it into your sharps container.
Never store your pen with the needle still attached. This can lead to medication leaking out or air entering the pen, which can affect the accuracy of your next dose. Once the needle is removed, put the pen cap back on to protect the medication from light.
Storing Your Medication Properly
How you store your pen depends on whether you have started using it yet.
- Unused Pens: These must stay in the refrigerator between 36°F and 46°F. Do not store them near the cooling element, as they must not freeze. If a pen freezes, the medication is ruined and should be thrown away.
- In-Use Pens: Once you have taken your first dose, you can keep the pen in the refrigerator or at room temperature (up to 86°F). The pen is good for 56 days after the first use. After 56 days, you must discard the pen even if there is still medication inside.
Troubleshooting Common Issues
Even with a perfect routine, questions can arise. One common concern is seeing a small bubble in the pen. This is normal and will not hurt you; the pen is designed to handle small amounts of air.
Another frequent question involves missing a dose. If you forget your injection, take it as soon as you remember, provided it is within five days of your scheduled day. If more than five days have passed, skip the missed dose and wait for your next regularly scheduled day. Do not take two doses at once to make up for a missed one.
If you notice a leak from the needle after you have finished, it usually means you did not hold the pen in for the full six seconds. Do not try to inject more medication to make up for the leak. Simply make a note to hold the pen longer next week.
Understanding the Role of GLP-1 Medications
Ozempic® is a branded version of a drug called semaglutide. Semaglutide is a GLP-1 (glucagon-like peptide-1) receptor agonist. In simple terms, it mimics a natural hormone in your body that tells your brain you are full and tells your stomach to slow down the digestion process. By mimicking this pathway, the medication can help people manage their blood sugar and support weight loss efforts when combined with a healthy lifestyle. For a deeper look at the hormone behind these medications, what GLP-1 is breaks down the science.
At TrimRx, we specialize in helping people access these types of treatments through a modern, telehealth-first platform. While Ozempic® is a well-known branded medication, many of our patients utilize compounded semaglutide. Compounded medications are prepared by FDA-registered, inspected compounding pharmacies. This can be a useful alternative when branded medications are in short supply or when a patient needs a more personalized approach.
Bottom line: Whether you are using a branded pen or a compounded version, the underlying science of GLP-1 is designed to support your body’s natural metabolic processes.
Optimizing Your Results
While the injection is a critical part of the program, it is only one piece of the puzzle. To get the most out of your treatment, we recommend focusing on hydration and protein intake. GLP-1 medications can sometimes lead to decreased thirst and appetite, making it easy to become dehydrated or under-nourished. For extra nutritional support, the GLP-1 Daily Support supplement is designed to help maintain essential nutrient levels while using these medications.
For those looking for extra support, our Weight Loss Boost supplement can also be integrated into your routine to support metabolic health. Our goal is to ensure you aren’t just losing weight, but improving your overall wellness in a sustainable way.
Managing Potential Side Effects
It is common to experience some mild side effects as your body gets used to the medication. Nausea is the most frequently reported issue, particularly in the day or two following your injection. To manage this, many people find it helpful to eat smaller, more frequent meals and avoid greasy or highly processed foods.
If you experience redness or itching at the injection site, this is usually a mild reaction to the needle or the alcohol. Rotating your sites frequently is the best way to prevent this. However, if you experience severe pain, significant swelling, or signs of an allergic reaction like hives or difficulty breathing, you should seek medical attention immediately. For a broader safety perspective, is GLP-1 safe? offers a detailed look at the data. Always consult with a licensed healthcare provider if side effects are persistent or concerning.
The TrimRx Approach to Weight Loss
We understand that weight loss is a deeply personal and sometimes frustrating journey. It is not just about the numbers on a scale; it is about how you feel in your daily life and your long-term health. Our mission at TrimRx is to remove the barriers that stand between you and evidence-based care.
Our platform connects you with licensed providers who evaluate your health history and goals to create a personalized plan. This means you don’t have to navigate waiting rooms or confusing pharmacy lines. Everything from your initial assessment to the delivery of your medication is handled online. We provide a transparent program that includes your doctor consultations, lab work, and the medication itself, ensuring there are no hidden surprises along the way. If you are curious whether a personalized program is the right fit, complete our free assessment quiz.
Conclusion
Learning how to give yourself an Ozempic® shot is a skill that becomes second nature very quickly. By following a consistent routine—preparing your space, checking your pen, selecting a new site, and holding for six seconds—you ensure that your treatment is safe and effective. Remember that you are not alone in this process; thousands of people perform these same steps every week as they work toward better metabolic health.
At TrimRx, we are proud to be your partner in this journey, providing the science, empathy, and clinical support you need to succeed. If you are ready to take the next step toward a healthier lifestyle, take the free assessment quiz. This simple tool is the first step in seeing if a personalized GLP-1 program is the right fit for your unique health profile.
FAQ
Does the Ozempic injection hurt?
Most people describe the sensation as a tiny pinch or a quick prick, rather than true pain. The needles used are ultra-fine and very short, designed specifically to reach the fat layer just under the skin where there are fewer nerve endings. If you are nervous, letting the pen reach room temperature and ensuring the alcohol on your skin has dried completely can make the process even more comfortable.
Can I inject Ozempic into my muscle?
No, Ozempic® must be injected into the subcutaneous fat layer to work correctly. Injecting into a muscle can change how quickly the medication is absorbed into your bloodstream, which may decrease its effectiveness or increase side effects. This is why the stomach, thigh, and back of the arm are the recommended sites, as they typically have enough fatty tissue for a safe injection. For a broader look at how injectable GLP-1 treatment is discussed, the truth about GLP-1 injections in 2026 may help.
What should I do if I see a bubble in my Ozempic pen?
Small air bubbles are a normal occurrence in the medication reservoir and do not pose a health risk during a subcutaneous injection. The pen is engineered to deliver the correct dose even if a small bubble is present. You do not need to try and remove the bubble; simply follow the standard priming instructions for a new pen and proceed with your dose as usual.
How do I know if I actually got the full dose?
You can be confident you received the full dose if the dose counter window returns to “0” and you held the needle in your skin for a full six seconds after the counter stopped. If you pull the needle out and see a large amount of liquid running down your skin, you may not have received the full amount. In that case, do not take an extra dose; simply wait until your next scheduled injection and ensure you hold it longer next time. If you want more background on the mechanism behind these shots, how GLP-1 actually works for weight loss adds helpful context.
Disclaimer: This content is for informational purposes only and does not constitute medical advice. It is not intended to diagnose, treat, cure, or prevent any disease or condition. Individual results may vary. Always consult a qualified healthcare professional before starting any weight loss program or medication.
Transforming Lives, One Step at a Time
Keep reading

Gas and Bloating on Ozempic or Semaglutide: Why It Happens and How to Manage It
Yes, gas, bloating, and belching are common on Ozempic and semaglutide, and for most people they’re a manageable part of the adjustment period. The…

Dizziness on Ozempic or Semaglutide: Why It Happens and What to Do
If you feel dizzy or lightheaded on Ozempic or semaglutide, you’re not alone, and in most cases the cause is manageable. The usual culprits…

Ozempic and Tylenol (Acetaminophen): Is It Safe?
Acetaminophen (the active ingredient in Tylenol) is generally considered safe to take with Ozempic or semaglutide, and there’s no dangerous direct interaction between them….

