Where to Inject Zepbound on Thigh: A Step-by-Step Guide
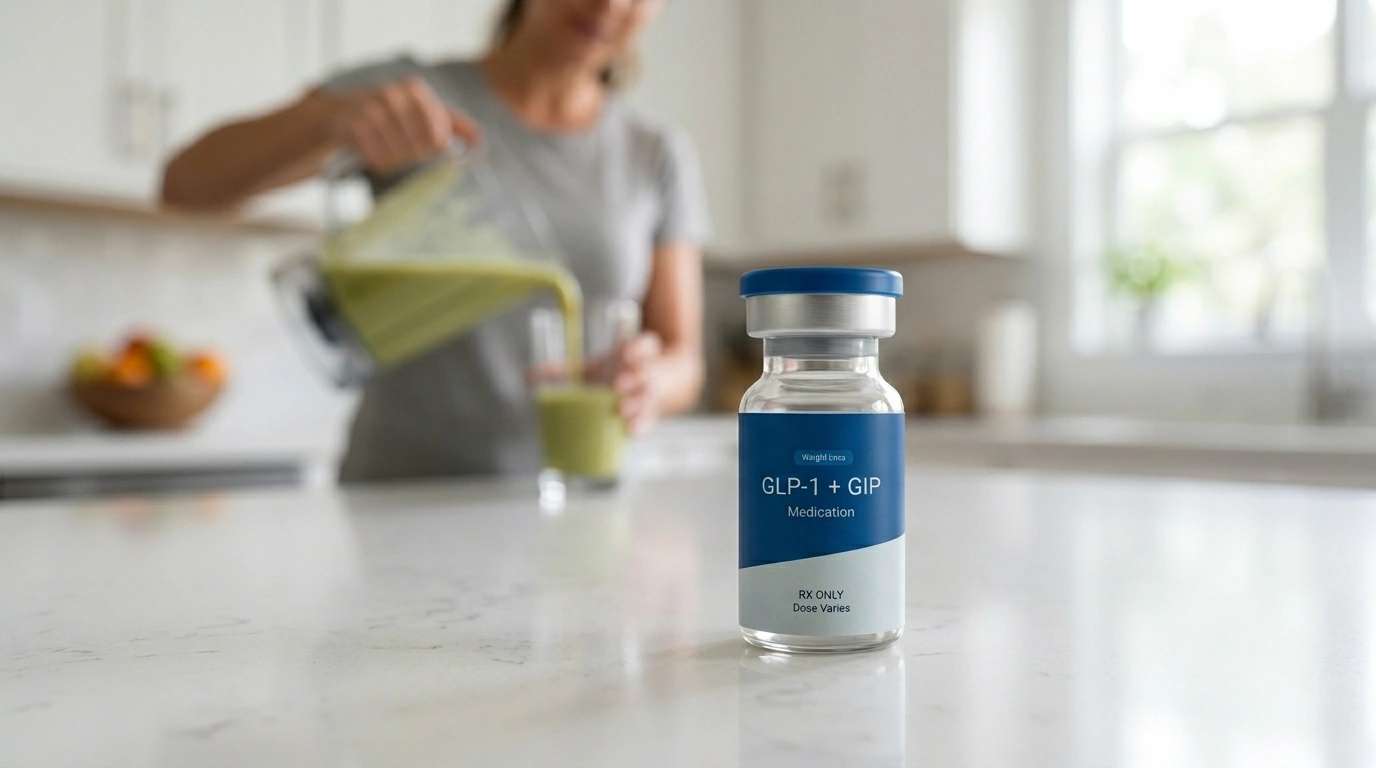
Table of Contents
- Introduction
- Understanding Zepbound® and Tirzepatide
- Identifying the Correct Injection Zone on Your Thigh
- Why the Thigh is a Popular Choice
- Step-by-Step Instructions for a Thigh Injection
- The Importance of Subcutaneous Fat
- Why Injection Site Rotation Is Critical
- Managing Common Injection Site Reactions
- Storing Your Medication Properly
- The Role of Personalization in Weight Loss
- Comparing Thigh, Abdomen, and Arm Injection Sites
- Troubleshooting Your Injection
- Preparing for Long-Term Success
- Conclusion
- FAQ
Introduction
Standing in your kitchen or bathroom with your first medication pen can feel like a significant, if slightly nerve-wracking, milestone. You have made the decision to prioritize your metabolic health, and now it comes down to the practical reality of the first dose. Many people feel a natural hesitation when it is time to self-inject, often wondering which part of the body is the most comfortable or effective. At TrimRx, we believe that understanding the “how” and “where” of your treatment is just as important as the medication itself. This guide focuses specifically on using the thigh as an injection site for Zepbound®, covering exactly where to place the pen, how to prepare your skin, and why site rotation is essential for long-term success. If you’re also comparing injection-site options, our guide to where to inject tirzepatide for best results is a helpful companion. By mastering this simple technique, you can move forward in your wellness journey with confidence and clarity.
Understanding Zepbound® and Tirzepatide
Before diving into the mechanics of the injection, it is helpful to understand what is happening inside the pen. Zepbound® is a brand-name medication containing the active ingredient tirzepatide. This medication belongs to a class of drugs known as dual agonists. Specifically, it acts on two different nutrient-stimulated hormone receptors in the body: glucagon-like peptide-1 (GLP-1) and glucose-dependent insulinotropic polypeptide (GIP).
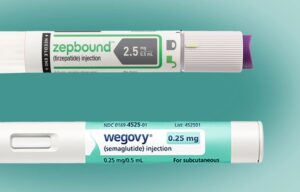
A receptor agonist is a substance that mimics a naturally occurring hormone to trigger a specific response in the body. While many people are familiar with GLP-1 medications like Wegovy® or Ozempic®, tirzepatide is unique because it targets both the GLP-1 and GIP pathways. These hormones are naturally released by the intestines after a meal. They signal the brain to feel full, slow down the rate at which the stomach empties, and help the pancreas manage insulin levels. By mimicking these hormones, tirzepatide may support weight loss by reducing appetite and helping the body regulate energy more efficiently.
If you want a broader overview of approved injection sites for these medications, the GLP-1 injection sites guide covers the essentials.
Key Takeaway: Tirzepatide works by mimicking two hormones (GLP-1 and GIP) that regulate hunger and blood sugar, making it a powerful tool for weight management when combined with lifestyle changes.
Identifying the Correct Injection Zone on Your Thigh
When a healthcare provider suggests the thigh as an injection site, they are referring to a very specific area. You are not just aiming for any part of the leg; the goal is to reach the subcutaneous fat—the layer of fat just beneath the skin but above the muscle.
The Front and Outer Thigh
The ideal location for a thigh injection is the front of the thigh or the outer side of the thigh. Imagine your thigh is divided into thirds from your hip to your knee. You want to aim for the middle third section. This area generally has a consistent layer of subcutaneous fat, which allows the medication to be absorbed steadily into the bloodstream.
Areas to Avoid
It is equally important to know where not to inject. You should avoid:
- The inner thigh, as the skin is more sensitive and there are more blood vessels and nerves closer to the surface.
- The area directly above the knee or right at the hip bone.
- Any area where the skin is bruised, red, hard, or scarred.
- Bony areas where there is very little fat.
Quick Answer: For a Zepbound® injection, target the front or outer part of the middle third of your thigh. Avoid the inner thigh and the areas directly near the knee or hip to ensure the medication reaches the subcutaneous fat layer comfortably.
Why the Thigh is a Popular Choice
While Zepbound® can also be injected into the abdomen or the back of the upper arm, many individuals prefer the thigh for several reasons.
Visibility and Control Injecting into the thigh allows you to sit down and have a clear, direct view of the injection site. This visibility can be incredibly helpful if you are feeling anxious or if it is your first time using the pen. Unlike the back of the arm, which often requires a second person to assist, the thigh is easily accessible for self-administration.
Comfort and Sensitivity Some patients report that the thigh feels less sensitive than the abdomen. While pain is subjective and varies from person to person, the skin on the front of the thigh is often firmer, which can make the initial “click” of the pen feel less startling.
Potential Side Effect Management Interestingly, some clinical observations and patient reports suggest that the injection site might influence the intensity of gastrointestinal side effects like nausea. While the medication’s effectiveness remains consistent regardless of the site, some people find they tolerate the medication better when injecting into the thigh compared to the abdomen. If you are experiencing significant nausea, our article on common GLP-1 side effects may help you better understand what’s happening, and discussing a change in injection site with a licensed healthcare provider may be a helpful step.
Step-by-Step Instructions for a Thigh Injection
The Zepbound® pen is designed to be user-friendly, but following a consistent routine ensures safety and accuracy.
Step 1: Preparation
Wash your hands thoroughly with soap and water. Clear a clean workspace and gather your supplies: the medication pen, an alcohol swab, and a cotton ball or gauze. Check the pen to ensure the medication is clear and colorless (or slightly yellow) and that it has not expired.
Step 2: Choose and Clean the Site
Sit in a comfortable chair with your legs extended or slightly bent. Identify the front or outer part of your thigh. Clean the area with an alcohol swab using a circular motion and let the skin air dry completely. Do not blow on the skin to dry it, as this can introduce bacteria.
Step 3: Prepare the Pen
Pull the base cap straight off the pen. Do not touch the needle or the tip of the pen once the cap is removed. Check that the pen is locked. Place the clear base of the pen flat against your skin at the site you just cleaned.
Step 4: Unlock and Inject
Turn the lock ring to the “unlock” position. Once you are ready, press and hold the purple injection button. You will hear a loud click, which signals that the injection has started. Continue holding the pen firmly against your skin. You will hear a second click a few seconds later; this indicates the injection is complete. You will also see the gray plunger visible in the pen window.
Step 5: Final Check
Remove the pen from your skin. If there is a small drop of blood or liquid, you can press a cotton ball gently against the site, but do not rub it. Dispose of the used pen in an FDA-cleared sharps container immediately.
The Importance of Subcutaneous Fat
The reason we target the thigh, abdomen, or arm is that these medications are designed for subcutaneous delivery. Subcutaneous fat has fewer blood vessels than muscle tissue, which means the medication is absorbed more slowly and predictably.
If the medication were injected too deeply into the muscle (intramuscular), it would be absorbed too quickly, potentially increasing the risk of side effects and reducing the duration of the drug’s effect. Conversely, if it is not injected deeply enough, it may stay in the skin layers (intradermal), which can cause irritation. The Zepbound® pen is engineered with a needle length specifically designed to reach the subcutaneous layer when pressed firmly against the skin.
Why Injection Site Rotation Is Critical
One of the most common mistakes in a long-term injection routine is using the exact same spot every week. This can lead to a condition called lipohypertrophy, which is a localized buildup of fat or scar tissue under the skin.
What is Lipohypertrophy?
When the same site is traumatized repeatedly, the body may respond by creating firm lumps. These lumps are not just a cosmetic concern; they can actually change how the medication is absorbed. If you inject into a area with lipohypertrophy, the tirzepatide may not enter your system at the correct rate, leading to inconsistent results.
How to Rotate Effectively
You should rotate your injection site every week. This does not mean you have to switch from the thigh to the abdomen every time. You can simply move the injection site one inch away from where you injected the previous week. Many people find it helpful to think of their thigh as a clock face or a grid, moving to a new “square” or “hour” with each dose.
To see a practical breakdown of rotation habits, the guide on how to rotate injection sites for semaglutide and tirzepatide is a useful next read.
Note: Even if you prefer the thigh, consider alternating between your left and right legs to give each side a full two weeks of “rest” between injections.
Managing Common Injection Site Reactions
It is normal to experience some mild reactions at the site of the injection. Most of these are temporary and do not require stopping the medication.
- Redness or Swelling: A small red bump or mild swelling is common. This is often just the body’s localized response to the needle or the liquid.
- Itching: Some patients report mild itching shortly after the injection. Avoid scratching the area, as this can lead to broken skin and potential infection.
- Bruising: Occasionally, the needle may hit a tiny capillary, causing a small bruise. This is usually harmless and will fade like any other bruise.
If you notice signs of a more serious reaction—such as hives, swelling of the face or throat, or difficulty breathing—seek medical attention immediately. For persistent or painful skin reactions, consult with a healthcare professional to ensure you are using the correct technique or to discuss potential sensitivities.
Storing Your Medication Properly
The effectiveness of tirzepatide depends on proper storage. Your pens should be kept in the refrigerator between 36°F and 46°F (2°C to 8°C). However, many people find that injecting cold medication is more uncomfortable than injecting medication at room temperature.
You can take your pen out of the refrigerator about 30 minutes before your injection to let it reach room temperature. This can make the process feel smoother and reduce the “sting” that some people associate with cold liquids. Just be sure to keep the pen in its original carton to protect it from light, and never leave it in direct sunlight or in a vehicle.
Myth: You must inject Zepbound® while it is cold for it to work. Fact: Letting the pen sit at room temperature for up to 30 minutes before injecting is perfectly safe and may make the injection more comfortable.
The Role of Personalization in Weight Loss
While knowing where to inject is a practical necessity, the broader journey of weight management is much more complex. No two bodies respond to medication in the same way. This is why a one-size-fits-all approach often fails in the long term.
At TrimRx, we focus on creating a supportive environment where your medical history, lifestyle, and goals are all taken into account. Our platform connects you with licensed providers who can help determine if a GLP-1 or dual agonist medication is right for you. If you’re ready to see whether a personalized program is a fit, you can complete the free assessment quiz and take the next step. Beyond the prescription, a successful program involves ongoing support to manage side effects, adjust dosages when necessary, and provide guidance on nutrition and movement.
By using a telehealth-first model, we eliminate the barriers of traditional weight loss clinics. There are no waiting rooms or inconvenient appointments. Instead, you get 24/7 access to specialized care, ensuring that every step—from your first thigh injection to your maintenance phase—is supervised and supported.
Comparing Thigh, Abdomen, and Arm Injection Sites
If you are considering switching from the thigh to another site, it is helpful to know the differences.
| Injection Site | Ease of Self-Injection | Visibility | Common Feedback |
|---|---|---|---|
| Thigh | High | Excellent | Good for beginners; may have fewer GI side effects for some. |
| Abdomen | High | Good | Most common site; easiest access to subcutaneous fat. |
| Upper Arm | Low | Poor | Often requires assistance; some report faster absorption. |
Regardless of the site you choose, the key is consistency in technique and variety in placement. If you choose the abdomen, stay at least two inches away from the belly button. If you choose the arm, target the fleshy back part of the limb.
Troubleshooting Your Injection
Sometimes, despite your best efforts, things don’t go exactly as planned. Here are a few common scenarios:
What if I see a drop of liquid on the needle or skin? A small drop of liquid is normal and does not mean you missed your dose. As long as you heard both clicks and the gray plunger is visible, you received your medication.
What if the pen doesn’t click? Ensure the pen is unlocked. If it still doesn’t fire, do not attempt to take the pen apart. Contact the manufacturer or your pharmacist for guidance on a faulty device.
What if I forget to rotate? One week of using the same spot is unlikely to cause long-term issues, but make a conscious effort to move the site the following week. You might find it helpful to keep a log in your phone or a dedicated journal to track which leg or side of the abdomen you used.
Preparing for Long-Term Success
Mastering the thigh injection is just one part of a larger metabolic health strategy. Research suggests that medications like tirzepatide are most effective when used as part of a comprehensive lifestyle plan. This includes:
- Hydration: GLP-1 medications can change your thirst signals. Drinking plenty of water is essential, especially to help manage side effects like constipation.
- Protein Intake: To maintain muscle mass while losing weight, focus on high-quality protein sources at every meal.
- Mindful Movement: Incorporating resistance training can help ensure that the weight you lose comes from fat stores rather than muscle.
- Patience: Weight loss is rarely a straight line. Some weeks you may see significant changes, while others may feel like a plateau.
Bottom line: The thigh is a highly effective, visible, and often more comfortable injection site for Zepbound®, provided you target the front or outer area and rotate your site weekly.
Conclusion
Taking control of your health through a personalized weight loss program is a powerful step toward a more vibrant life. Whether you choose the thigh for its visibility or because it feels more comfortable, the most important factor is your commitment to the process. By following the correct steps—preparing the site, using the pen properly, and rotating locations—you ensure that your medication can do its job effectively.
Our mission at TrimRx is to walk alongside you, providing the clinical expertise and empathetic support needed to navigate the nuances of GLP-1 and dual agonist therapies. We believe that modern weight loss should be transparent, accessible, and tailored to the individual. If you are ready to explore a program that combines medical supervision with the convenience of telehealth, your next step is simple.
Take the first step toward a healthier you by completing our free health assessment quiz to see which personalized program is right for your goals.
FAQ
Can I inject Zepbound® into my inner thigh?
No, you should avoid the inner thigh. This area is more sensitive and contains more blood vessels and nerves closer to the surface, which can make the injection more painful and increase the risk of bruising. Stick to the front or the outer part of the middle third of your thigh.
Does injecting Zepbound® in the thigh reduce nausea?
While clinical results are consistent across all injection sites, many patients report anecdotally that injecting into the thigh results in fewer or less intense gastrointestinal side effects, such as nausea, compared to injecting into the abdomen. If you are struggling with side effects, it may be worth discussing a site change with your healthcare provider.
How do I know if I injected the medication correctly in my thigh?
A successful injection is confirmed by two distinct “clicks” from the pen and the appearance of the gray plunger in the clear window of the device. You may see a tiny drop of blood or liquid at the site afterward, which is normal and does not mean the injection failed.
Should I pinch the skin on my thigh before injecting?
The Zepbound® pen is designed to be pressed flat against the skin without the need for pinching. Because the thigh generally has a firm surface, simply pressing the base of the pen firmly against the front or outer thigh is sufficient to ensure the needle reaches the subcutaneous fat layer.
What should I do if I’m ready to start treatment?
If you’re ready to see whether a personalized program is a fit for your goals, take the free assessment quiz to get started.
Disclaimer: This content is for informational purposes only and does not constitute medical advice. It is not intended to diagnose, treat, cure, or prevent any disease or condition. Individual results may vary. Always consult a qualified healthcare professional before starting any weight loss program or medication.
Transforming Lives, One Step at a Time
Keep reading
Zepbound Cost at Costco in 2026: Real Pricing Breakdown
Without insurance, Zepbound at Costco costs roughly $1,020 to $1,080 a month for a 28-day box of four single-dose pens, close to Eli Lilly’s…

CagriSema vs Zepbound: How They Compare
If you are weighing CagriSema against Zepbound, the most important fact is availability: Zepbound (tirzepatide) is FDA approved and you can start it now,…

GLP-1 Glossary: Every Term From A1C to Zepbound
Introduction GLP-1 stands for glucagon-like peptide-1, a hormone your gut releases after eating that prompts insulin, slows stomach emptying, and dials down appetite. Drugs…

