How to Prepare Ozempic Injection for Your Weekly Dose
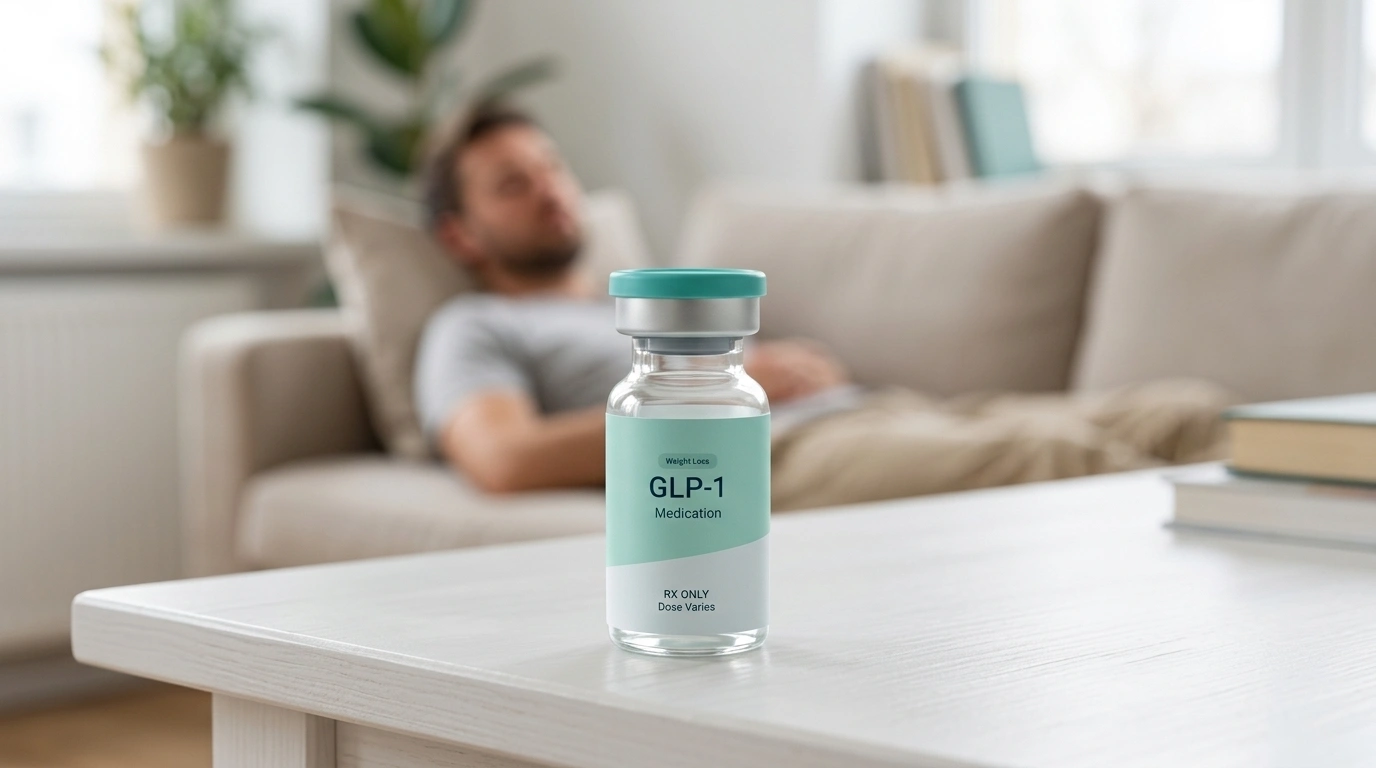
Table of Contents
- Introduction
- Understanding the Ozempic Pen Design
- Step-by-Step: Initial Preparation and Safety Checks
- Attaching the Disposable Needle
- Priming a New Pen: The Flow Check
- Selecting Your Prescribed Dose
- Choosing and Preparing the Injection Site
- Administering the Injection
- Post-Injection: Needle Disposal and Pen Care
- Storage and Handling Guidelines
- Integrating Injection into Your Lifestyle
- Personalized Support with TrimRx
- Troubleshooting Common Issues
- Conclusion
- FAQ
Introduction
Taking the first step toward managing your weight with a GLP-1 (glucagon-like peptide-1) medication is a significant milestone. However, it is perfectly normal to feel a bit apprehensive when it comes to self-administering a medication. If you are still deciding whether prescription treatment is the right fit, you can take the free assessment quiz to see which personalized program may be right for you. Learning how to prepare Ozempic® injection is a straightforward process, but precision is key to ensuring you receive the correct dose and maintain the highest safety standards. At TrimRx, we believe that understanding your treatment is the foundation of a successful health journey. Whether you are a newcomer to injectable medications or looking for a refresher on the nuances of your pen, this guide provides the clarity you need to move forward with confidence. We will cover everything from checking your medication to the final disposal of your needle, ensuring your weekly routine becomes second nature.
Understanding the Ozempic Pen Design
Before you begin the preparation process, it is helpful to understand the tool you are using. The Ozempic® pen is a pre-filled, multi-dose injection device. It is designed for subcutaneous delivery, meaning the medication is injected into the fatty layer just beneath the skin rather than into a muscle or vein.
The Components of the Pen
The pen consists of several parts that you should be familiar with before you begin. At one end is the pen cap, which protects the medication from light and contamination. Beneath the cap is the rubber stopper where the disposable needle attaches. The body of the pen contains the medication window, which allows you to see the liquid. The liquid should always be clear and colorless.
Moving down the pen, you will find the dose counter and the dose selector. This dial allows you to turn the pen to the specific strength prescribed by your healthcare provider. Finally, at the very end is the injection button, which you will press and hold to deliver the medication.
Why Preparation Matters
Proper preparation is not just about the injection itself; it is about maintaining the integrity of the medication. GLP-1 medications are proteins that are sensitive to temperature, light, and physical agitation. Handling the pen correctly ensures that the semaglutide—the active ingredient in Ozempic®—remains stable and effective. If you want a broader overview of treatment basics, our guide on what semaglutide injections are and how they work is a helpful companion read. Following a consistent preparation routine also minimizes the risk of injection site reactions and ensures that you are getting the exact dose required for your personalized program.
Key Takeaway: The Ozempic® pen is a precision medical device designed for easy, subcutaneous use, but its effectiveness depends on proper handling and storage.
Step-by-Step: Initial Preparation and Safety Checks
The preparation process begins before you even touch the needle. Creating a clean environment and verifying your medication are the most important first steps.
Step 1: Gather your supplies. Find a well-lit, clean surface. You will need your pen, a new disposable needle, an alcohol swab, and a Sharps disposal container.
Step 2: Check the medication window. Remove the pen cap and look at the liquid inside. If the liquid looks cloudy, contains particles, or has changed color, do not use it. It should be as clear as water.
Step 3: Verify the expiration date. Check the label on the side of the pen for the expiration date. Never use medication that has passed this date, as the chemical stability of the GLP-1 cannot be guaranteed.
Step 4: Wash your hands. This sounds simple, but it is a critical step in preventing infection. Use warm water and soap, scrubbing for at least 20 seconds.
Attaching the Disposable Needle
Each injection requires a brand-new, sterile needle. Reusing needles can lead to infections, skin irritation, and may cause the needle to become dull or blocked, leading to an incomplete dose.
Step 1: Prepare the needle. Take a new needle and tear off the paper tab. Do not touch the needle itself or the area where it attaches to the pen.
Step 2: Attach the needle to the pen. Push the needle straight onto the pen and turn it until it is tight. Ensure it is not slanted, as this could cause the medication to leak.
Step 3: Remove the caps. The needle comes with two caps: an outer needle cap and an inner needle cap. Pull off the outer cap and set it aside (you will need it later). Then, pull off the inner needle cap and discard it. You should now see the thin needle.
Note: Never try to put the inner needle cap back on. You might accidentally prick your finger.
Priming a New Pen: The Flow Check
If you are using a brand-new pen for the very first time, you must perform a “flow check” to ensure the pen is working correctly and to remove any air bubbles. If you want a visual walkthrough of the device setup, this Ozempic pen instruction guide covers the process in detail. You do not need to do this for a pen you have already used for previous doses.
Step 1: Turn the dose selector. Turn the dial until you see the flow check symbol. This looks like a small line followed by a dot.
Step 2: Position the pen. Hold the pen with the needle pointing upward. Tap the side of the pen gently with your finger a few times to encourage any air bubbles to rise to the top.
Step 3: Press the button. Press and hold the injection button until the dose counter returns to “0.” A drop of medication should appear at the needle tip.
If a drop does not appear, repeat the process. If after six attempts a drop still does not appear, the pen may be defective, and you should use a different one. Once a drop appears, you are ready to set your actual dose.
Selecting Your Prescribed Dose
Your healthcare provider will determine your specific dose, which usually starts low and increases gradually over several weeks. This is known as a titration schedule.
Step 1: Locate the dose selector. The dose selector is the dial at the end of the pen. Turn it until the dose counter shows the exact number of mg prescribed for you.
Step 2: Confirm the number. Make sure the number is lined up perfectly with the pointer. If you turn it too far, you can simply turn it back; you do not have to worry about wasting medication by dialing backward.
Important: Only use the dose that was specifically prescribed for you by a licensed healthcare professional. Never change your dose without consulting your provider.
Choosing and Preparing the Injection Site
The location of your injection can influence how the medication is absorbed and how you feel. GLP-1 medications like semaglutide work best when injected into fatty tissue.
Step 1: Choose a site. The three recommended areas are:
- The front of your thighs
- The front of your waist (abdomen), at least two inches away from your belly button
- The back of your upper arm (this may require help from someone else)
Step 2: Clean the area. Wipe the chosen skin area with an alcohol swab and let it air dry completely. Do not blow on it or fan it with your hand, as this can introduce bacteria.
Step 3: Rotate your sites. It is vital to rotate your injection site every week. If you injected into your right thigh last week, try your left thigh or your abdomen this week. If you want a more detailed breakdown of body placement, this guide to Ozempic injection sites explains how rotation helps prevent irritation. This helps prevent lipohypertrophy, which is a buildup of fatty tissue that can interfere with medication absorption.
Bottom line: Selecting a clean, fatty area of the body and rotating your site weekly ensures the medication is absorbed steadily and reduces the risk of skin issues.
Administering the Injection
Once your pen is prepared and your skin is clean, you are ready to deliver the dose.
Step 1: Insert the needle. Insert the needle into your skin as instructed by your provider. Most people find that a quick, firm motion is the most comfortable.
Step 2: Deliver the dose. Press and hold the injection button. You will see the dose counter turn back toward “0.” Continue to hold the button down.
Step 3: The six-second rule. Once the dose counter reaches “0,” keep the needle in your skin and count slowly to six. This ensures that the full amount of medication has left the pen and entered your body.
Step 4: Withdraw the needle. Pull the needle straight out of your skin. If a small drop of blood appears, you can press a cotton ball or gauze on the site, but do not rub the area.
Post-Injection: Needle Disposal and Pen Care
Safety does not end when the needle leaves your skin. Proper disposal is essential for protecting yourself and others.
Step 1: Re-cap the needle carefully. Place the outer needle cap on a flat surface. Without touching the needle, slide the needle into the cap and press down firmly.
Step 2: Remove the needle. Unscrew the needle and place it immediately into a Sharps disposal container. If you do not have a red Sharps container, a heavy-duty plastic household container with a tight-fitting lid (like a laundry detergent bottle) may be used depending on your local regulations.
Step 3: Replace the pen cap. Put the pen cap back on to protect the medication from light. Store the pen as directed.
Myth: You can throw used needles in the regular trash if you put the cap back on. Fact: Used needles are considered biohazardous waste and must be disposed of in a puncture-resistant Sharps container to prevent accidental needle sticks for sanitation workers and others.
Storage and Handling Guidelines
How you store your Ozempic® pen can significantly impact its shelf life and effectiveness.
Refrigeration vs. Room Temperature
Before its first use, your pen must be stored in the refrigerator. Do not store it in the back of the fridge or near the cooling element, as the medication can freeze. If the medication freezes, it is no longer safe to use.
Once you have used the pen for the first time, you have two choices. You can keep it in the refrigerator or store it at room temperature (below 86°F or 30°C). Regardless of where you store it, the pen must be discarded 56 days after its first use, even if there is still medication left inside.
Avoiding Light and Heat
Always keep the pen cap on when the pen is not in use. Exposure to direct sunlight or excessive heat can break down the semaglutide molecule. If you are traveling, use a small insulated bag to keep the pen at a stable temperature, but do not place it directly against an ice pack.
Integrating Injection into Your Lifestyle
Preparing an injection can feel like a medical chore, but framing it as a moment of self-care can help. Many people find that picking a consistent day and time—such as Sunday morning or Wednesday evening—helps them stay on track.
If you experience side effects like nausea after your injection, you might consider administering the dose in the evening before bed. If side effects are a concern for you as treatment starts, common GLP-1 side effects and what to expect can help you prepare. This allows you to sleep through the initial peak of the medication. Additionally, staying well-hydrated throughout the day of your injection can help mitigate common gastrointestinal discomfort.
Bottom line: A consistent routine, proper storage, and mindful timing can transform the injection process from a stressful task into a manageable part of your wellness journey.
Personalized Support with TrimRx
Navigating the world of GLP-1 medications can be complex, but you do not have to do it alone. At TrimRx, we specialize in providing a platform where clinical expertise meets the convenience of modern technology. If you are ready to take the next step, complete the free assessment quiz to start your personalized path with us. We understand that a successful weight loss journey involves more than just a prescription; it requires personalized care and ongoing support.
Our program connects you with licensed healthcare providers who can assess your medical history and goals through an online consultation. This telehealth-first approach means you can receive a personalized treatment plan and ongoing medical supervision from the comfort of your home. Whether you are prescribed a branded medication like Ozempic® or a compounded alternative through our partner pharmacies, we are here to guide you through every step, including how to manage your doses and navigate side effects.
The Role of Compounded Medications
In some cases, your provider may determine that a compounded medication is appropriate for your needs. It is important to understand that compounded semaglutide or compounded tirzepatide are not FDA-approved in the same way branded medications are. However, we ensure that all compounded medications within our program are prepared and shipped by FDA-registered and inspected compounding pharmacies. These pharmacies follow strict quality standards to provide high-quality alternatives when branded versions may be unavailable or unsuitable for a specific patient’s needs.
Troubleshooting Common Issues
Even with the best preparation, you might encounter occasional issues with your pen. Knowing how to handle them can prevent stress.
The Button Won’t Press
If the injection button is hard to push, do not force it. This often happens if the needle is blocked or improperly attached. Remove the needle, attach a new one, and try again.
Liquid Leaking from the Needle
If you see medication leaking from the needle after your injection, you may not have held the needle in your skin long enough. Remember the six-second rule. If you see leaking where the needle attaches to the pen, the needle may not be screwed on straight or tightly enough.
Air Bubbles in the Pen
A small air bubble in the medication window is normal and will not harm you. However, if you see a very large bubble, performing the flow check (as described for new pens) can help clear it.
Dialing the Wrong Dose
If you accidentally dial the wrong dose, do not panic. The Ozempic® pen allows you to turn the dial both forward and backward. Simply turn it until the correct number aligns with the pointer before you insert the needle.
Conclusion
Preparing your Ozempic® injection is a skill that becomes easier with every week. By following a structured routine—from washing your hands to the final disposal of the needle—you ensure that your treatment is safe, effective, and consistent. Remember that the ultimate goal of these steps is to support your body’s journey toward metabolic health.
At TrimRx, our mission is to help you embrace a healthier lifestyle through science-backed, empathetic, and transparent care. We are committed to providing a personalized approach to sustainable weight loss, ensuring you have the tools and professional guidance necessary to reach your goals.
If you are ready to take the next step in your health journey, we invite you to take our free assessment quiz to see which personalized program is right for you. Your path to a healthier version of yourself starts with a single, well-prepared step.
FAQ
How do I know if I have successfully primed my Ozempic pen?
You will know the pen is primed when you see a drop of liquid appear at the tip of the needle after turning the dial to the flow check symbol and pressing the button. This only needs to be done once with a brand-new pen. If you want more help with where and how to inject, Ozempic shot placement and technique is a useful reference. If a drop appears, the air has been cleared and the pen is ready for your first dose.
Can I reuse the same needle if I am the only one using the pen?
No, you must never reuse a needle, even if you are the only person using the pen. Reusing needles increases the risk of infection, causes more pain during injection because the needle tip dulls quickly, and can lead to the needle becoming blocked. Always use a fresh, sterile needle for every weekly dose.
What should I do if I forget to store my pen in the refrigerator?
If a new, unused pen is left at room temperature for an extended period, consult your pharmacist or provider. Once a pen is in use, it can safely stay at room temperature (under 86°F) for up to 56 days. However, you should always keep it away from direct heat and sunlight.
Where is the best place on the body to inject for the least pain?
Most patients find that injecting into the abdomen (at least two inches from the belly button) or the front of the thigh is the most comfortable. These areas typically have more subcutaneous fat, which makes the injection less noticeable. Rotating your injection site each week is also essential for reducing discomfort and maintaining skin health.
Disclaimer: This content is for informational purposes only and does not constitute medical advice. It is not intended to diagnose, treat, cure, or prevent any disease or condition. Individual results may vary. Always consult a qualified healthcare professional before starting any weight loss program or medication.
Transforming Lives, One Step at a Time
Keep reading

Semaglutide Molecule Explained: Why It Lasts a Week
Introduction Semaglutide lasts about a week in the body because it is engineered to cling to a blood protein called albumin and to resist…

Semaglutide MASH Approval: What ESSENCE Data Means
The 2026 FDA approval of semaglutide for MASH is a genuine milestone in liver medicine, and the ESSENCE trial is the data behind it.

Mazdutide vs Semaglutide: Head-to-Head Trial Data
Introduction Mazdutide adds a glucagon target to the GLP-1 mechanism that semaglutide uses alone, which in theory should drive more fat loss and better…

