How to Inject Zepbound with Syringe Safely
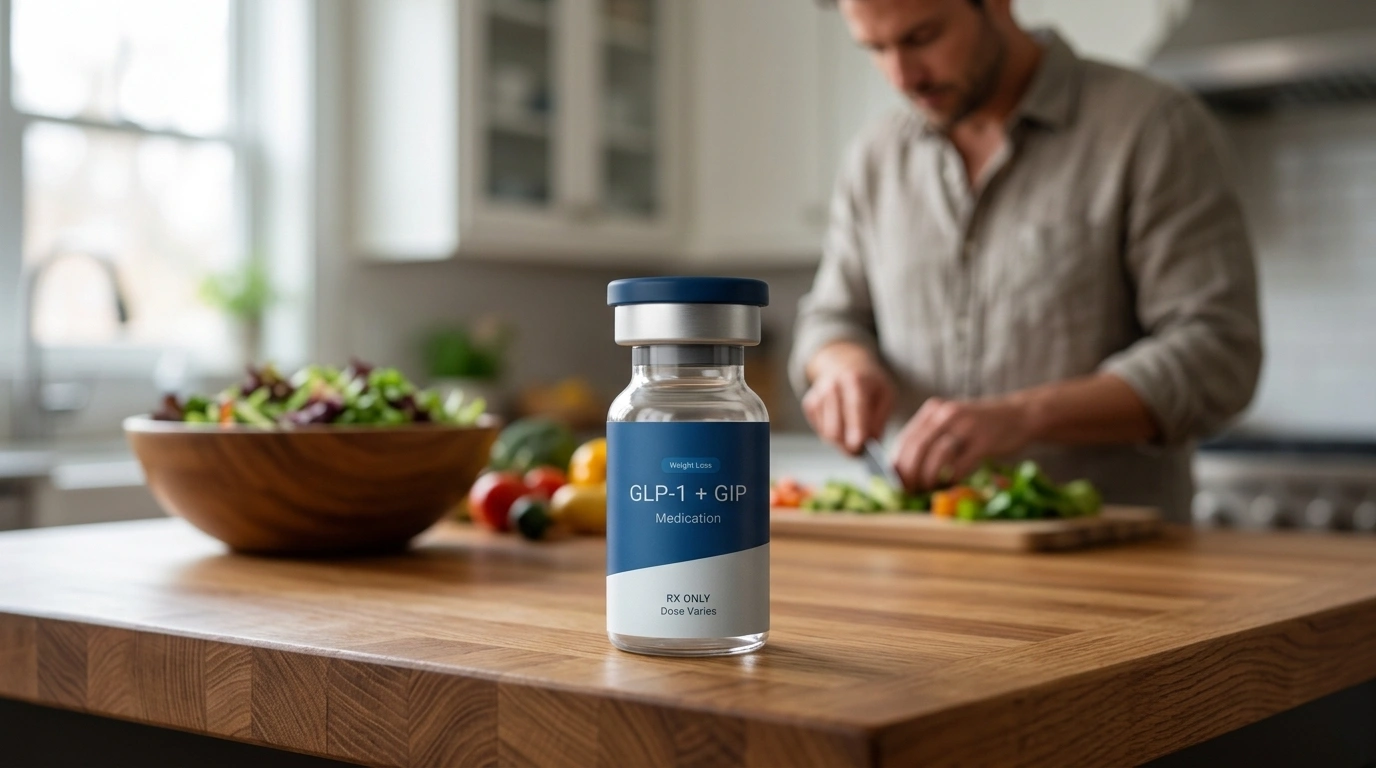
Table of Contents
- Introduction
- The Difference Between Pens and Syringes
- Preparing Your Supplies for a Manual Injection
- Understanding Your Dosage and Units
- A Step-by-Step Guide to the Injection Process
- Selecting and Rotating Your Injection Sites
- Storing Your Medication Properly
- Managing Common Side Effects and Discomfort
- Why Personalized Support Matters
- Conclusion
- FAQ
Introduction
Starting a medical weight loss journey can feel like a major life shift. You might feel a mix of excitement for the future and a little bit of anxiety about the practical steps. Many people find the idea of self-injection intimidating at first. If you are used to the simplicity of an autoinjector pen, switching to a manual syringe for your tirzepatide—the active ingredient in Zepbound®—can feel like a steep learning curve. At TrimRx, we believe that understanding the “how” and “why” of your treatment is the best way to build confidence. Whether you are using a branded medication or a version prepared by a compounding pharmacy, knowing the proper technique ensures your safety and the effectiveness of the treatment. This guide provides a clear, step-by-step walkthrough of the manual injection process to help you feel supported and prepared.
If you are still exploring whether a prescription weight loss program may be appropriate for you, you can complete a free eligibility assessment.
The Difference Between Pens and Syringes
When you first learn about tirzepatide, you likely hear about branded options like Zepbound® or Mounjaro®. These medications typically come in single-dose autoinjector pens. These pens are designed to hide the needle and deliver the dose with a simple click. However, there are many reasons why a healthcare provider might prescribe a version of tirzepatide that requires a manual syringe and a vial.
Compounded tirzepatide is a customized medication prepared by a pharmacist. While it is not FDA-approved, it is often prepared and shipped by FDA-registered and inspected compounding pharmacies to meet specific patient needs. When medication comes in a vial, you must use a traditional syringe to draw the liquid and inject it yourself.
A syringe consists of three main parts:
- The Needle: The thin metal tip that enters the skin. For tirzepatide, these are usually very short and thin (subcutaneous).
- The Barrel: The plastic tube that holds the medication. It has markings (lines) to help you measure the correct dose.
- The Plunger: The rod that you pull back to draw the medication in and push down to deliver the dose.
Quick Answer: To inject tirzepatide with a syringe, you must clean the vial stopper, draw the exact dose into a sterile syringe, select a fatty area like the abdomen or thigh, and insert the needle at a 90-degree angle. Always dispose of the syringe in a puncture-proof container immediately after use.
For additional background, review this guide to getting GLP-1 injections and understanding the treatment process.
Preparing Your Supplies for a Manual Injection
Preparation is the most important part of the process. Having everything ready before you start reduces stress and helps maintain a sterile environment. You should set up your supplies on a clean, flat surface with good lighting.
What you will need:
- Your vial of tirzepatide medication.
- A sterile, single-use insulin syringe (usually provided with your program).
- Two alcohol prep pads (one for the vial, one for your skin).
- A Sharps container or a sturdy, puncture-proof plastic bin for disposal.
- A bandage or cotton ball (optional).
Before you begin, check your medication. The liquid should be clear and colorless. If you see any particles, cloudiness, or a change in color, do not use it. Contact your provider or the pharmacy for guidance. Also, double-check the expiration date on the vial. Using expired medication can be ineffective or unsafe.
For more detail about equipment and preparation, read this step-by-step guide to injecting tirzepatide with a syringe.
Understanding Your Dosage and Units
One of the biggest differences between an autoinjector pen and a syringe is the need to measure your dose. With a pen, the dose is pre-set. With a syringe, you are responsible for drawing the correct amount of liquid.
Tirzepatide doses are often measured in “units” on a syringe. A unit is a very small measurement of volume. Your healthcare provider will tell you exactly how many units to draw. It is critical to follow these instructions exactly. Drawing too much or too little can impact your results and increase the risk of side effects.
Key Takeaway: Always verify your specific dose with your provider before every injection. The number of units can change if your provider decides to adjust your dosage based on your progress.
If you are unsure how your prescribed dose corresponds to syringe markings, take the free assessment quiz to begin a supervised treatment conversation with a qualified provider.
A Step-by-Step Guide to the Injection Process
Following a consistent routine helps ensure the medication is delivered safely into the subcutaneous tissue (the layer of fat just under the skin).
Step 1: Wash Your Hands
Clean your hands thoroughly with warm water and soap for at least 20 seconds. This is the first line of defense against infection.
Step 2: Prepare the Vial
Remove the plastic cap from the vial if it is new. Take an alcohol prep pad and wipe the rubber stopper on top of the vial. Let it air dry for a few seconds. Do not blow on it, as this can introduce bacteria.
Step 3: Draw Air into the Syringe
Remove the cap from the syringe needle. Pull the plunger back to the line that matches your prescribed dose. This fills the syringe with air. Injecting air into the vial first makes it easier to draw the liquid out because it equalizes the pressure.
Step 4: Transfer the Air
Push the needle through the center of the rubber stopper on the vial. Push the plunger all the way down to inject the air into the vial.
Step 5: Draw the Medication
Turn the vial and syringe upside down. Ensure the tip of the needle is submerged in the liquid. Slowly pull the plunger back to your prescribed dose line.
Step 6: Remove Air Bubbles
Check the barrel for air bubbles. If you see any, tap the side of the syringe with your finger until the bubbles rise to the top. Gently push the plunger up to expel the air, then pull back again if you need to reach your correct dose line.
Step 7: Prepare the Injection Site
Clean your chosen injection site with a fresh alcohol prep pad. Move the pad in a circular motion and let the skin dry completely.
Step 8: Inject the Medication
Hold the syringe like a pencil or a dart. Use your other hand to gently pinch about two inches of skin if you have very little body fat. Insert the needle straight into the skin at a 90-degree angle. Push the plunger down slowly until all the medication is gone.
Step 9: Withdraw and Dispose
Pull the needle straight out. Do not rub the area, as this can cause irritation or affect how the medication is absorbed. Place the used syringe immediately into your Sharps container. Never put used needles in the regular trash.
For another practical reference, review this tirzepatide syringe injection walkthrough.
Selecting and Rotating Your Injection Sites
Tirzepatide is a subcutaneous injection, meaning it goes into the fatty tissue. There are three primary areas where you can inject:
- The Abdomen: This is the most common site. Stay at least two inches away from your belly button.
- The Front of the Thigh: Choose the middle, fleshy part of the thigh.
- The Back of the Upper Arm: This site is best if someone else is helping you with the injection, as it can be difficult to reach alone.
For more guidance on choosing an appropriate location, read this guide to tirzepatide injection sites.
The Importance of Rotation
You must rotate your injection sites every week. This means you should not use the exact same spot two weeks in a row. For example, if you inject into the left side of your stomach one week, use the right side the next week. You can also rotate within the same general area, moving at least an inch away from the previous spot.
Rotating sites helps prevent a condition called lipohypertrophy, which is the buildup of fat under the skin. This can cause lumps and make the medication absorb unevenly. It also reduces the risk of skin irritation and bruising.
Bottom line: Site rotation is essential for consistent medication absorption and long-term skin health. Use a calendar or a notes app to track which site you used each week.
You can also learn more about why changing tirzepatide injection sites matters.
Storing Your Medication Properly
Proper storage ensures that the tirzepatide remains stable and effective. Most GLP-1 and GIP receptor agonists (the class of drugs tirzepatide belongs to) are sensitive to temperature and light.
- Refrigeration: Store your vial in the refrigerator between 36°F and 46°F (2°C to 8°C). Keep it in the middle of the fridge, away from the cooling element where it might accidentally freeze. If the medication freezes, it is no longer safe to use and must be discarded.
- Light Protection: Keep the vial in its original carton or a dark place. Exposure to direct light can break down the proteins in the medication.
- Travel: If you are traveling, use a small insulated cooler bag with a cold pack. Ensure the vial does not touch the ice pack directly to prevent freezing.
Many patients find that injecting cold medication can cause a slight stinging sensation. To make the process more comfortable, you can take the vial out of the refrigerator and let it sit at room temperature for about 15 to 30 minutes before your injection. Do not use external heat sources like a microwave or hot water to warm it up.
For additional comfort strategies, read these tips for making tirzepatide injections more comfortable.
Managing Common Side Effects and Discomfort
While tirzepatide is generally well-tolerated, side effects can occur as your body adjusts to the medication. Most side effects are related to the digestive system because the medication slows down how quickly your stomach empties.
Common Side Effects:
- Nausea
- Diarrhea or constipation
- Heartburn or indigestion
- Injection site redness or itching
Tips for Comfort:
If you experience nausea, try eating smaller, more frequent meals throughout the day. Avoid fried or very fatty foods, which can stay in the stomach longer and worsen discomfort. Staying hydrated is also vital, especially if you experience diarrhea.
For injection site reactions, a cold compress can help soothe redness or swelling. If you develop a rash, severe hives, or difficulty breathing, seek medical attention immediately, as these could be signs of an allergic reaction.
Note: Always consult a qualified healthcare professional if your side effects are severe, persistent, or interfere with your daily activities. They may suggest adjusting your dose or offer specific strategies to manage your symptoms.
For a broader overview, read this tirzepatide side effects management guide.
Why Personalized Support Matters
Navigating weight loss medication is not just about the injection itself; it is about the entire health journey. While the mechanics of using a syringe are straightforward once you practice, the clinical oversight behind the prescription is what makes the difference.
Using a platform like ours allows you to access clinical expertise without needing to visit an office in person. We provide a telehealth-first experience where you can connect with licensed providers who understand the nuances of tirzepatide. Our programs are fully personalized based on your unique health profile and goals. When you participate in a program through us, you get more than just a prescription; you get a dedicated team of specialists available 24/7 to answer questions about your injections, your dosage, or your progress.
Our mission at TrimRx is to help individuals embrace healthier lifestyles through science, empathy, and a transparent approach. We ensure that your journey is medically supervised and that the medications come from high-quality, inspected pharmacies. This personalized touch helps turn a daunting process into a manageable and sustainable lifestyle change.
If you are considering a medically supervised prescription program, you can see whether you qualify for personalized care.
Conclusion
Mastering the manual injection process is a significant step toward taking control of your metabolic health. While the transition from a pen to a syringe requires more attention to detail, following a structured process—from hand washing to proper disposal—makes it safe and routine. Remember to prioritize hygiene, measure your dose carefully, and rotate your injection sites to keep your skin healthy.
Weight loss is a marathon, not a sprint. Having the right tools and a supportive team can make all the difference in your long-term success. If you are ready to explore a program that offers medical supervision and high-quality medication options, the first step is simple.
- Practice your technique on a clean surface.
- Keep a log of your injection sites and any side effects.
- Reach out to your care team whenever you have questions.
If you are considering starting a journey with medications like tirzepatide or semaglutide, we invite you to take the free assessment quiz to see which personalized program is right for your health profile and goals.
FAQ
Can I reuse the same syringe for my next dose?
No, you should never reuse a syringe or a needle. Syringes are designed for single use only. Reusing them can lead to infections, as the needle becomes dull and can harbor bacteria after its first contact with skin or the air.
What should I do if I see a large air bubble in the syringe?
If you see a large bubble, tap the barrel of the syringe while the needle is still inside the vial (with the vial upside down). This will push the bubble to the top. Gently press the plunger to push the air back into the vial, then pull back again to draw the correct amount of liquid.
Is it better to inject in the stomach or the thigh?
Both sites are equally effective for absorbing the medication. Some patients find the abdomen easier to access, while others prefer the thigh to minimize discomfort. The most important factor is rotating your sites each week to prevent skin issues.
For additional guidance, review this tirzepatide injection-site guide.
Do I need to pinch my skin before injecting?
If you have a higher body fat percentage, you may not need to pinch the skin. However, if you are leaner, gently pinching a fold of skin can help ensure the needle stays in the subcutaneous fat layer and does not reach the muscle. Always insert the needle at a 90-degree angle.
If you are ready to discuss whether a supervised prescription program is appropriate for you, complete the free assessment quiz.
Disclaimer: This content is for informational purposes only and does not constitute medical advice. It is not intended to diagnose, treat, cure, or prevent any disease or condition. Individual results may vary. Always consult a qualified healthcare professional before starting any weight loss program or medication.

Transforming Lives, One Step at a Time
Keep reading

Kids’ Birthday Party on Zepbound
If you have young children, birthday parties are a regular part of life: your own child’s, and the steady stream of classmates’ parties most…

Water Aerobics on Zepbound
For people with painful knees, hips, or backs, water aerobics and pool exercise are often the first kind of exercise that feels possible. The…
New Year’s Eve on Zepbound
New Year’s Eve is built around staying up late. There is usually a big dinner or a party spread, drinks through the evening, champagne…


