Dealing with Discoloration: Why Did I Get a Bruise from My Ozempic Shot?
Introduction
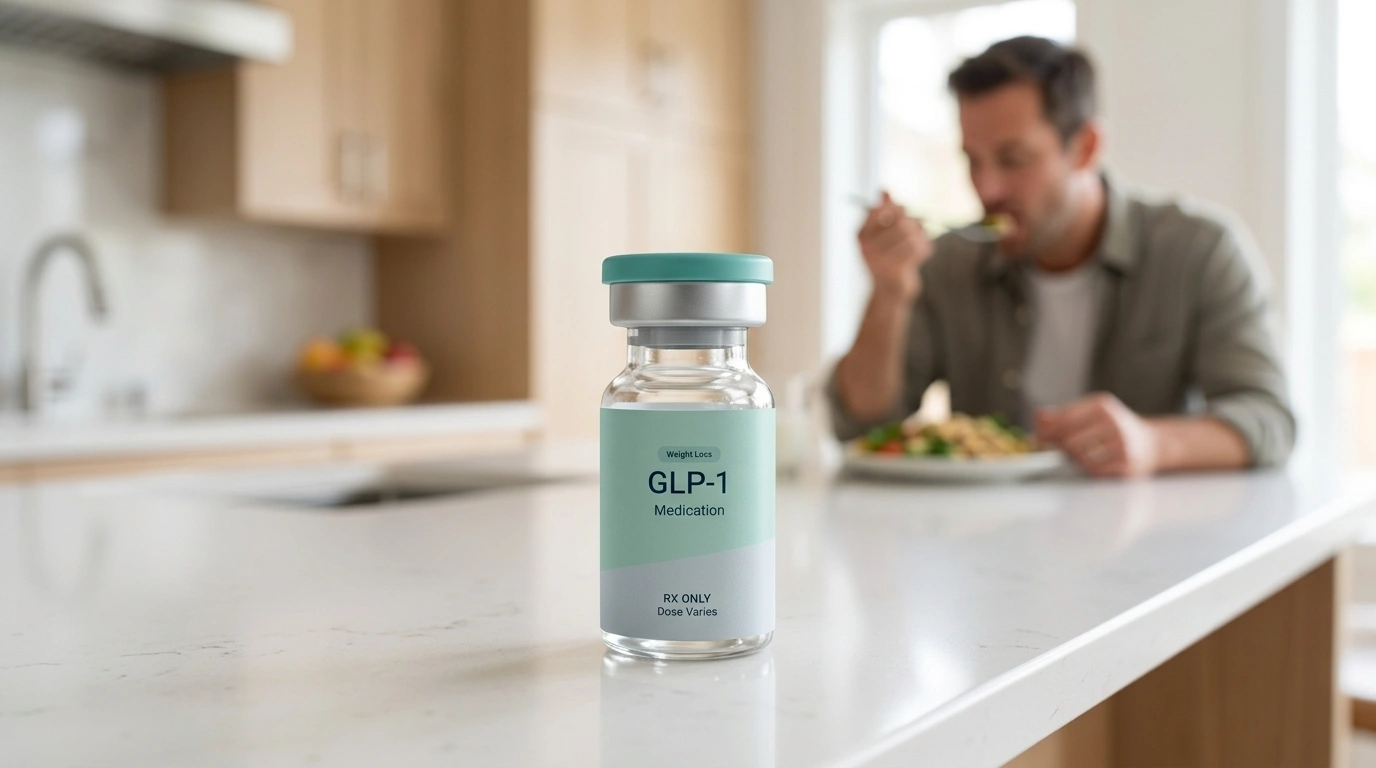
Finding a small, blue-tinted mark on your skin after your weekly medication routine can be a jarring experience. You followed the instructions, used a fresh needle, and yet there it is—a localized bruise where you administered your dose. If you have ever looked down and asked, “Why did I get a bruise from my Ozempic shot?” you are certainly not alone. While Ozempic® (semaglutide) is a transformative, FDA-approved tool for managing type 2 diabetes and supporting cardiovascular health, the physical act of injection involves a delicate interaction with your body’s smallest blood vessels.
Crucially, Ozempic itself does not usually cause systemic bruising. The active ingredient, semaglutide, does not typically interfere with your body’s overall ability to clot. Instead, a bruise after subcutaneous injection—whether you are using Ozempic, insulin, or another injectable—is almost always the result of localized, mechanical trauma to the tiny capillaries sitting just beneath the skin’s surface.
At TrimRx, our journey began with a shared vision to help individuals embrace healthier lifestyles by merging cutting-edge telehealth innovations with effective weight loss solutions. We understand that the transition to injectable medications comes with a learning curve and, occasionally, some minor physical side effects like bruising. Our platform is a user-friendly and supportive space where individuals receive personalized, medically supervised care designed to make sustainable weight loss attainable. We believe that health journeys should be navigated with science, empathy, and a transparent approach.
The purpose of this article is to demystify why bruising occurs during the injection process and provide you with actionable strategies to minimize these occurrences. We will explore the physiological reasons behind skin discoloration, the role of injection technique, and the importance of site rotation. By the end of this guide, you will have a comprehensive understanding of how to manage injection site reactions and how to determine when a bruise requires professional medical attention.
What makes this post unique is our focus on the intersection of medical science and personalized support. We don’t just provide facts; we offer a partnership in your health. Whether you are using Ozempic® or exploring our personalized treatment plans for compounded semaglutide, we are here to ensure your path is as smooth as possible. We will break down the structure of the skin, the common pitfalls of self-administration, and how our commitment to safety—through partnerships with FDA-registered and inspected pharmacies—ensures you receive the highest quality care. Together, we will turn a moment of concern into a mastered skill.
The Science of Subcutaneous Injections
To understand why a bruise might appear, we first need to look at where the medication is actually going. According to the Ozempic prescribing information / FDA label, Ozempic® and other GLP-1 medications are administered via subcutaneous injection. This means the needle is designed to reach the fatty layer of tissue located just beneath the skin but above the muscle.
Understanding the Subcutaneous Layer
The subcutaneous layer, or hypodermis, is a vital part of our anatomy for medication delivery because it contains fewer large blood vessels than muscle tissue, allowing for a slower, more consistent absorption of the drug. However, this layer is not devoid of vasculature. It is home to a vast network of capillaries—the smallest blood vessels in the human body. These capillaries are microscopic and invisible to the naked eye, meaning that even the most careful injection can occasionally encounter one.
When a needle punctures a capillary, a small amount of blood may leak into the surrounding interstitial space. This trapped blood is what eventually manifests as a bruise. Because the needle used for these medications is typically very fine (often 32G or 4mm), the damage is usually minimal, resulting in a small “needle nick” rather than a significant injury.
How the Body Processes a Bruise
Once blood escapes the vessel, your body begins a natural cleanup process. The initial purple or blue color comes from the hemoglobin in the blood. As your immune system breaks down these red blood cells, the bruise may shift through a spectrum of colors, including green and yellow, as the byproduct “hemosiderin” is reabsorbed. This process typically takes one to two weeks. If you are noticing these changes, it is actually a sign that your body is healing exactly as it should. To support your body’s general wellness during this time, many of our members incorporate specialized wellness supplements into their daily routine to ensure they are meeting their nutritional goals while on a weight loss journey.
Why Did I Get a Bruise from My Ozempic Shot?
While the occasional bruise is often just a matter of “bad luck” in hitting a tiny capillary, several specific factors can increase the frequency and visibility of these marks.
Mechanical Needle Trauma
The most common reason for a bruise is the physical trauma of the needle itself. Even though the needles used for Ozempic® are incredibly thin, they still represent a foreign object entering the tissue. If the needle is inserted at an awkward angle or if the hand is unsteady during the process, it can cause more trauma than a swift, perpendicular entry. This mechanical disruption can lead to localized bleeding.
Incorrect Injection Technique: The “Pressure” Factor
Research into self-administered injections suggests that many bruises are the result of the patient pressing the injector pen too firmly against the skin. When you push the pen down with excessive force, you compress the subcutaneous tissue and the underlying capillaries, making them more likely to rupture when the needle enters.
Blood-Thinning Agents and Skin Fragility
Your internal chemistry and skin type play a significant role in how easily you bruise. If you are taking certain medications or supplements, your blood’s ability to clot may be slightly reduced, leading to more significant leakage from a punctured capillary.
- Prescription Medications: Anticoagulants or antiplatelet drugs such as Warfarin, apixaban, rivaroxaban, or clopidogrel are primary contributors.
- Over-the-Counter Options: Regular use of NSAIDs like ibuprofen or aspirin can thin the blood.
- Supplements: Common supplements like Vitamin E, fish oil, garlic, and ginkgo biloba are known to have mild blood-thinning properties.
- Physical Factors: Fragile or aging skin, as well as very low body fat, can make capillaries more susceptible to trauma. In rare cases, underlying conditions like thrombocytopenia or von Willebrand disease can cause frequent, more severe bruising.
If you are concerned about how your current supplements might be affecting your bruising, it may be time to take our free assessment quiz to speak with a provider about a personalized plan that considers your full health profile.
Clinical Perspectives on Injection Site Reactions
It is helpful to put these occurrences into perspective with clinical data. In the major SUSTAIN and STEP trials for semaglutide, injection site reactions—which include bruising, redness, and swelling—were reported in a relatively small percentage of participants. For example, clinical data indicated that only about 0.6% of patients on a 0.5 mg dose and 0.2% in certain placebo-controlled trials experienced these reactions.
However, real-world experience often differs from controlled trials. Many healthcare providers observe that mild bruising occurs more frequently in daily practice than the trials might suggest. This is often because clinical trial participants receive intensive training on technique that the average user may not have mastered yet. At TrimRx, we aim to bridge that gap by providing a supportive space where you can learn to manage your personalized weight loss program with confidence.
The Role of Dosage and Frequency
Because Ozempic® is a once-weekly injection, the cumulative trauma to the skin is much lower than it would be with daily injections. However, as the dosage increases, some individuals may become more sensitive to the medication itself, though the bruise is almost always a reaction to the needle, not the semaglutide liquid.
Prevention Strategies for a Bruise-Free Experience
We believe that sustainable weight loss should be achieved through science and empathy. Part of that empathy is helping you avoid the discomfort of bruising. Here are the most effective ways to refine your technique.
1. Mastering the Angle and Site Selection
The goal is to enter the skin at a clean, 90-degree angle. This ensures the shortest path to the subcutaneous fat and reduces the chance of “skimming” the skin, which can cause more surface-level damage. Always avoid injecting into visible veins, scars, or areas that are already tender.
2. Temperature and Preparation
Injecting cold medication directly from the refrigerator can cause the tissue to contract, which may increase discomfort and the risk of localized trauma. We recommend taking your pen out of the refrigerator about 30 minutes before your scheduled dose to let it reach room temperature.
Furthermore, if you use an alcohol swab to clean the site, let it dry completely before injecting. Injecting while the skin is still wet can cause stinging and increase local irritation.
3. Proper Pen Mechanics
When administering the dose, do not press the pen too firmly against the skin. Once the needle is in, depress the dose button and hold it for a full 6 seconds (or as instructed by your pen’s specific guidelines) before withdrawing. This ensures the full dose is delivered and reduces the chance of the needle dragging against the tissue as you pull it out.
4. The Power of Site Rotation
Injecting into the same spot every week can lead to the development of lipohypertrophy—a buildup of fatty tissue that not only bruises easily but also prevents the medication from being absorbed correctly.
- The Abdomen: Stay at least two inches away from the belly button.
- The Thigh: Use the front or outer part of the thigh.
- The Arm: The back of the upper arm is effective, though it often requires assistance to ensure the angle is correct.
Imagine your injection site as a clock; move your injection spot one “hour” forward each week to give the previous site a full month to recover.
5. Post-Injection Care: Do Not Rub
After you withdraw the needle, you might feel the urge to massage the area. Avoid this! Rubbing the site can actually force the medication into surrounding capillaries or cause further damage to the vessels you just bypassed, leading to a larger bruise. Instead, apply firm, steady pressure with a clean cotton ball for about 10 seconds.
If you are prone to bruising, you might also consider a metabolic support supplement to ensure your body has the nutritional foundation it needs for optimal skin and tissue health.
Beyond the Bruise: Holistic Support with TrimRx
At TrimRx, we offer more than just access to medication. We provide a comprehensive service that includes doctor consultations, lab work, and unlimited support—all with no hidden fees. We understand that your weight loss journey is about more than just a number on the scale; it’s about how you feel every day.
Personalized Assessment
Because every individual’s journey is unique, we require a free assessment quiz for our prescription programs. This allows us to tailor a plan that might include Compounded Semaglutide, Ozempic®, or even Tirzepatide options like Mounjaro® or Zepbound®. Our commitment to transparency means our approach remains consistent regardless of dosage changes, ensuring you always know what to expect.
Quick-Access Wellness Tools
While you wait for your personalized plan or as you continue your journey, we offer “Quick-Access” supplements that do not require a quiz. These are designed to complement your lifestyle:
- GLP-1 Daily Support: This is formulated to support your body’s needs while utilizing GLP-1 medications.
- Weight Loss Boost: This provides an extra layer of metabolic support for those looking to maximize their wellness efforts.
When Should You Be Concerned?
While most bruises are harmless and resolve within a week or two, there are specific “red flags” that indicate you should reach out to a healthcare professional.
Large or Expanding Bruises
If a bruise is larger than two inches in diameter or continues to grow 24 hours after the injection, it may indicate a deeper hematoma (a larger collection of blood outside the vessels). While still often benign, a hematoma can be painful and should be discussed with your provider to ensure your clotting factors are where they should be.
Signs of Infection
A bruise is a collection of blood, but an infection is an immune response to bacteria. Seek medical advice if the injection site exhibits:
- Increasing warmth or heat.
- Spreading redness that feels “angry” or firm.
- Fever or chills.
- Pus or unusual drainage from the needle entry point.
Spontaneous Bruising or Bleeding Elsewhere
If you are noticing bruises in areas where you did not inject, or if you experience unusual bleeding such as nosebleeds or bleeding gums, this is a sign that the bruising is likely unrelated to your Ozempic® shot. This could indicate a need for a blood panel to check your platelet levels or other health markers. Our comprehensive weight loss programs include the necessary oversight to help you navigate these questions.
Note for blood-thinner users: If you are on an anticoagulant and experience recurring, large bruises, do not stop your medication without consulting your doctor. They may need to review your technique or adjust your monitoring.
Exploring Alternative Options
If the physical act of injection or the resulting bruising is a significant deterrent for you, there are other paths to consider. At TrimRx, we recognize that “one size fits all” does not apply to healthcare.
Oral Semaglutide
For those who prefer to avoid needles entirely, we offer options like Oral Semaglutide. This provides the same active ingredient as Ozempic® but in a daily tablet format. This completely eliminates the risk of injection site bruising while still offering the metabolic benefits of GLP-1 therapy. You can determine if this is a suitable option for you by completing our personalized assessment.
Compounded Medications
We also partner with FDA-registered and inspected pharmacies to provide compounded versions of Semaglutide and Tirzepatide. These pharmacies follow strict safety protocols to ensure the quality of the medication they ship directly to your door. While compounded medications are not “FDA approved” in the same way branded Ozempic® is, they are prepared by licensed pharmacists to meet specific patient needs, often providing more flexibility in dosing.
Conclusion: Empowering Your Path to Health
Bruising is a common, though often unwelcome, part of the journey for many using injectable medications. By understanding the anatomy of your skin and refining your injection technique, you can turn a moment of frustration into a minor, manageable detail. Remember that a small mark on the skin is often just a sign of the powerful changes happening within your body as you work toward a healthier version of yourself.
At TrimRx, we are more than just a provider; we are your supportive partner. From our compassionate care to our commitment to using only FDA-registered and inspected pharmacies for shipping, we prioritize your safety and success at every step. Whether you are looking for the metabolic support of our Weight Loss Boost or the transformative power of a medically supervised prescription plan, we are here to guide you.
Sustainable weight loss is a marathon, not a sprint. It requires patience, the right tools, and a community that understands your unique journey. Don’t let a small bruise discourage you—use it as a reminder to slow down, perfect your technique, and continue moving forward with the support of the TrimRx team.
Frequently Asked Questions
1. Is it normal to get a bruise after every Ozempic® shot?
While not everyone will bruise after every shot, it is quite common and generally not a cause for alarm. Bruising occurs when the needle accidentally hits a tiny blood vessel (capillary) in the fatty tissue. If you notice you are bruising every single time, it may be helpful to review your injection technique, ensure you are not pressing too hard, and verify that you are rotating your injection sites properly.
2. Does the bruise affect how the medication is absorbed?
In the vast majority of cases, a small bruise will not affect the absorption or efficacy of the medication. The semaglutide is still delivered into the subcutaneous layer where it can be absorbed into the bloodstream over time. However, you should avoid injecting directly into or very near an existing bruise, as the tissue may be slightly inflamed or damaged, which could potentially alter the absorption rate. Always wait for a site to heal before using it again.
3. Can I use a cold compress to help with the bruising?
Yes, applying a cold compress to the area for 10 to 15 minutes immediately after the injection can help constrict blood vessels and reduce the amount of blood that leaks into the tissue, effectively minimizing the size of the bruise. After 24 to 48 hours, switching to a warm compress can help your body reabsorb the trapped blood more quickly. To support your body’s overall healing and wellness, you might also consider our GLP-1 Daily Support.
4. Why is my bruise yellow or green instead of blue?
As a bruise heals, the body breaks down the hemoglobin from the leaked blood into different components. This chemical transition causes the color to change from dark blue or purple to green, then yellow, and finally light brown before disappearing. This color progression is a positive sign that your immune system is successfully clearing the trapped blood from your tissue. If the bruise does not fade after two to three weeks, consult with a healthcare provider through our supportive telehealth platform.
5. Does Ozempic itself cause bruising, or is it just the injection?
Ozempic (semaglutide) does not have a systemic effect on blood clotting or vessel fragility in most patients. The bruising is almost exclusively a result of the needle puncturing a small blood vessel during the injection process. This is a common phenomenon for many subcutaneous injections, not just GLP-1 therapies.
6. Should I stop my medication if I keep getting bruises?
In most cases, bruising is a cosmetic issue and not a reason to stop treatment. If the bruising is frequent, you should first review your injection technique and rotation schedule. If you are also experiencing symptoms like fever, severe pain, or bleeding elsewhere, contact your healthcare provider. Never stop or change the dosage of your prescribed medications without professional medical guidance.

Transforming Lives, One Step at a Time
Keep reading

Ozempic Alternatives: Your Options Compared
If Ozempic isn’t the right fit, whether because of cost, side effects, availability, or results, you have real alternatives. The closest ones are other…
Ozempic vs Wegovy: Same Drug, Different Purpose
Here’s the fact that surprises most people: Ozempic and Wegovy are the same medication (semaglutide), just sold under different brand names, at different doses,…

When Do “Ozempic Vulva” Changes Start and Stabilize? A Timeline
Vulvar and genital changes from GLP-1 weight loss follow the pace of your weight loss, so they typically begin within the first few months…


