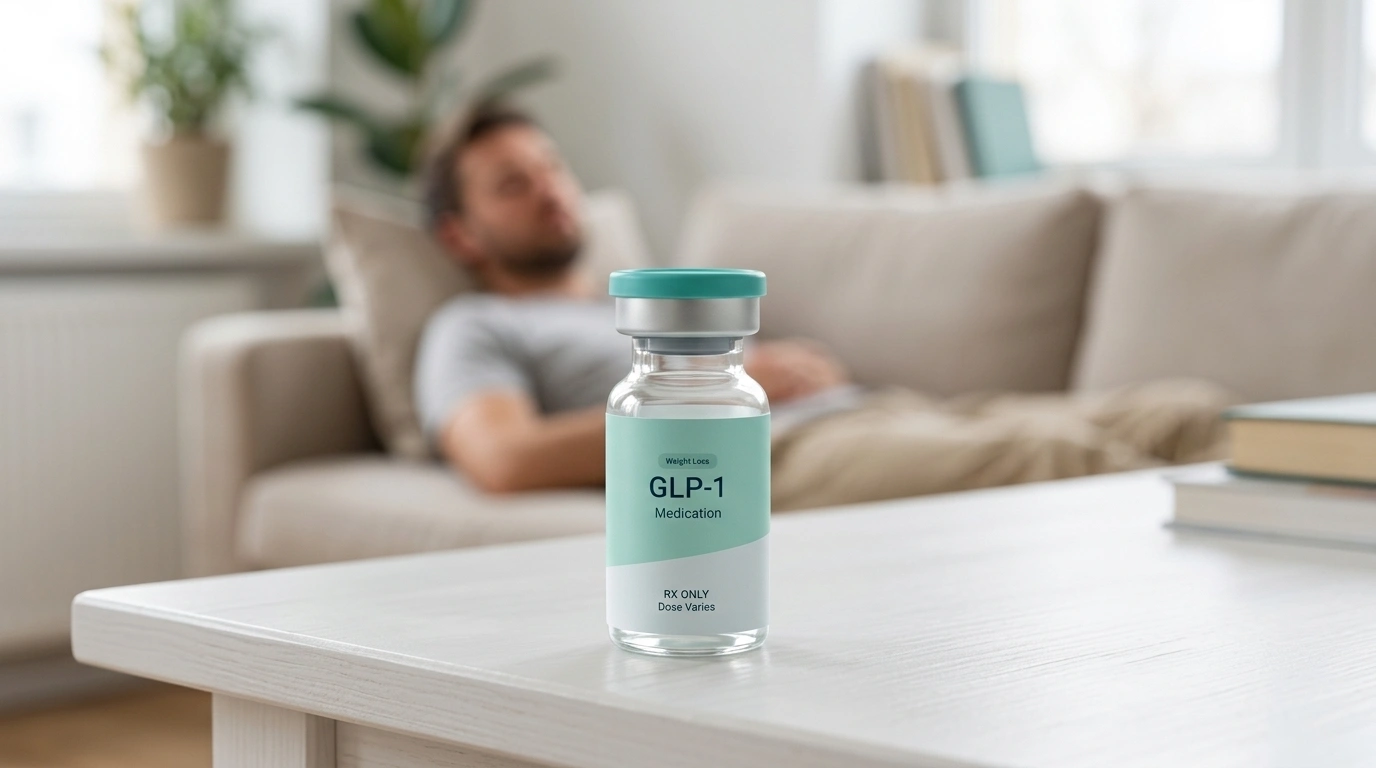
How to Administer the Ozempic Shot
Introduction
Standing in your kitchen with a medication pen in hand can feel a bit overwhelming the first time. You are likely balancing a mix of excitement about your health journey and a small, valid knot of nerves about the actual injection. Learning how to administer the ozempic shot is a skill that becomes second nature very quickly, but getting those first few steps right is essential for your confidence and the medication’s effectiveness.
At TrimRx, we believe that medical support should be as stress-free as possible. While many of our members utilize compounded semaglutide—a customized version of the same active ingredient found in branded medications—understanding the mechanics of the Ozempic® (semaglutide) pen is a foundational part of modern metabolic health. If you are considering prescription support, take the free assessment quiz to see whether a personalized program fits your needs. This guide will walk you through the preparation, the injection process, and the safety protocols you need to succeed. By the end of this article, you will have a clear, step-by-step roadmap to managing your weekly dose with ease.
Understanding the Ozempic® Pen
Before you take your first dose, it helps to understand exactly what you are holding. Ozempic® is a glucagon-like peptide-1 (GLP-1) receptor agonist, and our guide on what a semaglutide injection is explains the basics in more detail. In plain English, a GLP-1 receptor agonist is a medication that mimics a natural hormone in your body. This hormone tells your brain you are full, slows down how fast your stomach empties, and helps your pancreas manage blood sugar levels.
The medication comes in a pre-filled, multi-dose delivery device often called a “pen.” It is designed for subcutaneous injection, which means it goes into the fatty tissue just under the skin, not into a muscle or a vein. For a closer look at the device itself, The Ozempic Pen: A Closer Look at Semaglutide Injections covers the pen’s mechanics and practical use. This is why the needle is so thin and short; it only needs to reach the shallow layer of fat to be absorbed properly by your system.
Parts of the Medication Pen
Knowing the anatomy of your pen helps prevent errors. Every pen consists of:
- The Pen Cap: Protects the medication from light and keeps the tip clean.
- The Dose Window: Shows the number of milligrams (mg) you have selected.
- The Dose Selector: A dial at the end of the pen used to “click” to your prescribed dose.
- The Injection Button: The button you press and hold to release the medication.
- The Paper Tab: This is found on the individual needles and must be removed before attaching.
Quick Answer: To administer the Ozempic® shot, you must attach a new needle, check the flow (if the pen is new), dial your prescribed dose, and inject into the abdomen, thigh, or upper arm. Hold the button for 6 seconds after the counter hits zero to ensure the full dose is delivered.
Step 1: Preparation and Inspection
Your safety starts before the needle ever touches your skin. Taking three minutes to prepare your environment and inspect your supplies can prevent most common injection issues, and How to Take Semaglutide: A Detailed Guide to Safe and Effective Use offers a broader walkthrough.
Wash Your Hands Thoroughly Always start with clean hands. Use warm water and soap to reduce the risk of introducing bacteria to the injection site.
Check the Medication Clarity Look through the clear window on the side of your pen. The liquid should be colorless and clear. If the liquid looks cloudy, contains particles, or has changed color, do not use it. This could indicate the medication has expired or was exposed to extreme temperatures.
Verify the Medication Name It sounds simple, but always double-check the label. Ensure you are holding Ozempic® and not a different medication, especially if you have other injectable pens in your household.
Gather Your Supplies You will need:
- Your medication pen.
- A new, disposable needle (provided in the box).
- An alcohol swab or a cotton ball with rubbing alcohol.
- A sharps disposal container (or a heavy-duty plastic container with a lid).
Step 2: Attaching the Needle
Each injection requires a brand-new needle, and how to inject semaglutide safely covers the full process step by step. Reusing needles can lead to infections, skin irritation, or “lipodystrophy,” which are small lumps or pits in the skin caused by repeated trauma to the same area.
- Pull off the pen cap.
- Take a new needle and tear off the paper tab.
- Push the needle straight onto the pen and turn it until it is tight.
- Pull off the outer needle cap. Save this for later to help you safely remove the needle.
- Pull off the inner needle cap. You will see the very fine needle. Dispose of the inner cap immediately so you don’t accidentally prick yourself.
Note: Never use a needle that is bent or damaged. If you drop the needle after taking the cap off, discard it and use a fresh one.
Step 3: The Flow Check (Priming a New Pen)
If you are starting a brand-new pen, you must perform a flow check. This ensures that the air is out of the needle and the medication is ready to flow. You do not need to do this for every dose—only the first time you use a new pen.
- Turn the dose selector until you see the flow check symbol (it looks like a small line with a dot over it).
- Hold the pen with the needle pointing up.
- Press and hold the dose button until the dose counter returns to “0.”
- Check for a drop. A small drop of liquid should appear at the needle tip. If it doesn’t, repeat this step up to six times. If a drop still doesn’t appear, change the needle and try once more. If it still fails, the pen may be defective.
Step 4: Selecting the Prescribed Dose
Once the pen is primed (or if you are using a pen you’ve used before), you need to dial the correct dose. Semaglutide Dosage for Weight Loss: A Complete Guide to Titration and Optimal Dosing breaks down why personalized titration matters.
Turn the dose selector until the dose counter shows the exact number your healthcare provider prescribed. For example, if you are on the starting dose, you will turn it until you see “0.25.” You will hear a clicking sound as you turn the dial. If you accidentally turn it too far, you can simply turn it backward to reach the correct number.
Important: Do not use the clicking sound to count your dose. Always look at the dose counter window to ensure the number is correctly aligned with the pointer.
Step 5: Choosing and Cleaning the Injection Site
There are three primary areas where you can inject GLP-1 medications. For more detail on keeping those sites healthy, see How to Rotate Injection Sites for Semaglutide and Tirzepatide. All are equally effective, though some people find they have fewer side effects (like nausea) when they rotate sites.
The Abdomen (Stomach)
This is the most common site. You should stay at least two inches away from your belly button. Do not inject into areas that are bruised, scarred, or tender.
The Front of the Thighs
The middle-third of the front of your thigh is a great option, especially for those who find the abdomen sensitive.
The Outer Upper Arm
This site is effective but can be difficult to reach if you are injecting yourself. It is often easiest if a partner or caregiver assists with this location.
Cleaning the Skin Use an alcohol swab to clean the chosen area. Let the skin air-dry for about 10 seconds. If you inject while the skin is still wet with alcohol, it may cause a slight stinging sensation.
Step 6: Performing the Injection
Now that you are prepared, it is time for the actual shot. How GLP-1 Actually Works for Weight Loss is a helpful companion read if you want to understand the biology behind your weekly dose.
- Insert the needle. Use a quick, firm motion to push the needle into your skin at a 90-degree angle. You do not need to “dart” the needle or use excessive force.
- Press the button. Use your thumb to press the injection button all the way down. You will see the dose counter move back toward “0.”
- Wait and count. Once the counter hits “0,” keep the needle in your skin and count slowly to six. This ensures that every drop of the medication has been fully delivered into the subcutaneous tissue.
- Remove the needle. Pull the needle straight out of your skin. You might see a tiny drop of blood or a small amount of clear liquid; this is normal. You can press a cotton ball on the site if needed, but do not rub the area.
Key Takeaway: The “six-second rule” is the most important part of the injection technique. Pulling the needle out too early can result in an incomplete dose, which may hinder your weight loss progress.
Step 7: Post-Injection Safety and Disposal
Properly finishing the process is just as important as the injection itself.
Remove the Needle Carefully put the outer needle cap back onto the needle without touching the needle itself. Once covered, unscrew the needle and place it immediately into your sharps container. Never leave a needle attached to the pen between doses, as this can lead to medication leakage or air entering the pen.
Store the Pen Put the pen cap back on.
- Unused pens: Store in the refrigerator.
- Pens in use: Can be kept at room temperature (below 86°F) or in the refrigerator for up to 56 days.
- Never freeze: If the medication freezes, it is no longer safe to use.
Bottom line: Cleanliness and proper disposal protect you and everyone in your household. Always use a new needle and a sharps container for every dose.
Managing Common Concerns and Side Effects
Even when you know how to administer the ozempic shot perfectly, your body may still react to the medication. Our overview of common GLP-1 side effects can help you plan ahead. Most side effects of GLP-1 medications are gastrointestinal and occur because the medicine is changing how your digestive system processes food.
Nausea and Vomiting
Many people experience mild nausea, especially when first starting or when increasing their dosage. To manage this:
- Eat smaller, more frequent meals.
- Avoid fatty, fried, or highly processed foods.
- Stay hydrated with water or electrolyte drinks.
- If nausea is severe, speak with your healthcare provider about anti-nausea support.
Injection Site Reactions
It is common to see a small red bump or experience slight itching at the site. If you notice significant swelling, hives, or intense pain, contact your doctor, as this could indicate an allergy.
Managing Needle Anxiety
If the thought of the needle makes you nervous, try these tips:
- Ice the area: Numb the skin with an ice cube for 30 seconds before cleaning with alcohol.
- Deep breathing: Take a long, slow breath in as you insert the needle and exhale as you press the button.
- Focus on the “Why”: Remind yourself that this small, 10-second task is a tool for your long-term health and vitality.
The Role of Personalized Support
Administering the medication is a mechanical task, but weight loss is a biological and emotional journey. This is why we focus on more than just the prescription. While Ozempic® is a well-known branded option, many individuals find that a personalized program offers more flexibility and support.
At TrimRx, we connect you with licensed healthcare providers who evaluate your medical history and goals. If appropriate, they may prescribe compounded semaglutide or compounded tirzepatide. These medications are prepared by FDA-registered, inspected compounding pharmacies. If you’d like help determining whether that path is right for you, take our free assessment quiz. Our platform handles the logistics—from the initial doctor consultation and lab work to shipping the medication directly to your door—so you can focus on your health, not the paperwork.
Troubleshooting Your Pen
Sometimes technology doesn’t cooperate. If you encounter an issue with your pen, keep these facts in mind:
- The dial won’t turn: You may be at the end of the pen’s total medication supply. Do not force it. If the counter stops before you reach your dose, you need to start a new pen.
- Liquid is leaking from the needle: This usually happens if the needle wasn’t screwed on tightly enough or if you didn’t hold the button down for the full six seconds.
- You missed a dose: If it has been five days or less since your scheduled day, take the dose as soon as you remember. If it has been more than five days, skip the missed dose and take your next one on your regular day. Do not take two doses at once.
Maximizing Your Results
Medication is a powerful tool, but it works best when supported by lifestyle foundations. To get the most out of your GLP-1 treatment:
- Prioritize Protein: GLP-1 medications can lead to muscle loss if you aren’t careful. Aim for high-quality protein at every meal to protect your lean muscle mass.
- Hydrate Consistently: These medications can change your thirst signals. Carry a water bottle with you throughout the day.
- Consider Supplementation: Many of our members use GLP-1 Daily Support to help manage common side effects like occasional constipation or to fill nutritional gaps that occur when eating less.
- Stay Active: You don’t need to run a marathon. Even a 20-minute daily walk helps maintain your metabolism and improves the weight loss results seen in clinical studies, and How to Track Progress with GLP-1 Medications can help you stay organized from week to week.
Conclusion
Mastering the injection process is your first big win on the path to a healthier version of yourself. By following these steps—preparing your site, priming your pen, and holding for those critical six seconds—you ensure that the science of semaglutide can do its job effectively. For a deeper dive into the biology behind that progress, How GLP-1 Actually Works for Weight Loss explains the bigger picture.
We are here to make this transition as smooth as possible. Our mission is to provide an empathetic, science-backed environment where you feel empowered rather than overwhelmed. Whether you are using a branded medication or a personalized program through our platform, the goal remains the same: sustainable health and a lifestyle you love.
If you are ready to move from research to action, the next step is simple. You can take our free online assessment to see which program fits your needs. Our dedicated specialists are ready to guide you through every click of the pen and every milestone of your journey.
FAQ
Where is the best place to inject for the fewest side effects?
While the stomach, thigh, and arm are all effective, some patients report fewer gastrointestinal side effects, like nausea, when they inject into the thigh. It is recommended to rotate your injection site each week—for example, using the right side of the abdomen one week and the left thigh the next—to keep the skin healthy and potentially manage sensitivity. For more detail on site rotation, see how to rotate injection sites for semaglutide and tirzepatide.
Do I need to prime the pen every single time I use it?
No, you only need to perform the flow check (priming) the very first time you use a brand-new pen. Once you have confirmed that the medication is flowing correctly from a new pen, you can skip that step for subsequent doses from that same pen. However, you must always attach a fresh, new needle for every single injection.
What should I do if I see a drop of liquid on my skin after the injection?
Seeing a tiny drop of liquid or blood is perfectly normal and does not mean the dose failed. However, to minimize this, ensure you are holding the injection button down and keeping the needle in the skin for a full six seconds after the dose counter hits zero. Do not rub the injection site, as this can irritate the skin; simply dab it with a clean tissue if necessary.
How long can my pen stay out of the refrigerator?
Once you have used your pen for the first time, it can stay at room temperature (up to 86°F) for up to 56 days. This makes it convenient for travel or for those who prefer not to inject cold medication. Just be sure to keep the pen cap on and keep it out of direct sunlight or extreme heat, such as in a hot car.
Disclaimer: This content is for informational purposes only and does not constitute medical advice. It is not intended to diagnose, treat, cure, or prevent any disease or condition. Individual results may vary. Always consult a qualified healthcare professional before starting any weight loss program or medication.
Transforming Lives, One Step at a Time
Keep reading

Gas and Bloating on Ozempic or Semaglutide: Why It Happens and How to Manage It
Yes, gas, bloating, and belching are common on Ozempic and semaglutide, and for most people they’re a manageable part of the adjustment period. The…

Dizziness on Ozempic or Semaglutide: Why It Happens and What to Do
If you feel dizzy or lightheaded on Ozempic or semaglutide, you’re not alone, and in most cases the cause is manageable. The usual culprits…

Ozempic and Tylenol (Acetaminophen): Is It Safe?
Acetaminophen (the active ingredient in Tylenol) is generally considered safe to take with Ozempic or semaglutide, and there’s no dangerous direct interaction between them….

