Where Can I Put My Ozempic Shot? A Guide to Injection Sites
Introduction
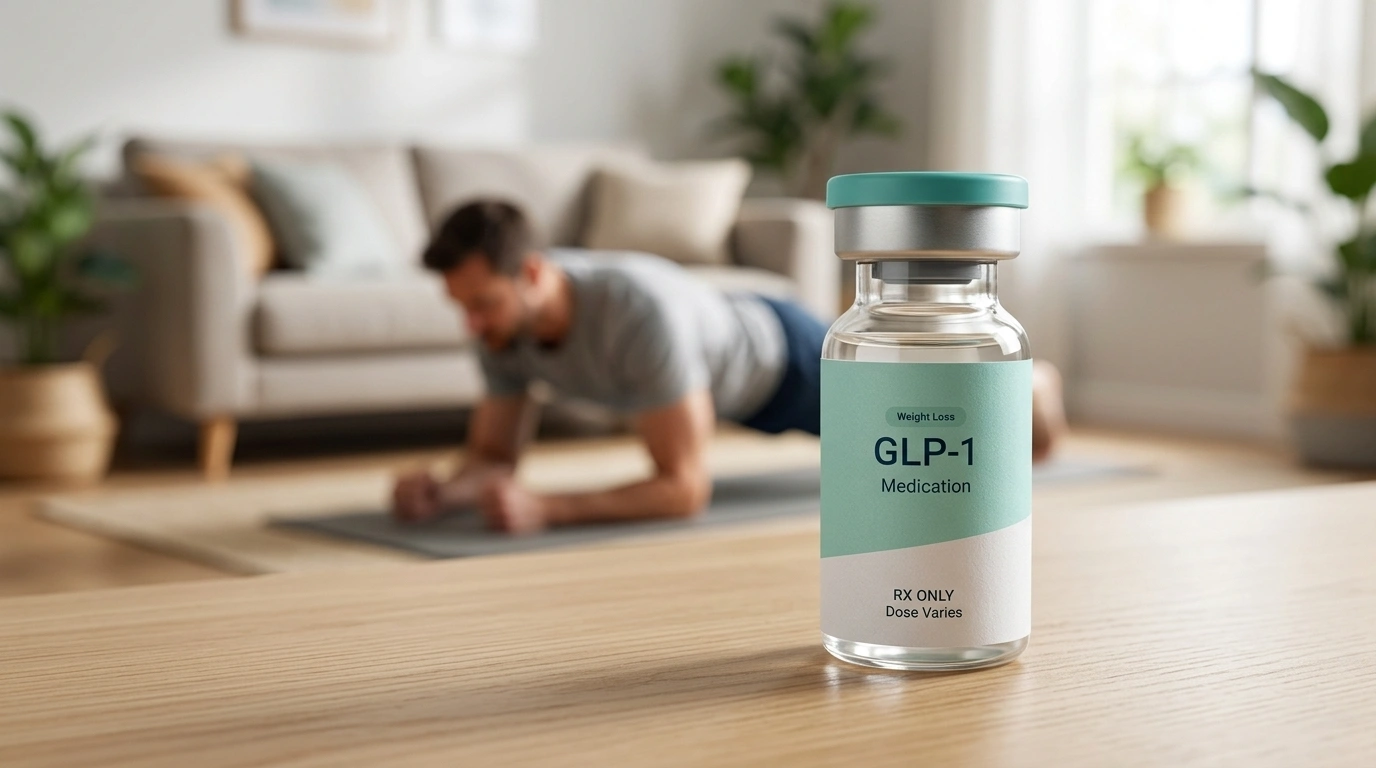
Standing in your kitchen or bathroom with a new medication pen in your hand can feel overwhelming. If you are feeling a mix of excitement and anxiety about starting your treatment, you are certainly not alone. Many people starting their weight loss journey find the transition from oral pills to weekly injections to be the most intimidating step. At TrimRx, we understand that successful weight management is about more than just the medication itself; it is about having the confidence and knowledge to use your tools effectively. If you are considering prescription GLP-1 treatment, you can take the free assessment quiz to see whether you qualify. This guide will clarify exactly where can i put my ozempic shot, how to rotate your sites to maintain skin health, and the best techniques for a comfortable experience. By mastering these simple steps, you can focus less on the needle and more on your long-term health goals.
Quick Answer: You should inject Ozempic® into the fatty tissue (subcutaneous layer) of your abdomen, the front of your thighs, or the back of your upper arms. It is essential to rotate these locations weekly to prevent skin irritation and ensure consistent medication absorption.
Choosing the Right Spot: The Three Approved Injection Sites
When you are prescribed Ozempic® (semaglutide), the medication must be delivered into the subcutaneous fat layer. This is the layer of fat located just beneath the skin and above the muscle. Because this layer has fewer blood vessels than muscle, the medication is absorbed slowly and steadily into your system over the course of a week. For a deeper look at the hormone behind these treatments, read our how GLP-1 works for weight loss guide.
There are three primary areas of the body that offer enough fatty tissue for a safe and effective injection.
The Abdomen (Stomach Area)
The abdomen is the most popular choice for many reasons. It offers a large surface area, which makes it much easier to rotate your injection spots every week. Most people find they have adequate fatty tissue in this region, making the injection nearly painless.
When using your stomach, you must stay at least two inches away from your belly button (umbilicus). Do not inject directly into the navel or into any areas where the skin is hard, bruised, or scarred. Most users find it helpful to visualize their abdomen as four quadrants (upper left, upper right, lower left, and lower right) and move clockwise each week.
The Front of the Thigh
The thighs are an excellent alternative if you prefer to avoid the stomach or if you find the abdomen more sensitive. The ideal location is the front or the outer side of the upper leg. You should aim for the “meaty” part of the thigh, roughly halfway between your hip and your knee.
Avoid the inner thigh, as the skin there can be more sensitive and contains more blood vessels and nerves. If you are quite lean, you may need to gently pinch a fold of skin to ensure the needle enters the fat rather than the underlying muscle.
The Back of the Upper Arm
The upper arm is an effective site but can be the most challenging to reach if you are injecting yourself. The target area is the outer back of the arm—specifically the tricep area where there is typically more subcutaneous fat.
Because of the angle required, many people find they need a partner or family member to assist with injections in this location. If you are injecting alone, the abdomen or thigh is generally a more practical choice.
Why Location and Depth Matter
It is important to understand that Ozempic® is a GLP-1 receptor agonist. GLP-1 stands for glucagon-like peptide-1, a hormone naturally produced in the gut that helps regulate appetite and blood sugar. When you inject semaglutide, you are mimicking this hormone to help your body feel full longer and manage glucose more effectively.
To work correctly, the medication must be placed in the fat, not the muscle. Muscle tissue has a very high blood flow, which would cause the medication to be absorbed much too quickly. This could lead to an increase in side effects and a shorter duration of the drug’s effectiveness. If you want a broader explanation of the medication class itself, our GLP-1 overview breaks down the basics in plain language.
Key Takeaway: Ozempic® is designed for subcutaneous delivery. Using the approved sites (abdomen, thigh, or arm) ensures the medication is absorbed at the intended slow rate to maintain steady levels in your bloodstream for seven days.
The Importance of Rotating Injection Sites
One of the most common mistakes new patients make is picking one “favorite” spot and using it every single week. While it might feel comfortable to stick with what you know, repeated injections in the exact same location can lead to a condition called lipohypertrophy.
Lipohypertrophy is the accumulation of extra fat or scar tissue under the skin. It often feels like a firm, rubbery lump. If you inject into these lumps, your body may not absorb the medication consistently. One week you might feel like the medication isn’t working at all, and the next week you might experience a sudden “dump” of the drug that causes intense nausea. Our guide on how to rotate injection sites for semaglutide and tirzepatide covers this in more detail.
How to Practice Effective Rotation
You do not necessarily need to switch from your stomach to your thigh every week, though many people find that variety helpful. If you prefer the abdomen, you can simply move your injection site one to two inches away from the previous week’s spot.
A simple strategy is to use the “clock” method on your stomach:
- Week 1: 12 o’clock (above the belly button)
- Week 2: 3 o’clock (to the right)
- Week 3: 6 o’clock (below)
- Week 4: 9 o’clock (to the left)
Step-by-Step Guide to a Perfect Injection
Proper technique is just as important as the location. Following a consistent routine reduces the risk of infection and minimizes any discomfort. If you want a fuller walkthrough, see our how to inject semaglutide step by step guide.
Step 1: Prepare Your Supplies
Gather your Ozempic® pen, a new needle, an alcohol swab, and your sharps container. Wash your hands thoroughly with soap and water.
Step 2: Check the Medication
Look at the window of the pen. The liquid should be clear and colorless. If it looks cloudy, discolored, or contains visible particles, do not use it. Also, check the expiration date on the side of the pen.
Step 3: Attach the Needle
Remove the pen cap and wipe the rubber stopper with an alcohol swab. Peel the paper tab off a new needle and screw it straight and tight onto the pen. Pull off the outer and inner needle caps. Keep the outer cap nearby for safe disposal later.
Step 4: Prime the Pen (New Pens Only)
If you are using a brand-new pen for the first time, you must perform a flow check. Turn the dose selector to the flow check symbol (usually two dots). Hold the pen with the needle pointing up and press the button until the dose counter returns to 0. You should see a drop of liquid at the needle tip.
Step 5: Dial the Dose
Turn the dose selector until your prescribed dose (e.g., 0.25 mg, 0.5 mg, or 1.0 mg) shows in the window.
Step 6: Clean the Site and Inject
Wipe your chosen injection site with an alcohol swab and let it air dry for a few seconds. Insert the needle into your skin. Press and hold the dose button until the counter shows 0.
Step 7: The Six-Second Count
Important: Do not pull the needle out as soon as the counter hits zero. Slowly count to six while keeping the needle in your skin and the button pressed. This ensures that the full volume of the medication has time to leave the needle and enter your tissue.
Step 8: Safe Disposal
Pull the needle straight out. If there is a tiny drop of blood, you can press the area gently with a cotton ball, but do not rub the site. Carefully replace the outer needle cap, unscrew the needle, and drop it into a puncture-resistant sharps container.
Tips for a More Comfortable Experience
For many members of our community, the primary hurdle is the sensation of the needle. While the needles used for GLP-1 medications are incredibly thin—often comparable to a human hair—certain factors can influence how the injection feels.
- Temperature Matters: Injecting cold medication directly from the refrigerator can cause a slight stinging sensation. Many patients find it helpful to take the pen out of the fridge about 30 minutes before use to let it reach room temperature. Once a pen is in use, it can typically be stored at room temperature for up to 56 days.
- Dry Skin is Key: If you inject while the alcohol from your prep pad is still wet, the needle can carry that alcohol into the skin, causing a sharp sting. Always let the skin air dry completely.
- Relax the Muscle: If you are injecting into your thigh, make sure your leg is relaxed and not tensed. Tense muscles can make the subcutaneous layer feel firmer and more sensitive.
- Vary Your Depth: If you have very little body fat, you may want to gently pinch a one-inch fold of skin between your thumb and forefinger and inject into the “hill” of that fold.
Troubleshooting Common Injection Issues
Even with the best preparation, you might encounter a few minor hiccups. Knowing how to handle them can prevent unnecessary stress.
What if I see a drop of liquid after the injection?
It is normal to see a tiny drop of liquid on the tip of the needle or at the injection site after you pull the needle out. As long as you counted to six before removing the needle, you have received your full dose. Do not try to inject more medication to “make up” for that drop.
What if the pen is hard to press?
If you feel significant resistance when pressing the dose button, the needle may be blocked or bent. Do not force it. Remove the needle, attach a new one, and try the injection again.
What if I miss a dose?
If you forget your weekly shot, take it as soon as you remember, provided it is within five days of your scheduled day. If more than five days have passed, skip the missed dose and take your next dose on your usual scheduled day. Never take two doses at once to make up for a missed one.
What if I hit a bruise?
If you accidentally inject into a bruised area, it might be slightly more painful, and the medication might absorb at a slightly different rate. It is not dangerous, but you should avoid that specific area for your next several injections to allow the tissue to heal.
The Role of Personalized Support
Navigating the specifics of medication like Ozempic®, Wegovy®, or Mounjaro® is easier when you have a dedicated team behind you. While the physical act of injecting is a personal task, the clinical strategy behind it should be professional. Our platform at TrimRx connects you with licensed providers who can help tailor your program to your specific health profile. If you are ready to see whether prescription treatment is the right next step, you can take the free assessment quiz.
Sometimes, patients find that their bodies respond differently to different injection sites. For example, some individuals report fewer gastrointestinal side effects when injecting in the thigh compared to the abdomen. While clinical studies do not definitively prove that the site changes side effect profiles, a personalized program allows you to discuss these nuances with a specialist who can help you adjust your routine for maximum comfort and success.
Enhancing Your Results
While the injection site is a technical detail, the broader context of your health is what drives results. Medications like semaglutide or tirzepatide work best when supported by proper nutrition and lifestyle choices. For a simple framework, see our what to eat on GLP-1 guide.
If you are looking to optimize your experience, consider how your body is receiving the nutrients it needs. Since these medications slow down digestion, focusing on high-quality protein and hydration is vital.
Some individuals also find that targeted supplements, such as our GLP-1 Daily Support supplement, can help bridge the gap and provide the body with the necessary nutrients during a period of reduced caloric intake.
Bottom line: Success with GLP-1 therapy is a combination of proper medication delivery and a supportive lifestyle framework. By rotating your sites and following the correct technique, you ensure the medication can do its job effectively.
Final Thoughts on Injection Technique
The journey to better metabolic health is a marathon, not a sprint. The first few times you administer an Ozempic® shot, it might take you ten minutes of preparation and a bit of deep breathing. Within a month, it will likely become a thirty-second task that you barely think twice about.
Consistency is the most important factor. By choosing the right sites—the abdomen, thigh, or upper arm—and being diligent about rotating them, you are protecting your skin and ensuring your body gets the steady support it needs to manage weight and blood sugar.
Our mission is to help you navigate this process with transparency and empathy. Whether you are using a prescribed medication or looking for supplemental support like our Weight Loss Boost supplement, having the right information is the first step toward a healthier version of yourself.
If you are ever unsure about your injection technique or the progress you are making, always reach out to a healthcare professional for guidance. If you’re ready to see whether a prescription program is the right next step, take the free assessment quiz.
FAQ
Does it matter which injection site I choose for Ozempic?
While all three approved sites (abdomen, thigh, and upper arm) are effective, individual experiences may vary regarding comfort or perceived side effects. The most important factor is choosing a site with enough subcutaneous fat and ensuring you rotate locations every week to prevent tissue damage. If you are still deciding whether prescription treatment is right for you, you can take the free assessment quiz.
Should I pinch my skin when I inject?
If you have a significant amount of subcutaneous fat at the injection site, pinching is usually not necessary for the short needles used in Ozempic® pens. However, if you are quite lean or injecting into the thigh, gently pinching a fold of skin can help ensure the medication stays in the fat layer and does not reach the muscle.
Why do I have to count to six before pulling the needle out?
Counting to six ensures that the full volume of the medication has been dispensed from the pen and absorbed by your tissue. Because the needle is very thin, the liquid takes a few extra seconds to flow completely out of the pen once the counter hits zero.
Can I inject Ozempic through my clothes?
No, you should never inject through clothing, as this increases the risk of infection and can cause the needle to bend or become blunt. Always clean the bare skin with an alcohol swab and allow it to dry before administering your injection.
Disclaimer: This content is for informational purposes only and does not constitute medical advice. It is not intended to diagnose, treat, cure, or prevent any disease or condition. Individual results may vary. Always consult a qualified healthcare professional before starting any weight loss program or medication.
Transforming Lives, One Step at a Time
Keep reading

Gas and Bloating on Ozempic or Semaglutide: Why It Happens and How to Manage It
Yes, gas, bloating, and belching are common on Ozempic and semaglutide, and for most people they’re a manageable part of the adjustment period. The…

Dizziness on Ozempic or Semaglutide: Why It Happens and What to Do
If you feel dizzy or lightheaded on Ozempic or semaglutide, you’re not alone, and in most cases the cause is manageable. The usual culprits…

Ozempic and Tylenol (Acetaminophen): Is It Safe?
Acetaminophen (the active ingredient in Tylenol) is generally considered safe to take with Ozempic or semaglutide, and there’s no dangerous direct interaction between them….

