How to Give an Ozempic Shot in the Thigh
Introduction
Standing in your kitchen with a medication pen in hand can feel like a major crossroads in your health journey. While you may feel excited about the potential for better metabolic health, it is completely normal to feel a wave of anxiety about the actual injection process. Many people find the idea of self-injecting intimidating at first, but the process is designed to be as simple and painless as possible. At TrimRx, we believe that education is the best tool to replace fear with confidence. This guide focuses specifically on how to safely and effectively administer your dose into the thigh, and you can also compare it with our semaglutide injection site guide, which covers the recommended sites and administration process. We will cover the preparation of your supplies, the exact anatomical locations to target, and a clear step-by-step method for your weekly shot. By the end of this article, you will have a clear roadmap for mastering your injection routine.
Why Choose the Thigh for Injection?
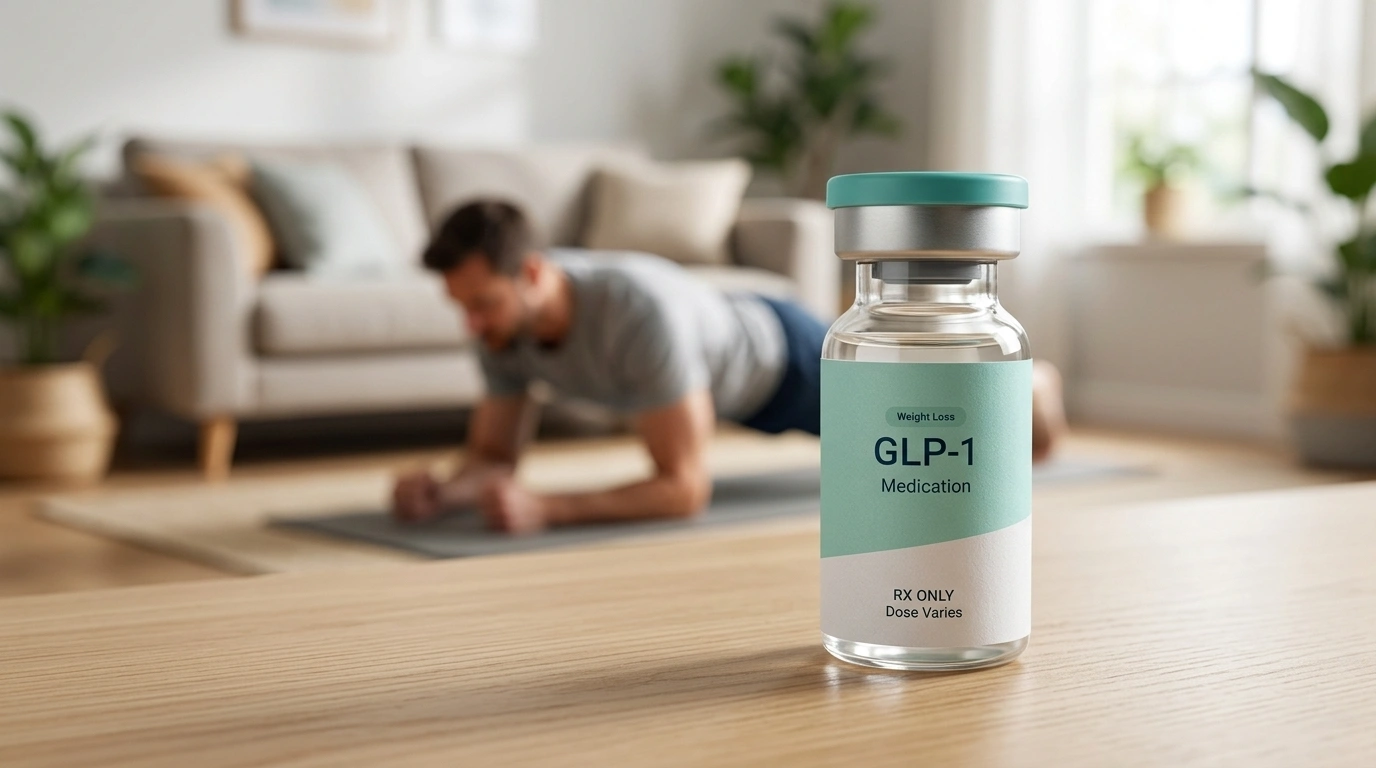
When you are prescribed a medication like Ozempic® (semaglutide), it must be delivered into the subcutaneous fat. Subcutaneous means “under the skin.” This layer of fat sits between your skin and your muscle. The body absorbs the medication slowly from this fatty layer, which helps maintain a steady level of the drug in your system throughout the week. If you want a broader explanation of the hormone behind these treatments, take a look at what GLP-1 medications are.
The thigh is a popular choice for several reasons. For many, it is easier to see and reach than the back of the arm. It also offers a large surface area, which makes it easier to follow the rule of rotating your injection sites. Some individuals also report that they experience less sensitivity in the thigh compared to the abdomen.
Quick Answer: To give an Ozempic shot in the thigh, you should target the top or outer area of the leg while sitting or standing. Clean the area, dial your dose, and insert the needle at a 90-degree angle, holding the button down for six seconds to ensure the full dose is delivered.
Understanding Subcutaneous vs. Intramuscular
It is important to understand that these medications are not intended to go into the muscle. Intramuscular injections are absorbed much faster and can be more painful. Because the needles provided with these pens are very short—usually only 4mm long—they are specifically designed to stay within the fatty tissue. Choosing an area of the thigh with a healthy layer of fat ensures the medication works exactly as intended.
Preparing Your Supplies
Before you even reach for your pen, you need to set up a clean workspace. Having everything ready reduces stress and prevents mistakes. You should perform your injection in a well-lit area where you can sit comfortably.
Checklist of Necessary Items
You will need the following items for every injection:
- Your medication pen (check that the label matches your prescription)
- A new, sterile disposable needle
- An alcohol swab or a cotton ball with rubbing alcohol
- A specialized sharps disposal container (or a heavy-duty plastic container with a lid)
- A clean tissue or gauze pad
Note: Always check the liquid inside the pen before you begin. It should be clear and colorless. If the liquid looks cloudy, contains floating particles, or appears discolored, do not use it. Contact your healthcare provider or pharmacist for a replacement.
Temperature Matters
Most patients store their pens in the refrigerator. Injecting cold liquid can sometimes cause a slight stinging sensation. To make the process more comfortable, you can take your pen out of the fridge about 15 to 30 minutes before your injection. This allows it to reach room temperature, which often results in a more comfortable experience.
Identifying the Right Spot on the Thigh
The “thigh” is a large area, but not every part of it is ideal for an injection. You want to target areas with the most subcutaneous fat and avoid areas where nerves or blood vessels are closer to the surface.
The Target Zone
The best location is the front of the thigh or the outer side of the thigh. Imagine your thigh is a rectangle. You want to stay in the middle third of that rectangle, moving toward the outside of the leg.
- Avoid the inner thigh: This area tends to be more sensitive and has more blood vessels.
- Avoid the knee area: Stay several inches above the knee where the tissue is firmer and less fatty.
- Avoid the groin: Stay several inches below the hip bone.
Mapping Your Rotation
You must rotate your injection site every single week. This means you should not hit the exact same spot two weeks in a row. If you prefer using your thighs, you might use the right thigh on week one and the left thigh on week two. Within each thigh, you can move the injection site by about an inch each time.
Key Takeaway: Proper site selection and rotation are critical. Injecting into the same spot repeatedly can cause “lipohypertrophy,” which are small lumps of firm fat that prevent the medication from being absorbed correctly.
Step-by-Step Thigh Injection Guide
Follow these steps carefully to ensure safety and accuracy. If this is your very first time using a brand-new pen, you may need to perform a “flow check” to prime the needle. For another walkthrough of the process, see how to take semaglutide injections.
Step 1: Wash Your Hands
Cleanliness is the first step in preventing infection. Wash your hands thoroughly with warm water and soap. Dry them with a clean towel before touching your supplies.
Step 2: Prepare the Pen and Needle
Pull off the pen cap. Wipe the rubber stopper at the end of the pen with an alcohol swab. Take a new needle and peel off the paper tab. Push the needle straight onto the pen and twist it until it is tight. Pull off the outer needle cap and the inner needle cap.
Note: Never reuse a needle. Always use a fresh, sterile needle for every dose to prevent infection and ensure the needle is sharp enough for a painless entry.
Step 3: Perform a Flow Check (New Pens Only)
If you are opening a new pen for the first time, you must check the flow. Turn the dose selector to the “flow check” symbol (usually looks like a drop or two lines). Hold the pen with the needle pointing up and press the dose button. A drop of liquid should appear at the needle tip. If it doesn’t, repeat this up to six times. If a drop still doesn’t appear, change the needle and try once more.
Step 4: Dial Your Dose
Turn the dose selector until the counter shows your prescribed dose (for example, 0.25 mg or 0.5 mg). Ensure the number lines up exactly with the pointer.
Step 5: Clean the Injection Site
Use an alcohol swab to clean the area on your thigh you have selected. Use a circular motion, starting at the center and moving outward. Let the skin air-dry for a few seconds. Do not blow on the skin to dry it, as this can introduce bacteria.
Step 6: The Injection
Hold the pen so you can see the dose counter. Insert the needle into your thigh at a 90-degree angle (straight in). You do not need to push hard; the needle is very thin.
- Press the dose button all the way down.
- Watch the dose counter return to “0.”
- Count slowly to six while keeping the needle in your skin and the button pressed.
- Pull the needle straight out.
Step 7: Disposal and Cleanup
Remove the needle from the pen by twisting it off (you can use the outer needle cap to help do this safely). Drop the needle into your sharps container immediately. Put the pen cap back on and store the pen as directed. If there is a tiny drop of blood at the injection site, press it gently with a clean tissue or gauze.
Comparison of Injection Sites
While this guide focuses on the thigh, it is helpful to know how the thigh compares to other common sites like the abdomen or the back of the arm.
| Feature | Thigh | Abdomen | Upper Arm |
|---|---|---|---|
| Ease of Access | High (easy to see and reach) | Very High (easiest for most) | Low (often requires help) |
| Fat Density | Moderate to High | High | Moderate |
| Sensitivity | Usually Low | Moderate | Moderate |
| Visibility | Easy to view while sitting | Easy to view | Difficult to view |
| Absorption | Consistent | Consistent | Consistent |
Overcoming Needle Anxiety
It is natural to feel hesitant about self-injection. If you are feeling nervous, remember that the needles used for GLP-1 medications are among the smallest and thinnest available in medicine. Most people describe the sensation as a tiny pinch or a quick prick that lasts only a second.
To reduce anxiety, try deep breathing exercises before you begin. Inhale for four seconds, hold for four, and exhale for four. This helps calm the nervous system. You can also try “icing” the spot on your thigh for a minute before cleaning it with alcohol. This can numb the skin and make the needle entry even less noticeable.
Support for Your Journey
Managing a weight loss program involves more than just an injection once a week. It requires a holistic approach that includes nutrition, hydration, and medical support. At TrimRx, we connect you with licensed healthcare providers who can supervise your progress through a telehealth platform. If you are wondering whether a prescription path is the right next step, complete the free assessment quiz.
Our personalized programs are designed to meet you where you are. Whether you are using branded medications like Ozempic® or Mounjaro® through your local pharmacy, or you are prescribed compounded semaglutide or tirzepatide through our partner pharmacies, we provide the framework for your success.
Nutritional Considerations
As the medication begins to support your metabolic health, your nutritional needs may change. Many people find their appetite decreases significantly. It is important to prioritize protein and fiber to maintain muscle mass and digestive health. We often recommend targeted supplements to help bridge the gap.
- GLP-1 Daily Support supplement: Designed to provide essential nutrients that may be lacking during your weight loss journey.
- Weight Loss Boost supplement: Formulated to support your metabolism alongside your primary treatment.
Common Troubleshooting Tips
Sometimes the injection process doesn’t go perfectly. Knowing how to handle these moments can prevent unnecessary worry. If you want a deeper look at symptoms that can come up during treatment, read Common GLP-1 Side Effects: What to Expect.
The Dose Counter Doesn’t Hit Zero
If you press the button and the counter stops before reaching zero, it usually means the pen is empty. Each pen contains a specific amount of medication. If this happens, do not try to force the button. Note the number on the counter—that is the portion of the dose you didn’t get. You will need to attach a new needle to a fresh pen and dial it to that remaining amount to complete your dose.
Bruising or Redness
Small bruises at the injection site are common and usually nothing to worry about. They often happen if the needle hits a tiny surface capillary. If you notice a firm lump, it may be a sign that you are not rotating your sites enough. If the area becomes hot to the touch, extremely swollen, or very painful, contact your healthcare provider.
Liquid Leaking from the Site
If you see a small drop of liquid on your skin after pulling the needle out, it is generally normal. However, if a significant amount of liquid is “streaming” out, it may mean you didn’t hold the needle in for the full six seconds. Do not take another dose to make up for it. Just make sure to count slowly the following week.
Bottom line: Preparation, a slow count to six, and consistent rotation are the keys to a successful and painless thigh injection.
When to Consult a Specialist
While self-injection is a standard part of these programs, you are never alone in the process. If you experience severe side effects such as intense abdominal pain, persistent vomiting, or signs of an allergic reaction (like hives or difficulty breathing), seek medical attention immediately.
Through our platform, you have 24/7 access to a dedicated team of specialists. If you are unsure about your dosing schedule or if you are struggling with the physical act of injecting, reach out for guidance. Our goal is to ensure you feel supported every step of the way.
Conclusion
Mastering the thigh injection is a practical skill that becomes easier with every passing week. By choosing the right anatomical location, preparing your supplies meticulously, and following the slow-count method, you can ensure that your medication is delivered safely and effectively. We understand that the emotional weight of a weight loss journey is just as significant as the clinical aspects. TrimRx is dedicated to providing an empathetic, science-backed experience that prioritizes your comfort and your long-term success. We believe in a transparent, personalized approach that removes the barriers to metabolic health.
If you are ready to take the next step toward a sustainable lifestyle, our process is simple and entirely online. Take our free assessment quiz today.
- Complete our free assessment quiz to determine your eligibility.
- Connect with a licensed provider for a personalized treatment plan.
- Receive your supplies and medications with unlimited support included.
Next Step: If you haven’t started your personalized program yet, take our free health assessment quiz today to see which options are best for your unique health profile.
FAQ
Is it better to inject Ozempic in the stomach or thigh?
Both sites are equally effective for medication absorption, so the “best” site is the one that feels most comfortable for you. Some people find the thigh less sensitive and easier to see, while others prefer the abdomen for its higher fat density; the most important factor is rotating between the sites each week.
What happens if I inject Ozempic into muscle instead of fat?
Injecting into the muscle may cause the medication to be absorbed into your bloodstream more quickly than intended, which could potentially increase the intensity of side effects like nausea. However, the needles provided with Ozempic® pens are very short (4mm), making it difficult to reach the muscle if you are injecting into an area with adequate body fat at a 90-degree angle.
Should I pinch my skin when injecting into the thigh?
While not always strictly necessary with the short needles used for GLP-1s, gently pinching a fold of skin can help ensure the medication is delivered into the subcutaneous fat rather than the underlying muscle. This is especially helpful for individuals with lower body fat percentages or thinner thigh tissue.
Can I inject Ozempic into my inner thigh?
No, it is highly recommended to avoid the inner thigh as an injection site. The inner thigh contains more blood vessels and nerves closer to the surface, which increases the risk of pain, bruising, and improper absorption; stick to the front or outer side of the thigh instead.
Disclaimer: This content is for informational purposes only and does not constitute medical advice. It is not intended to diagnose, treat, cure, or prevent any disease or condition. Individual results may vary. Always consult a qualified healthcare professional before starting any weight loss program or medication.
Transforming Lives, One Step at a Time
Keep reading

Gas and Bloating on Ozempic or Semaglutide: Why It Happens and How to Manage It
Yes, gas, bloating, and belching are common on Ozempic and semaglutide, and for most people they’re a manageable part of the adjustment period. The…

Dizziness on Ozempic or Semaglutide: Why It Happens and What to Do
If you feel dizzy or lightheaded on Ozempic or semaglutide, you’re not alone, and in most cases the cause is manageable. The usual culprits…

Ozempic and Tylenol (Acetaminophen): Is It Safe?
Acetaminophen (the active ingredient in Tylenol) is generally considered safe to take with Ozempic or semaglutide, and there’s no dangerous direct interaction between them….

