How to Give Ozempic Shot Safely and Effectively
Introduction
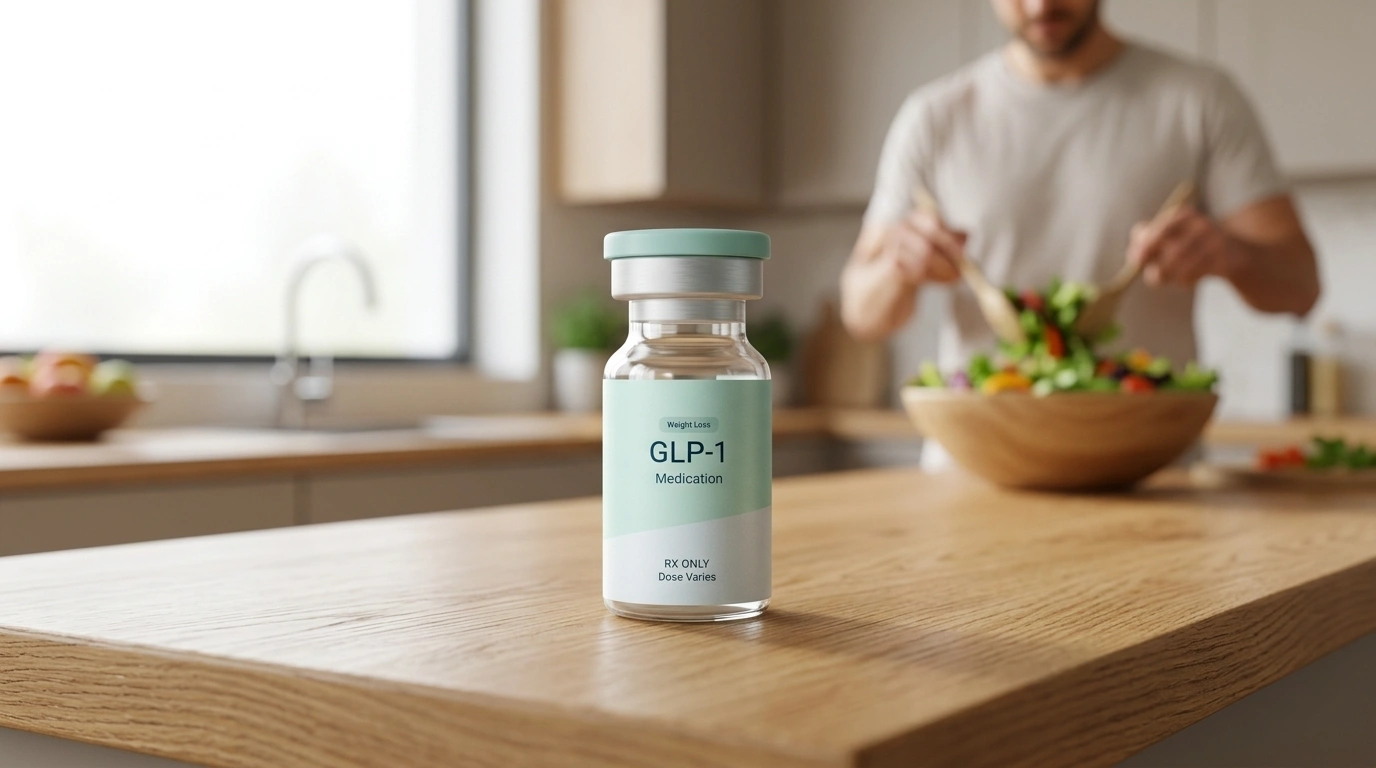
Standing in your kitchen with a new prescription pen in hand can feel overwhelming. Many people feel a surge of anxiety before their first self-injection, wondering if they will do it correctly or if it will hurt. This hesitation is a completely normal part of starting a new health journey. At TrimRx, we understand that transitioning to a medical weight loss program involves learning new skills and building confidence in your routine. If you’re wondering whether a prescription GLP-1 program is the right fit, take the free assessment quiz.
This guide provides a detailed walkthrough on how to give an Ozempic® shot, from preparing your supplies to safely disposing of the needle. We will cover the best injection sites, how to prime a new pen, and tips for making the process as comfortable as possible. For a broader overview of the medication itself, see what semaglutide is for weight loss. By following these steps, you can ensure you are receiving your medication accurately while minimizing the risk of side effects or site irritation.
Quick Answer: To give an Ozempic® shot, attach a new needle, prime the pen (if new), select your prescribed dose, and inject into the fatty tissue of the stomach, thigh, or upper arm. Hold the needle in place for six seconds after the dose counter reaches zero to ensure the full dose is delivered.
Preparing for Your First Injection
Before you even remove the cap from your pen, preparation is the most important step for a successful experience. Taking a few minutes to organize your environment helps reduce stress and ensures everything remains sterile. Most people find that setting a specific day and time each week for their injection helps them stay consistent.
Gathering Your Supplies
You do not need a medical suite to administer your medication, but you do need a clean, well-lit space. Gather the following items before you begin:
- Your Ozempic® pen (checked for the correct medication and expiration date).
- A new, sterile disposable needle (provided with the pen).
- An alcohol swab or a cotton ball dipped in rubbing alcohol.
- A dedicated sharps disposal container (or a heavy-duty plastic container with a lid).
- A clean tissue or small bandage.
Checking the Medication
It is vital to inspect the liquid inside the pen before every use. The medication should be clear and colorless. If the liquid looks cloudy, discolored, or contains visible particles, do not use the pen and contact your pharmacist. Additionally, ensure the pen has been stored correctly. While unused pens should stay in the refrigerator, many people find that a cold injection can sting slightly. You may leave the pen at room temperature for about 30 to 60 minutes before injecting to make the process more comfortable.
Key Takeaway: Always verify that the liquid in your pen is clear and colorless before every injection to ensure the medication is safe to use.
Choosing the Right Injection Site
Ozempic® is a subcutaneous injection, which means it is designed to be delivered into the fatty layer just beneath the skin. It should never be injected into a muscle or a vein. Choosing the right spot and rotating those spots weekly is essential for preventing skin issues like lumps or irritation.
The Abdomen (Stomach)
The stomach is the most common injection site because it is easy to see and has a consistent layer of fatty tissue. You should aim for at least two inches away from your belly button. Do not inject into areas where the skin is tender, bruised, red, or hard. Avoiding scars and stretch marks is also recommended, as these tissues can be tougher and may affect absorption.
The Front of the Thighs
The top or outer portion of the thigh is another excellent option, especially for those who may feel uncomfortable injecting into their abdomen. This area is generally easy to reach while sitting down. Like the stomach, ensure you are targeting a fatty area rather than the muscle on the side or back of the leg.
The Upper Arm
The back of the upper arm can be used, but this site often requires assistance from another person. It can be difficult to pinch the skin or steady the pen on your own arm. If you have someone who can help you, the fatty area on the back of the arm is a perfectly valid site.
The Importance of Site Rotation
You must rotate your injection site every week. This does not mean you have to switch from your stomach to your thigh every time; you can stay within the same general area but move the injection point at least an inch away from the previous week’s spot. This practice prevents lipodystrophy, a condition where fat breaks down or thickens under the skin, which can interfere with how your body absorbs the medication.
| Injection Site | Ease of Self-Administration | Best For |
|---|---|---|
| Abdomen | High | Most users; easy visibility |
| Thigh | High | Users who prefer a seated position |
| Upper Arm | Low | Users with a partner to assist |
The Step-by-Step Injection Process
Once you have your supplies ready and have chosen your site, you are ready to begin. Follow these steps carefully to ensure a safe and accurate dose.
Step 1: Wash and Sanitize
Wash your hands thoroughly with soap and water. Clean the chosen injection site with an alcohol swab using a circular motion. Allow the skin to air dry completely. Do not blow on the skin or fan it with your hands, as this can reintroduce bacteria.
Step 2: Attach the Needle
Take a new needle and pull off the paper tab. Push the needle straight onto the pen and turn it until it is tight. Pull off the outer needle cap and set it aside (you will need it later). Then, pull off the inner needle cap and discard it. You should now see the fine needle at the tip of the pen.
Step 3: Check the Flow (Priming)
Note: You only need to do this for a brand-new pen the first time you use it. If you want a deeper look at pen mechanics, understanding how Ozempic pens work can help make this step feel more familiar.
Turn the dose selector until you see the flow check symbol (a small line with a dot). Hold the pen with the needle pointing up and press and hold the dose button. A drop of liquid should appear at the needle tip. If it doesn’t, repeat this step up to six times. If a drop still doesn’t appear, change the needle and try once more. This ensures any air bubbles are removed and the pen is working correctly.
Step 4: Select Your Dose
Turn the dose selector until the counter shows your prescribed dose (for example, 0.25 mg or 0.5 mg). Ensure the number lines up exactly with the pointer. If you turn it too far, you can turn it backward to reach the correct number.
Step 5: Insert the Needle and Inject
Gently pinch a fold of skin if necessary, or simply hold the skin taut. Insert the needle into the skin. Press and hold down the dose button. You will see the dose counter return to zero.
Step 6: The Six-Second Rule
Crucial Step: Once the counter hits zero, do not pull the needle out immediately. Keep the button pressed and count slowly to six. This allows the full dose to be delivered through the very fine needle. After counting to six, pull the needle straight out of your skin.
Key Takeaway: Counting to six after the dial hits zero is the only way to ensure the entire dose of medication has entered your body.
Troubleshooting Common Pen Issues
Even with careful preparation, you might encounter technical issues with your pen. Understanding how to handle these moments can prevent wasted medication and unnecessary stress.
What if the dose counter won’t turn?
If the dial stops and will not turn to your full dose, it usually means there is not enough medication left in the pen. Do not force the dial. You can either inject the partial dose that is left and then use a new pen to complete the dose (as directed by a provider), or simply start a new pen for the full dose.
What if I don’t see a drop during priming?
If a drop does not appear after several priming attempts, the needle might be blocked. Replace the needle with a new one and try again. If the pen still does not produce a drop, it may be defective. In this case, do not use the pen and consult your healthcare provider or pharmacist.
What if there is a drop of blood at the site?
It is common to see a small drop of blood or a tiny bit of clear liquid at the injection site after you withdraw the needle. This is normal and does not mean the injection failed. Simply press the area lightly with a clean tissue or cotton ball. Do not rub the site, as this can increase irritation.
Note: If you realize you have missed a dose, consult the prescribing information or your healthcare provider. Generally, if it is within five days of the scheduled day, you can take the dose as soon as you remember. If more than five days have passed, skip the missed dose and resume on your next scheduled day. For a related walkthrough, navigating a missed Ozempic shot covers what to do when your routine gets off track.
Safety, Storage, and Disposal
Handling your medication safely extends beyond the injection itself. Proper storage and disposal are vital for your safety and the safety of those around you.
Proper Storage Conditions
Unused Ozempic® pens must be stored in the refrigerator. Once a pen is in use, you can keep it in the refrigerator or at room temperature (below 86°F) for up to 56 days. After 56 days, the pen must be discarded, even if there is medication left inside. Always keep the pen cap on when not in use to protect the medication from light. Never freeze the pen; if it becomes frozen, it is no longer safe to use.
Needle Disposal
Never throw used needles into the regular household trash. Immediately after your injection, carefully place the outer needle cap back onto the needle and unscrew it from the pen. Drop the needle into an FDA-cleared sharps container. If you do not have one, a thick plastic container like an empty laundry detergent bottle with a screw-top lid can serve as a temporary alternative. Label the container clearly as “SHARPS” and keep it out of reach of children and pets.
Traveling with Your Pen
If you are traveling, you can carry your pen in your carry-on luggage. It is wise to keep it in a small insulated travel bag to protect it from extreme temperature changes in your car or on a plane. Ensure you have your prescription label or a letter from your provider if you are crossing international borders.
Managing Side Effects and Site Reactions
While the injection process is usually straightforward, your body may react to the medication or the physical act of the shot. Knowing what to expect can help you stay on track with your health goals.
Common Site Reactions
You may notice slight redness, itching, or minor swelling at the injection site. These are typically mild and go away within a few hours or days. If you experience a severe rash, hives, or significant swelling, you should contact a healthcare professional immediately, as these could be signs of an allergic reaction.
Systemic Side Effects
The most common side effects of GLP-1 medications like Ozempic® are gastrointestinal, such as nausea, vomiting, or diarrhea. These often occur because the medication slows down stomach emptying. To help manage these:
- Eat smaller, more frequent meals.
- Avoid greasy or highly processed foods.
- Stay hydrated throughout the day.
- Eat slowly and stop when you feel full.
If side effects become severe or persistent, speak with your healthcare provider. At TrimRx, we believe that personalized support is key to managing these transitions. Our platform connects you with specialists who can help adjust your program to better suit your body’s needs. If you’re looking for nutritional support during treatment, the GLP-1 Daily Support supplement may fit into your routine.
Bottom line: Preparation, site rotation, and the “six-second rule” are the three pillars of a successful self-injection routine.
Support on Your Weight Loss Journey
Learning how to give yourself an injection is a significant milestone. It represents a commitment to your long-term health and metabolic well-being. While the technical steps are important, the clinical guidance behind the medication is what truly drives sustainable results.
We believe that medical weight loss is most effective when it is personalized and supervised. Our platform provides the tools and professional access needed to navigate this process with confidence. From the initial assessment to ongoing support, we are here to ensure your journey is safe, transparent, and aligned with your unique health profile. For added energy support while you’re working toward your goals, the Weight Loss Boost supplement can be a helpful option.
FAQ
Does the Ozempic® injection hurt?
Most patients describe the injection as a tiny pinch or a minor sting. The needles used are extremely thin and short, designed specifically for comfort. Choosing a fatty injection site and allowing the medication to reach room temperature before injecting can further reduce any discomfort.
What should I do if I forget to rotate my injection site?
If you forget and inject in the same spot twice, don’t panic. You may experience a bit more soreness or a small lump under the skin. Just be sure to choose a completely different area for your next dose to allow the previous site time to heal and recover. If you notice lingering soreness, common GLP-1 side effects can help you understand what people often experience.
Can I share my Ozempic® pen with someone else?
No, you must never share an Ozempic® pen with another person, even if the needle has been changed. Sharing pens carries a high risk of transmitting serious infections or bloodborne pathogens. The pen is prescribed specifically for your medical needs and dosage requirements.
How do I know if I actually received the full dose?
If the dose counter returned to zero and you held the needle in your skin for the full six-second count, you can be confident the dose was delivered. Seeing a tiny drop of liquid on the needle tip or a small amount of moisture on your skin afterward is normal and does not mean the dose was missed.
Disclaimer: This content is for informational purposes only and does not constitute medical advice. It is not intended to diagnose, treat, cure, or prevent any disease or condition. Individual results may vary. Always consult a qualified healthcare professional before starting any weight loss program or medication.
Transforming Lives, One Step at a Time
Keep reading

Gas and Bloating on Ozempic or Semaglutide: Why It Happens and How to Manage It
Yes, gas, bloating, and belching are common on Ozempic and semaglutide, and for most people they’re a manageable part of the adjustment period. The…

Dizziness on Ozempic or Semaglutide: Why It Happens and What to Do
If you feel dizzy or lightheaded on Ozempic or semaglutide, you’re not alone, and in most cases the cause is manageable. The usual culprits…

Ozempic and Tylenol (Acetaminophen): Is It Safe?
Acetaminophen (the active ingredient in Tylenol) is generally considered safe to take with Ozempic or semaglutide, and there’s no dangerous direct interaction between them….

