How to Inject Mounjaro with Syringe: A Practical Guide
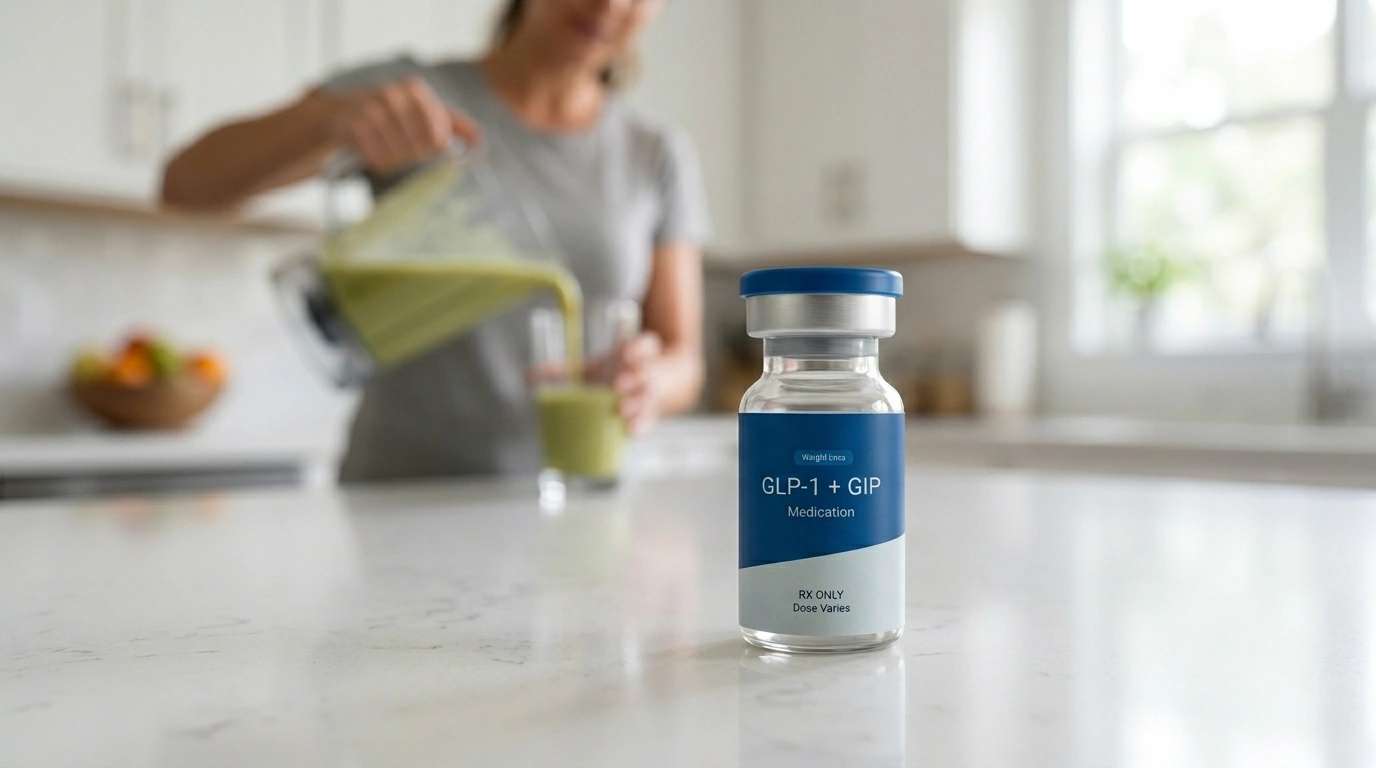
Table of Contents
- Introduction
- Understanding Tirzepatide and Delivery Methods
- Preparation and Supplies
- How to Draw Medication from a Vial
- Selecting and Preparing the Injection Site
- Step-by-Step Injection Technique
- Comparing Syringes and Auto-Injector Pens
- Safety and Storage Considerations
- Managing Common Side Effects
- The TrimRx Approach to Personalized Care
- Final Steps for Success
- FAQ
Introduction
Transitioning from a pre-filled auto-injector pen to a vial and syringe can feel like a significant hurdle in your health journey. While many are familiar with the branded Mounjaro® (Tirzepatide) pen, those utilizing compounded Tirzepatide often receive their medication in a multidose vial. This shift requires a new set of skills, from drawing the correct dosage to mastering the subcutaneous injection technique. At TrimRx, we recognize that precision and comfort are paramount when managing your metabolic health. This guide provides a clear, step-by-step breakdown of how to safely prepare and administer your medication using a syringe. By understanding the mechanics of the process and the science behind the medication, you can move forward with confidence. If you’re considering treatment, you can take the free assessment quiz to see whether a personalized program is the right next step. We will cover everything from site selection to the clinical differences between branded and compounded options, ensuring you have the tools for a successful experience.
Understanding Tirzepatide and Delivery Methods
Tirzepatide is a dual-receptor agonist. This means it mimics two naturally occurring hormones in the body: glucagon-like peptide-1 (GLP-1) and glucose-dependent insulinotropic polypeptide (GIP). Both hormones play vital roles in how your body processes sugar and signals fullness to the brain. By activating these receptors, Tirzepatide may support weight loss by slowing gastric emptying and reducing overall appetite. For a broader overview of treatment options, our How to Self-Inject Tirzepatide: Complete Visual Guide covers the same core injection process in a simpler format.
While Mounjaro® and Zepbound® are the trademarked branded versions of Tirzepatide, they are primarily available in single-dose auto-injector pens. These pens are designed for a “one-click” experience. However, many individuals now use compounded Tirzepatide. Compounded medications are prepared by specialized pharmacies to meet specific patient needs or to address supply shortages.
Key Takeaway: Compounded Tirzepatide is not FDA-approved. It is, however, prepared in FDA-registered, inspected compounding pharmacies. These medications are often provided in vials, requiring the use of a traditional syringe for administration.
When using a vial and syringe, you have more control over the process, but it requires a higher level of attention to hygiene and measurement. If you want more detail on the tools involved, the needle size guide for Tirzepatide injections explains the basics of needle gauge and length.
Preparation and Supplies
Before you begin the injection process, you must gather all necessary supplies and prepare a clean workspace. Having everything within reach reduces anxiety and helps maintain a sterile environment.
Necessary Supplies
To perform a subcutaneous injection of Tirzepatide, you will need:
- Your medication vial (stored according to instructions).
- A sterile, single-use insulin syringe (typically 0.5mL or 1.0mL depending on your dose).
- Alcohol prep pads (at least two).
- A sharps disposal container or a puncture-resistant plastic bottle with a lid.
- Clean gauze or a cotton ball (optional).
Inspecting the Medication
Always check your medication before use. Tirzepatide should be clear and colorless to slightly yellowish. If the liquid is cloudy, contains visible particles, or has changed color significantly, do not use it. Contact your healthcare provider or the pharmacy that dispensed the medication.
Note: Check the expiration date on the vial label. Do not use medication that has passed its “use by” or expiration date.
Creating a Sterile Environment
Wash your hands thoroughly with warm water and soap for at least 20 seconds. Clean a flat surface, such as a table or countertop, to set your supplies on. Avoid areas near open windows or fans that could blow dust or debris onto your sterile equipment.
How to Draw Medication from a Vial
Drawing the medication correctly is the most technical part of the process. Most Tirzepatide dosages are measured in “units” on a syringe. It is critical to confirm your specific dosage with the instructions provided by your licensed healthcare professional.
Step 1: Prepare the Vial
Remove the plastic cap from the vial if it is new. Wipe the rubber stopper (the “septum”) firmly with a fresh alcohol prep pad. Allow the alcohol to air dry for about 15 to 30 seconds. Do not blow on it or froward it dry, as this can introduce bacteria.
Step 2: Prepare the Syringe
Remove the cap from the needle of the syringe. Pull the plunger back to fill the syringe with an amount of air equal to your prescribed dose. For example, if your dose is 25 units, pull the plunger back to the 25-unit mark.
Step 3: Equalize Pressure
Push the needle through the center of the rubber stopper into the vial. Depress the plunger to push the air into the vial. This creates positive pressure, which makes it much easier to draw the liquid out.
Step 4: Draw the Liquid
Invert the vial so it is upside down with the needle still inside. Ensure the tip of the needle is submerged in the liquid. Slowly pull back the plunger until the top ring of the plunger reaches your prescribed dose mark.
Step 5: Check for Air Bubbles
While the needle is still in the vial, check the syringe for air bubbles. Large bubbles can displace the medication, leading to an inaccurate dose. If you see bubbles, tap the side of the syringe with your finger to make them rise to the top, then gently push the plunger to move the air back into the vial. Re-draw the medication if necessary to reach the correct mark.
Bottom line: Drawing medication requires a steady hand and a clear view of the unit markings on the syringe. Always double-check your dose against your prescription before removing the needle from the vial.
Selecting and Preparing the Injection Site
Tirzepatide is intended for subcutaneous injection. This means the needle goes into the fat layer between the skin and the muscle. There are three primary areas recommended for this type of injection.
Common Injection Sites
- The Abdomen: This is the most common site. Choose an area at least two inches away from the belly button.
- The Thigh: Use the front or outer portion of the thigh. Avoid the inner thigh or the area too close to the knee.
- The Back of the Arm: This site is best used if someone else is administering the injection for you, as it can be difficult to reach alone. Use the fatty area on the back of the upper arm.
The Importance of Site Rotation
It is essential to rotate your injection site each week. If you injected in the left side of the abdomen last week, choose the right side or the thigh this week. Using the same spot repeatedly can cause “lipohypertrophy,” which is a buildup of fatty tissue under the skin. This can affect how the medication is absorbed and may lead to inconsistent results.
Preparing the Skin
Once you have chosen a site, clean the skin with a fresh alcohol prep pad. Wipe in a circular motion, starting at the center and moving outward. Allow the skin to dry completely. Do not touch the cleaned area before injecting.
Step-by-Step Injection Technique
Once your syringe is prepared and your site is clean, you are ready to administer the dose. The needles used for Tirzepatide (typically insulin needles) are very thin and short, designed to minimize discomfort.
Step 1: The Pinch
Gently pinch a one-to-two-inch fold of skin and fat between your thumb and forefinger. This lifts the subcutaneous tissue away from the underlying muscle, ensuring the medication is delivered to the correct layer.
Step 2: The Insertion
Hold the syringe like a pencil or a dart. Insert the needle into the pinched skin at a 90-degree angle (straight in). Because the needle is very short, a 90-degree angle is usually appropriate for most body types. If you want a visual walkthrough, our How to Take a Tirzepatide Shot guide covers the same technique from start to finish.
Step 3: The Injection
Once the needle is fully inserted, you can release the pinch. Depress the plunger slowly and steadily until all the medication has been injected.
Step 4: Withdrawal and Pressure
Wait about 5 seconds to ensure the full dose has been absorbed, then pull the needle straight out. If there is a small drop of blood or liquid at the site, you can press a cotton ball or gauze over it for a few seconds. Do not rub the area, as this can irritate the tissue.
Step 5: Disposal
Immediately place the used syringe into your sharps container. Never throw needles into the regular trash and never attempt to recap a used needle, as this increases the risk of an accidental needle stick.
Quick Answer: To inject Tirzepatide with a syringe, draw the correct dose from a vial, clean an injection site on your abdomen or thigh, and insert the needle at a 90-degree angle into a pinched fold of skin. Always rotate sites weekly to ensure proper absorption.
Comparing Syringes and Auto-Injector Pens
While the keyword focuses on how to inject Mounjaro with syringe, it is helpful to understand how this method compares to the more widely advertised auto-injector pens like Wegovy® or Mounjaro®.
| Feature | Syringe and Vial (Compounded) | Auto-Injector Pen (Branded) |
|---|---|---|
| Control | High; allows for precise dose adjustments. | Low; fixed dose per pen. |
| Complexity | Requires manual drawing and priming. | Pre-loaded; one-click activation. |
| Needle Visibility | Needle is visible to the user. | Needle is often hidden within the device. |
| Waste | Minimal plastic waste; glass vial. | Significant plastic waste per dose. |
| FDA Status | Compounded versions are not FDA-approved. | Branded versions are FDA-approved. |
Many people find that after two or three injections, the syringe method becomes second nature. It offers a level of flexibility that some patients prefer, especially when working with a provider on a personalized program.
Safety and Storage Considerations
Proper storage is critical for maintaining the stability and efficacy of Tirzepatide. Most GLP-1 and GIP medications are proteins that can break down if exposed to extreme temperatures or light.
Refrigeration
Your Tirzepatide vial should generally be stored in the refrigerator between 36°F and 46°F (2°C to 8°C). Do not freeze the medication. If a vial freezes, it must be discarded, as the freezing process can destroy the molecular structure of the drug.
Room Temperature Stability
Most vials can stay at room temperature (up to 86°F or 30°C) for a limited time—often up to 21 or 28 days depending on the specific compounding pharmacy’s instructions. Always refer to the label on your specific vial. If you are traveling, use a small insulated cooler bag to keep the medication within the safe temperature range.
Light Protection
Tirzepatide is sensitive to light. Keep the vial in its original carton or a dark place until you are ready to use it. Prolonged exposure to sunlight or strong indoor light can reduce the medication’s potency.
Important: If you accidentally leave your medication out of the fridge overnight, or if it is exposed to high heat, consult your pharmacist before using it. Safety is always the priority.
Managing Common Side Effects
Regardless of the delivery method, Tirzepatide can cause side effects as your body adjusts to the increased levels of GIP and GLP-1 hormones. The most common issues are gastrointestinal in nature.
- Nausea: This is the most frequently reported side effect. It often improves over time.
- Diarrhea or Constipation: Changes in digestion speed can lead to bowel habit shifts.
- Injection Site Reactions: Redness, itching, or slight swelling at the site of the needle stick.
- Fatigue: Some users report feeling more tired than usual during the first few weeks of treatment.
To help manage these effects, we suggest staying well-hydrated and eating smaller, more frequent meals. Focusing on lean proteins and fiber can also help stabilize digestion. For those looking for extra support, our GLP-1 Daily Support supplement is designed to help bridge the nutritional gaps that can occur when appetite is significantly reduced. If you want a deeper look at GI reactions, our guide to why GLP-1 medications cause GI issues explains the pattern in more detail.
If side effects become severe—such as persistent vomiting, intense abdominal pain, or signs of an allergic reaction—contact a healthcare provider immediately.
The TrimRx Approach to Personalized Care
At TrimRx, we believe that weight loss is not a one-size-fits-all journey. While the mechanics of an injection are important, they are only one part of a much larger picture. Our platform connects you with licensed providers who take the time to understand your unique health profile, goals, and history.
When you join a program through us, you aren’t just getting a prescription. You are gaining access to a comprehensive telehealth experience that includes doctor consultations and lab work. We work with FDA-registered, inspected compounding pharmacies to ensure that the medication shipped to your door meets high standards of quality and safety. If you are ready to see whether medical weight loss is a fit, complete the free assessment quiz to get started.
Our mission is to empower you with the resources and medical supervision needed to make sustainable changes. Whether you are using compounded Semaglutide or Tirzepatide, we provide the 24/7 specialist support necessary to navigate dosing changes, side effects, and lifestyle adjustments without the need for in-person waiting rooms.
Final Steps for Success
Mastering the use of a syringe for your Tirzepatide injections is a skill that grows with practice. By following the sterile techniques and step-by-step instructions outlined above, you can ensure that each dose is delivered safely and effectively.
- Always prioritize hygiene by washing hands and using alcohol pads.
- Double-check your dosage units on the syringe every time.
- Rotate your injection sites to keep your skin healthy.
- Store your medication properly in the refrigerator.
Key Takeaway: Precision in preparation and consistency in technique are the foundations of a successful GLP-1/GIP medication routine.
If you are ready to take the next step in your metabolic health journey, the process begins with understanding your eligibility. We invite you to take our free assessment quiz on the TrimRx platform. If you want additional support while appetite changes are making nutrition harder to maintain, the Weight Loss Boost supplement can be a helpful next step.
FAQ
Is it more painful to use a syringe than an auto-injector pen?
Most patients find the pain level to be very similar. The needles used in insulin syringes are extremely thin—often the same gauge as those hidden inside auto-injector pens. Because you control the speed of the injection with a syringe, some people actually find it more comfortable than the “snap” of an automatic device.
What should I do if I see a small air bubble in the syringe?
A tiny air bubble is usually not harmful in a subcutaneous injection, but it can make your dose slightly less accurate. To remove it, tap the side of the syringe so the bubble rises toward the needle, then gently push the plunger to expel the air back into the vial. It is best to do this while the needle is still inside the vial to avoid wasting medication.
Can I inject Tirzepatide into my muscle?
No, Tirzepatide must be injected into the subcutaneous fat layer. Injecting into a muscle can change how the medication is absorbed and may lead to increased pain or a lack of efficacy. This is why the “pinch” technique is recommended—to ensure the needle stays in the fatty tissue. If you want a broader explanation of where injections go, the how deep to inject Tirzepatide guide is a useful companion.
How do I know if I have the right syringe?
Your pharmacy should provide the correct syringes with your medication. Typically, these are U-100 insulin syringes with a short needle (around 6mm to 8mm). Always check that the markings on the syringe (units) match the dosage instructions provided by your healthcare provider. For a second look at dose math, our how many mg is 25 units of Tirzepatide article may help.
Disclaimer: This content is for informational purposes only and does not constitute medical advice. It is not intended to diagnose, treat, cure, or prevent any disease or condition. Individual results may vary. Always consult a qualified healthcare professional before starting any weight loss program or medication.

Transforming Lives, One Step at a Time
Keep reading
Mounjaro Alternatives: What Else to Consider
If Mounjaro isn’t the right fit, the closest alternatives are other GLP-1 medications, chiefly semaglutide (Ozempic for diabetes, Wegovy for weight), along with a…
Mounjaro vs Zepbound: Same Drug, Two Brands
Like their semaglutide counterparts, Mounjaro and Zepbound are the same medication (tirzepatide) sold under two names for two purposes: Mounjaro is approved for type…
Retatrutide vs Mounjaro: Triple Agonist vs Dual Agonist
The core difference between retatrutide and Mounjaro comes down to how many hormone targets each hits: retatrutide activates three receptors, while Mounjaro (tirzepatide) activates…


