How to Mix Compounded Tirzepatide
Introduction
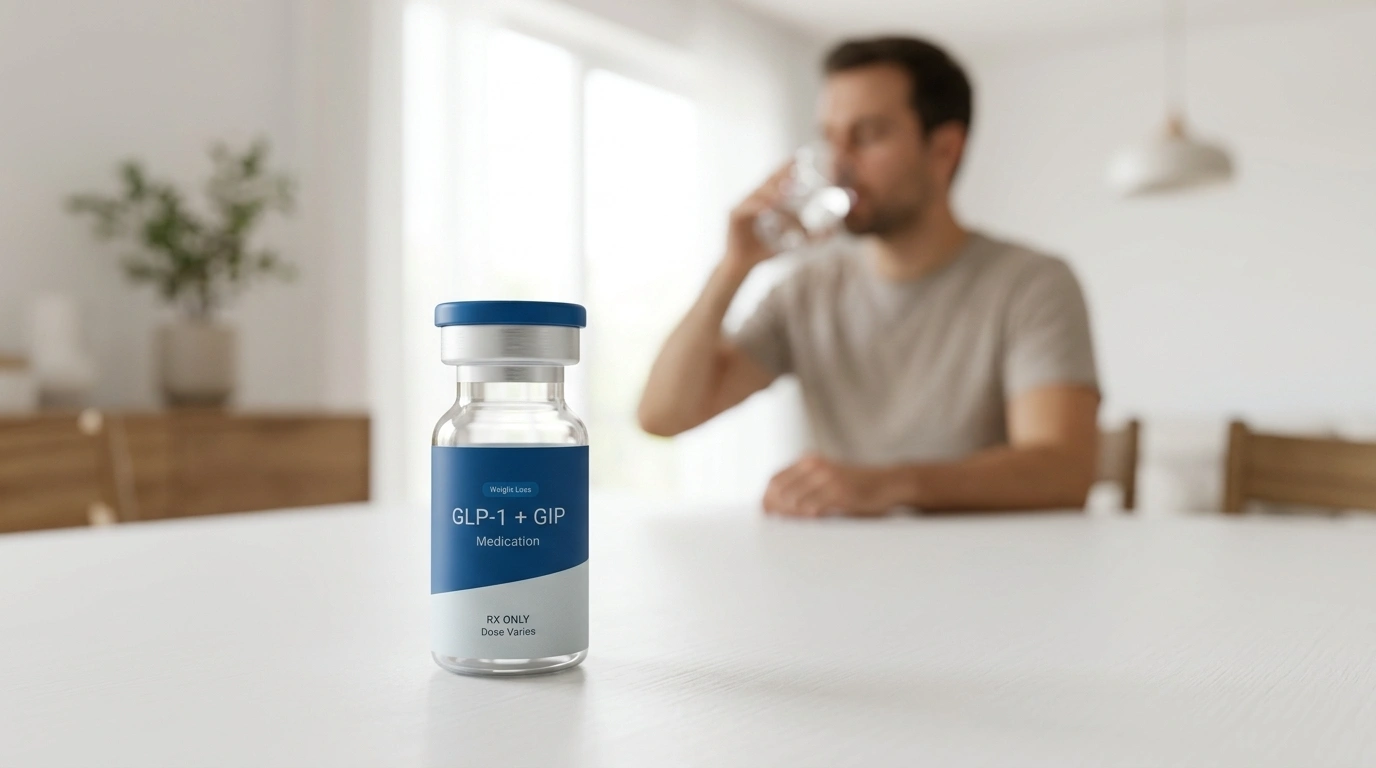
Standing in your kitchen with a vial of white powder and a separate bottle of liquid can feel overwhelming. Many people starting their weight loss journey expect a pre-filled pen, but receiving a lyophilized—or freeze-dried—medication is common in the world of personalized medicine. At TrimRx, we understand that the transition to at-home medication management comes with a learning curve. This article provides a clear, step-by-step process for mixing your medication safely and accurately. We will cover the supplies you need, the science of reconstitution, and how to ensure your dosage remains sterile and effective. By following these clinical best practices, you can feel confident in your ability to manage your treatment program from the comfort of home. This guide is designed to transform a technical task into a simple, stress-free part of your health routine.
If you are still exploring whether prescription treatment is appropriate for you, you can complete a free eligibility assessment.
What is Compounded Tirzepatide?
Before handling the medication, it is helpful to understand what it is and how it functions in the body. Tirzepatide is a dual-acting medication that targets two specific hormone receptors: the glucagon-like peptide-1 (GLP-1) and the glucose-dependent insulinotropic polypeptide (GIP). These are naturally occurring hormones that your body releases after eating.
The GLP-1 component helps slow down how quickly your stomach empties and sends signals to your brain that you are full. The GIP component is thought to improve how your body breaks down sugar and fats. Together, these dual pathways may support more effective weight management than single-agonist medications.
For additional background, read this overview of what compounded tirzepatide means.
Compounded Tirzepatide refers to a version of this medication prepared by a licensed pharmacist in a compounding pharmacy. These pharmacies combine specific ingredients to create a medication tailored to a patient’s needs. While these compounded versions are not FDA-approved themselves, the facilities that produce them are subject to quality and safety requirements. This approach is sometimes used when a patient requires a specific dosage strength or formulation not commercially available.
Why Does the Medication Come as a Powder?
You might wonder why you have to mix the medication yourself instead of receiving a ready-to-use liquid. The powder you see in the vial is “lyophilized,” which is a professional term for freeze-dried.
Stability and Shelf Life are the primary reasons for this format. Tirzepatide is a peptide, which is a short chain of amino acids. Peptides are often more stable in a dry, powdered state than they are in a liquid solution. By keeping the medication in powder form until you are ready to use it, the pharmacy helps protect the formulation before use.
Reconstitution is the technical term for the process of adding a liquid—known as a diluent—back into a dry substance to turn it into a liquid again. Once the medication is reconstituted, it becomes more sensitive to temperature and light, which is why your storage habits change after the mixing process is complete.
For a more detailed explanation, review this guide to reconstituting tirzepatide safely.
Quick Answer: Mixing compounded tirzepatide involves carefully adding a specific amount of bacteriostatic water to the powdered medication vial. This process, called reconstitution, turns the dry peptide into an injectable liquid while maintaining its potency and sterility.
Essential Supplies for the Mixing Process
To mix your medication safely, you need to have a clean workspace and specific medical supplies. Most of these will be provided with your program, but it is important to verify you have everything before you begin.
- Tirzepatide Vial: This contains the freeze-dried medication. It should look like a small “cake” or loose powder at the bottom of the glass.
- Bacteriostatic Water: This is your diluent. It is sterile water that contains a small amount of benzyl alcohol, which acts as a preservative to help prevent the growth of bacteria after the vial has been opened.
- Insulin Syringes: These are used for both measuring the water and administering the dose. They are marked in “units.”
- Alcohol Prep Pads: Used to sanitize the top of the vials and your skin.
- Sharps Container: A puncture-proof container for the safe disposal of used needles.
For more information about dilution and supplies, see this bacteriostatic water and tirzepatide mixing guide.
Key Takeaway: Never use plain sterile water or tap water to mix your medication. Only use the diluent provided or specifically instructed by your pharmacy or clinical team.
Step-by-Step Reconstitution Process
Follow these steps carefully to ensure your medication is mixed correctly and remains sterile.
Step 1: Preparation and Sanitization
Wash your hands thoroughly with soap and warm water. Clean the surface where you will be working—a kitchen table or bathroom counter—with an antibacterial wipe. Lay out all your supplies on a clean paper towel. Check the labels on both the tirzepatide vial and the bacteriostatic water to ensure they are correct and have not expired.
Step 2: Prepare the Vials
Remove the plastic flip-top caps from both vials. Use a fresh alcohol prep pad to firmly wipe the rubber stopper on the top of the tirzepatide vial. Use a second alcohol prep pad to wipe the stopper on the bacteriostatic water vial. Allow the alcohol to air-dry completely. Do not blow on the stoppers to speed up the drying, as this can introduce bacteria.
Step 3: Draw the Bacteriostatic Water
Uncap your syringe. Pull the plunger back to fill the syringe with air equal to the amount of water your provider has instructed you to use. Insert the needle through the rubber stopper of the bacteriostatic water vial and push the air into the vial. This creates pressure that makes it easier to draw the liquid. Turn the vial upside down and pull the plunger back until you have the exact amount of water needed.
Step 4: Inject the Water into the Tirzepatide
Insert the needle into the tirzepatide vial. Aim the needle toward the side of the glass wall rather than directly at the powder. This allows the water to trickle down slowly, which protects the delicate peptide molecules. Push the plunger down slowly. You may notice a vacuum pulling the liquid in; this can happen when the vial is sealed.
Step 5: Mix the Solution
Remove the needle and discard it in your sharps container. Do not shake the vial. Shaking can damage the peptide structure and create excessive bubbles. Instead, gently swirl the vial between your palms or in a circular motion on the table. Continue this until all the powder has completely dissolved and the liquid is clear.
Step 6: Final Inspection
Hold the vial up to the light. The liquid should be clear and colorless. If the solution looks cloudy, has floating particles, or has a distinct color, do not use it. Contact your provider or the pharmacy for guidance.
Troubleshooting Common Mixing Issues
Even with careful preparation, you might encounter a few hiccups. Here is how to handle them.
- The Vacuum is Too Strong: If the plunger is being pulled down faster than you like, simply hold the plunger firmly to control the speed of the water entry.
- Bubbles in the Syringe: If you see large air bubbles while drawing the water, tap the side of the syringe with your finger to make the bubbles rise to the top, then push them back into the vial.
- The Powder Won’t Dissolve: Some powders take longer than others. If swirling doesn’t work after a minute, let the vial sit for five minutes and then swirl again. Persistence and patience are better than shaking.
- Resistance When Injecting: If it is hard to push the plunger, contact your clinical team rather than guessing or forcing the injection.
Bottom line: The goal of reconstitution is a clear, particle-free solution. Slow movements and gentle swirling are the best ways to protect the integrity of the medication.
Understanding Your Dosage: Units vs. Milligrams
One of the most confusing parts of using compounded tirzepatide is the difference between “milligrams” (mg) and “units.”
Milligrams (mg) refers to the actual weight of the medication, or tirzepatide. This is the strength of your dose. For example, a starting dose may be 2.5 mg when prescribed by your provider.
Units refers to the volume of liquid in the syringe. This is what you actually measure on the lines of the syringe.
The relationship between the two depends on the “concentration” of your mixture. This is why you must follow the specific instructions provided by your clinical team. If your instructions say to inject 25 units to get a 2.5 mg dose, do not deviate from that. Always confirm how many units correspond to your prescribed milligram dose.
If you are considering whether a supervised prescription program is appropriate for you, you can take the free assessment quiz.
Myth: “More units always means a stronger dose.” Fact: The strength depends on the concentration. A small volume of a highly concentrated liquid can have more medication than a large volume of a diluted liquid. Always follow the specific “unit” instructions on your prescription label.
Safety and Hygiene Best Practices
Maintaining a sterile environment is the most important part of at-home medication management. Because you are injecting this solution into your body, any bacteria introduced during the mixing process could cause an infection at the injection site.
- Single-Use Only: Never reuse a syringe or a needle. Even if you think it’s clean, the needle tip dulls after one use, and microscopic bacteria can settle on it instantly.
- Stopper Hygiene: Every single time you go to draw a dose from your vial, you must wipe the rubber stopper with a fresh alcohol pad.
- Needle Safety: If the needle touches the table, your finger, or any surface other than the sanitized stopper, discard it and start with a fresh syringe.
- Handwashing: This sounds simple, but it is your first line of defense against contamination.
If you ever experience increasing redness, warmth, or swelling at an injection site, or if you develop a fever after an injection, contact a healthcare professional immediately. These could be signs of an infection.
Proper Storage After Mixing
Once you have mixed your tirzepatide, its environment matters more than ever. Liquid peptides are sensitive to heat and light.
For additional guidance, read these storage tips for GLP-1 medications.
Refrigeration is mandatory. Keep your reconstituted vial in the refrigerator at a temperature between 36°F and 46°F (2°C to 8°C). Do not place it in the door of the fridge, as the temperature fluctuates there every time the door opens. Instead, place it on a shelf toward the back.
Do not freeze the medication. If the solution freezes, the peptide structure can be permanently damaged, making the medication ineffective. If your vial accidentally freezes, it must be discarded.
Protect from light. Many people keep their vials inside the original box or a small opaque container within the fridge. Prolonged exposure to light can break down the medication.
Monitor the “Beyond Use Date” (BUD). Compounded medications have a specific date by which they must be used once they are mixed. This is different from a standard expiration date. Check the specific instructions provided by the pharmacy.
Preparing for Your Injection
After mixing and allowing the vial to settle, you are ready for the injection. While the mixing process is a one-time or occasional task, the injection is a weekly routine.
- Choose your site: The best areas for injection are the abdomen, at least two inches away from the belly button, the tops of the thighs, or the back of the upper arm.
- Rotate sites: Do not use the exact same spot every week. Rotating sites helps prevent the skin from thickening or becoming irritated.
- Clean the skin: Use an alcohol prep pad to clean the injection site and let it dry completely.
- Inject at a 90-degree angle: Most insulin needles are very short and are designed to go straight into the fatty tissue just under the skin.
- Dispose of the needle: Immediately place the used syringe in your sharps container.
When to Consult Your Healthcare Provider
Managing your weight loss journey through a telehealth platform like ours provides you with a direct line to specialists, but you should know when to reach out for extra help.
You should contact a provider if you experience:
- Confusion about your dosage or how many units to draw.
- Severe gastrointestinal distress that does not improve.
- Signs of an allergic reaction, such as hives or difficulty breathing.
- The medication appearing cloudy or having sediment after mixing.
- Accidentally leaving the medication out of the refrigerator overnight.
While minor side effects like nausea or a mild headache are common as your body adjusts to the GLP-1 and GIP hormones, anything that feels unmanageable deserves a conversation with your medical team.
Note: If you are unsure about the mixing process, many providers offer video consultations or instructional videos to walk you through the first time. It is always better to ask for clarification than to guess.
The Role of Lifestyle in Your Journey
Mixing your medication correctly is a vital technical skill, but the medication is most effective when it is part of a broader lifestyle shift. Tirzepatide helps manage hunger and cravings, making it easier for you to make healthier choices.
Focus on high-protein meals to help maintain muscle mass while you lose weight. Staying hydrated is also essential, especially as your body adjusts to the medication. Some people find that the GLP-1 Daily Support supplement helps provide nutritional support during treatment.
Sustainable weight loss is a marathon, not a sprint. The medication acts as a tool to help balance your body’s internal chemistry, while your daily habits build the foundation for long-term success. We are here to support both the clinical and the lifestyle sides of that equation.
Conclusion
Learning how to mix compounded tirzepatide is a significant milestone in taking control of your metabolic health. While the process requires focus and attention to hygiene, it quickly becomes a straightforward part of your weekly routine. By following the steps of sanitization, careful measurement, and gentle mixing, you ensure that every dose is handled as directed.
Our mission at TrimRx is to simplify this journey for you. We provide clinical guidance, access to personalized treatment options, and ongoing support to help you feel confident at every step. We believe that weight loss should be handled with empathy and science, removing unnecessary barriers from your health journey.
If you are ready to see if a personalized tirzepatide program is right for you, the next step is simple.
- Complete our free health assessment quiz.
- Connect with a licensed provider to review your history and goals.
- Receive your personalized treatment instructions and start your journey toward sustainable health.
FAQ
How long does the mixing process take?
The actual process of mixing usually takes less than five minutes. Most of that time is spent sanitizing the vials and waiting for the powder to dissolve after you have added the bacteriostatic water. It is important not to rush, especially when swirling the vial to dissolve the medication.
What should I do if I see small particles in the vial after mixing?
If you see particles, do not inject the medication. Try gently swirling the vial for another minute and let it sit for a few minutes to see if they dissolve. If the liquid remains cloudy or has visible particles after ten minutes, contact your pharmacy or provider for guidance.
Can I mix the entire vial at once?
Yes, you generally mix the entire vial of powder with the specific amount of bacteriostatic water your provider has instructed. Once mixed, the vial becomes a multi-dose container that you will store in the refrigerator and use for your weekly injections until it is empty or reaches its beyond-use date.
Is it okay if the medication is a little bubbly after I swirl it?
Small bubbles at the top of the liquid are normal and usually occur during the swirling process. Simply let the vial sit upright in the refrigerator for a few minutes, and the bubbles should dissipate. Just ensure you aren’t drawing large air bubbles into your syringe when you prepare your dose.
Disclaimer: This content is for informational purposes only and does not constitute medical advice. It is not intended to diagnose, treat, cure, or prevent any disease or condition. Individual results may vary. Always consult a qualified healthcare professional before starting any weight loss program or medication.

Transforming Lives, One Step at a Time
Keep reading

Should You Taper Off Tirzepatide or Just Stop? What the Evidence Says
There is very little direct evidence either way, and anyone who tells you otherwise is filling a gap with confidence. The withdrawal trials that…
Stalled on Tirzepatide Even After a Dose Increase: Your Options
The first thing to check is how long it has been since the increase, because most people ask this question too early. A dose…

Why Did Tirzepatide Stop Working After Three Months of Fast Loss?
Five things explain almost all of it, and the first is the least satisfying: the fast stretch was never going to last. Weight loss…


