Where Should I Put My Ozempic Shot? Best Injection Sites
Introduction
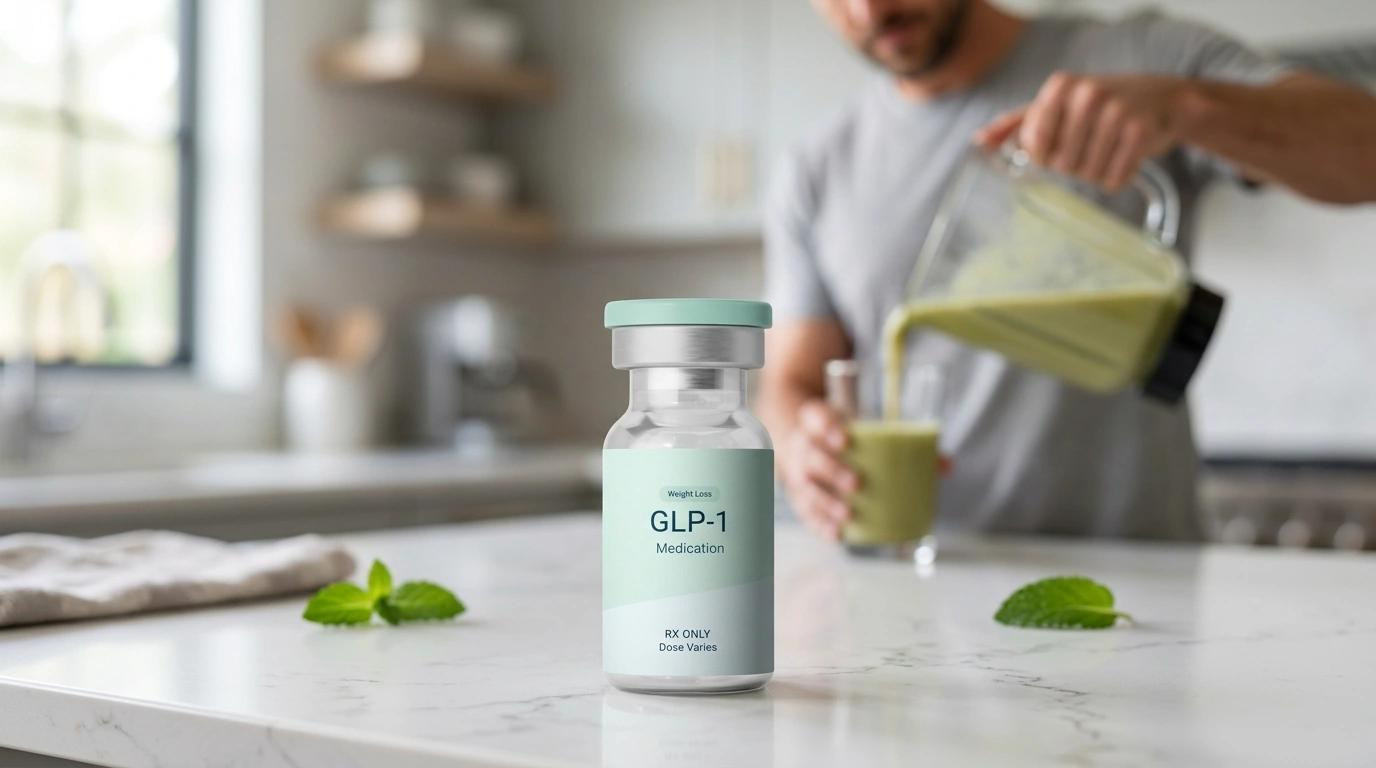
Standing in your kitchen or bathroom with a new medication pen in your hand can feel like a major turning point in your health journey. It represents hope for better metabolic health and a more sustainable way to manage your weight. However, it is also completely normal to feel a bit of hesitation or even a spark of anxiety when it comes to the actual injection. You want to make sure you are doing it correctly to get the best possible results. At TrimRx, we understand that the transition to self-administered GLP-1 medications is a big step that requires clear, empathetic guidance. If you’re wondering whether a personalized prescription program is the right fit, you can take the free assessment quiz. This post covers the three approved injection sites, why rotating them is essential for your comfort, and how to master the technique. Understanding exactly where to put your shot ensures the medication is absorbed correctly so you can focus on your progress.
The Importance of the Subcutaneous Layer
Before choosing a spot, it is helpful to understand where the medication needs to go. Ozempic® (semaglutide) is a subcutaneous injection. This means the needle is designed to reach the fatty tissue layer just beneath your skin but above your muscle. For a quick foundation on the hormone itself, read our guide to what GLP-1 is.
Glucagon-like peptide-1 (GLP-1) receptor agonists like semaglutide are designed for slow, steady absorption into the bloodstream. This slow release is what allows the medication to work for an entire week. If you want a deeper breakdown, our article on how GLP-1 actually works for weight loss is a helpful companion.
The fatty layer of your skin provides the perfect environment for this process. If the medication is accidentally injected into a muscle, it may absorb too quickly, which could potentially increase the intensity of side effects like nausea or lightheadedness.
The needles used for these pens are typically very short and thin, specifically designed to stay in that fatty layer. Most people find that because the needle is so small, they barely feel it at all.
The Three Approved Injection Sites
There are three primary areas where you can safely administer your weekly dose. These areas are chosen because they typically have enough subcutaneous fat to make the injection easy and effective.
The Abdomen (Stomach Area)
The abdomen is the most popular choice for many individuals. It is easy to see, easy to reach, and usually has an even layer of fatty tissue.
To use this site, you should target the area between your ribs and your pubic bone. However, there is one very important rule: stay at least two inches away from your belly button (navel). You should avoid injecting directly into the navel or any area where the skin is particularly tough, scarred, or bruised. If you want a closer walkthrough of the device and process, see understanding what a semaglutide injection is.
Many people find the abdomen to be the least sensitive area. It also offers a large surface area, which makes it very easy to move the injection spot slightly each week.
The Front of the Thigh
The thigh is another excellent option, especially if you prefer to sit down while administering your dose. The best area is the front and outer part of your upper thigh.
Avoid the inner thigh, as the skin there can be more sensitive and there are more blood vessels closer to the surface. Stick to the “meatier” part of the top of the leg. Some people find that injecting into the thigh is more convenient if they are wearing clothing that makes the abdomen harder to reach.
The Upper Arm
The back of the upper arm is the third approved site. This is often referred to as the tricep area. It is a good choice for people who may have skin irritation in other areas or simply want a different option in their rotation.
The challenge with the upper arm is that it can be difficult to reach by yourself. If you have a partner or friend who can help you, the arm is a great choice. If you are doing it alone, you may need to use a mirror or practice your positioning to ensure you are getting the needle into the fatty tissue on the back of the arm rather than the muscle on the side. If the device itself still feels intimidating, our guide to the Ozempic pen walks through it in more detail.
Why You Must Rotate Your Injection Site
It might be tempting to pick the one spot that feels the easiest and stick with it every week. However, rotating your injection site is one of the most important things you can do for your skin health and the effectiveness of the medication.
Preventing Lipohypertrophy
If you inject into the exact same square inch of skin every week, you may develop a condition called lipohypertrophy. This is a fancy term for small, rubbery lumps of fat that form under the skin in response to repeated trauma.
These lumps are not usually dangerous, but they can be annoying. More importantly, they can change how your body absorbs the medication. If you inject into a lump, the semaglutide may not enter your system at the right speed, which can make your dosage feel inconsistent.
Reducing Site Reactions
Even though the needles are tiny, they do cause a microscopic amount of irritation. By giving each spot a “break” for several weeks, you allow the tissue to heal completely. This significantly reduces the chances of experiencing redness, itching, or bruising at the site.
Key Takeaway: Always move your injection site at least one inch away from the previous week’s spot. You can rotate within the same general area (like the abdomen) or switch between the abdomen, thigh, and arm.
A Simple Rotation Strategy
A simple way to manage rotation is to think of your abdomen like a clock. On week one, you might inject at the “12 o’clock” position (two inches above the belly button). Week two could be at “3 o’clock,” week three at “6 o’clock,” and so on.
Alternatively, many people find it easier to switch sides. For example:
- Week 1: Right side of the stomach
- Week 2: Left side of the stomach
- Week 3: Right thigh
- Week 4: Left thigh
Our personalized programs often suggest keeping a simple log in your phone or on a calendar to track which site you used. This removes the guesswork and ensures you aren’t overworking any single patch of skin.
Preparing for Your Injection
Preparation is the key to a stress-free experience. Before you even take the cap off your pen, make sure you have everything you need in a clean, well-lit space.
- Check Your Medication: Look at the liquid inside the pen. It should be clear and colorless. If it looks cloudy, contains particles, or is discolored, do not use it. Also, double-check the expiration date on the label.
- Wash Your Hands: Always start with clean hands to prevent any bacteria from entering the injection site.
- Gather Supplies: You will need your pen, a new needle, an alcohol swab, and a sharps container for disposal.
- Temperature Tip: If you find that the injection stings slightly, it might be because the medication is cold. You can take the pen out of the refrigerator about 15 to 30 minutes before your injection to let it reach room temperature.
Step-by-Step Injection Guide
Once you are prepared and have chosen your site, follow these steps to ensure a full and safe dose.
Step 1: Attach the Needle
Remove the paper tab from a new needle. Push the needle straight onto the pen and turn it until it is tight. Pull off the outer needle cap and the inner needle cap. Never reuse a needle, as they become dull and can carry bacteria.
Step 2: Check the Flow (New Pens Only)
If you are using a brand-new pen for the first time, you need to check the flow. Turn the dose selector to the flow check symbol (usually a small line or dot). Hold the pen with the needle pointing up and press the button until the dose counter returns to zero. You should see a drop of liquid at the tip of the needle.
Step 3: Select Your Dose
Turn the dose selector until your prescribed dose (such as 0.25 mg or 0.5 mg) shows in the window. Make sure the number aligns perfectly with the pointer.
Step 4: Clean the Site
Wipe your chosen injection site with an alcohol swab. Let the skin air-dry for a few seconds. Do not blow on it, as this can introduce bacteria.
Step 5: Inject the Medication
Insert the needle into your skin. Most people find a 90-degree angle (straight in) works best. Press the dose button all the way down until the counter shows zero. Important: Continue to hold the button down and count slowly to six. This ensures that the full dose has left the needle and entered your body.
Step 6: Dispose of the Needle
Pull the needle out of your skin. Carefully remove the needle from the pen and place it immediately into a sharps container. Do not put used needles in the regular trash.
Bottom line: The most common mistake is pulling the needle out too fast. Counting to six while holding the button ensures you get every drop of your prescribed dose.
Overcoming the Fear of Needles
If the thought of a needle makes you nervous, you are certainly not alone. Many people starting their journey with us feel this way initially. The good news is that “needle-phobia” usually disappears after the first two or three successful doses.
One helpful trick is to “pinch an inch.” Use your free hand to gently pinch a fold of skin at the injection site. This creates a firm surface and can actually distract the nerves in the area, making the tiny prick of the needle even less noticeable.
Another tip is to focus on your breathing. Take a deep breath in, and as you exhale, press the needle in. This helps keep your muscles relaxed. A tense muscle is more likely to feel discomfort than a relaxed one.
Troubleshooting Common Issues
Even with the best technique, you might occasionally run into questions. Here is how to handle the most common scenarios.
A Drop of Liquid on the Needle
It is perfectly normal to see a small drop of liquid on the tip of the needle after you finish. As long as you held the button for six seconds and the counter returned to zero, you received your full dose. Do not try to inject more.
Bruising or Redness
A small amount of redness or a tiny bruise is common and usually nothing to worry about. It often happens if the needle hits a tiny capillary. For a broader look at expected reactions, common GLP-1 side effects: what to expect can help set expectations. If the area becomes hot to the touch, very painful, or shows signs of a spreading rash, contact your healthcare provider.
The Pen Won’t Click to Zero
If the dose counter doesn’t return to zero, your needle might be blocked. Remove the needle, attach a new one, and try the injection again. If it still doesn’t work, the pen may be empty or defective.
Storing Your Medication Properly
Where you keep your Ozempic® pen is just as important as where you put the shot. Proper storage ensures the medication remains stable and effective.
- Unopened Pens: These must be kept in the refrigerator. Do not freeze them. If a pen is accidentally frozen, it must be discarded.
- Opened (In-Use) Pens: Once you have used a pen for the first time, you can keep it in the refrigerator or at room temperature (below 86°F) for up to 56 days.
- Light Protection: Always keep the pen cap on when you aren’t using it. The medication is sensitive to light.
Enhancing Your Journey with TrimRx
Success with GLP-1 medications involves more than just a weekly shot. It is about creating a lifestyle that supports your metabolic health. At TrimRx, we focus on a comprehensive approach that includes medical supervision and high-quality support.
While medications like Ozempic®, Wegovy®, Mounjaro®, and Zepbound® are highly effective for many, they work best when paired with the right nutrients. For those experiencing common digestive shifts while on these medications, we offer products like GLP-1 Daily Support supplement. This supplement is designed to help your body maintain balance as it adjusts to your treatment.
Our platform also provides access to compounded Semaglutide and compounded Tirzepatide. These medications are prepared by FDA-registered, inspected compounding pharmacies. While these compounded versions are not FDA-approved, they provide a vital alternative for many individuals within our personalized programs.
When to Consult a Professional
Self-injecting is designed to be a solo activity, but you should never feel like you are without guidance. If you have a history of severe allergies, specific concerns about skin conditions at the injection sites, or if you are pregnant or breastfeeding, always consult with a licensed healthcare provider before starting or changing your routine.
If you want help deciding whether prescription support makes sense for you, you can see if you qualify for a personalized program. If you experience severe side effects—such as persistent vomiting, intense abdominal pain that radiates to your back, or signs of an allergic reaction like swelling of the face or throat—seek medical attention immediately. These are rare but require professional evaluation.
Moving Toward Sustainable Success
Mastering your injection technique is a small but vital part of your larger health story. By choosing the right sites, rotating faithfully, and following a clean, consistent process, you remove the stress from your weekly routine. This allows you to focus on the things that matter: feeling more energized, seeing improvements in your health markers, and reaching your personal goals.
We are dedicated to being your partner in this process. Our mission is to merge clinical expertise with modern telehealth to make your journey toward a healthier lifestyle as transparent and supportive as possible. Through our science-backed programs and empathetic guidance, we help you navigate the complexities of GLP-1 therapy with confidence.
If you are ready to take the next step or are looking for a more personalized approach to your weight loss goals, your journey starts with a simple evaluation. We invite you to take our free assessment quiz to see which of our medically supervised programs is the right fit for your unique health profile.
FAQ
Does it matter which injection site I pick for weight loss?
Clinical studies generally show that the effectiveness of the medication is consistent across all three approved sites (abdomen, thigh, and arm). While some individuals personally feel they have fewer side effects when injecting in the thigh versus the abdomen, there is no definitive scientific evidence that one site leads to more weight loss than another. The most important factor is consistent absorption, which is achieved by rotating sites and staying in the fatty tissue.
Can I inject Ozempic® through my clothing?
No, you should never inject through clothing. Injecting through fabric can introduce lint, bacteria, or other contaminants into the injection site, increasing your risk of infection. Additionally, clothing can interfere with your ability to see the needle depth and ensure the pen is pressed firmly against your skin. Always clean the skin with an alcohol swab and inject directly into the bare skin. For a fuller walkthrough, our semaglutide injection guide on how and where to inject semaglutide for effective weight loss is a useful companion.
What should I do if a little bit of liquid leaks out of the site?
If you see a tiny drop of liquid on your skin after pulling the needle out, do not worry. This is common and does not mean you missed your dose. However, if a significant amount of liquid streams out, it usually means the needle wasn’t held in place long enough. Do not repeat the dose; simply wait until your next scheduled day and remember to count to six slowly while holding the button down next time.
Is it okay to massage the area after the injection?
You should avoid rubbing or vigorously massaging the injection site immediately after your shot. Massaging the area can cause the medication to disperse or absorb faster than intended, and it may also increase the risk of bruising or irritation. If the area feels slightly tender, you can apply very gentle pressure with a clean tissue or cotton ball for a few seconds, but do not rub the skin.
Disclaimer: This content is for informational purposes only and does not constitute medical advice. It is not intended to diagnose, treat, cure, or prevent any disease or condition. Individual results may vary. Always consult a qualified healthcare professional before starting any weight loss program or medication.
Transforming Lives, One Step at a Time
Keep reading

Gas and Bloating on Ozempic or Semaglutide: Why It Happens and How to Manage It
Yes, gas, bloating, and belching are common on Ozempic and semaglutide, and for most people they’re a manageable part of the adjustment period. The…

Dizziness on Ozempic or Semaglutide: Why It Happens and What to Do
If you feel dizzy or lightheaded on Ozempic or semaglutide, you’re not alone, and in most cases the cause is manageable. The usual culprits…

Ozempic and Tylenol (Acetaminophen): Is It Safe?
Acetaminophen (the active ingredient in Tylenol) is generally considered safe to take with Ozempic or semaglutide, and there’s no dangerous direct interaction between them….

