How to Inject Zepbound in Stomach Safely and Effectively
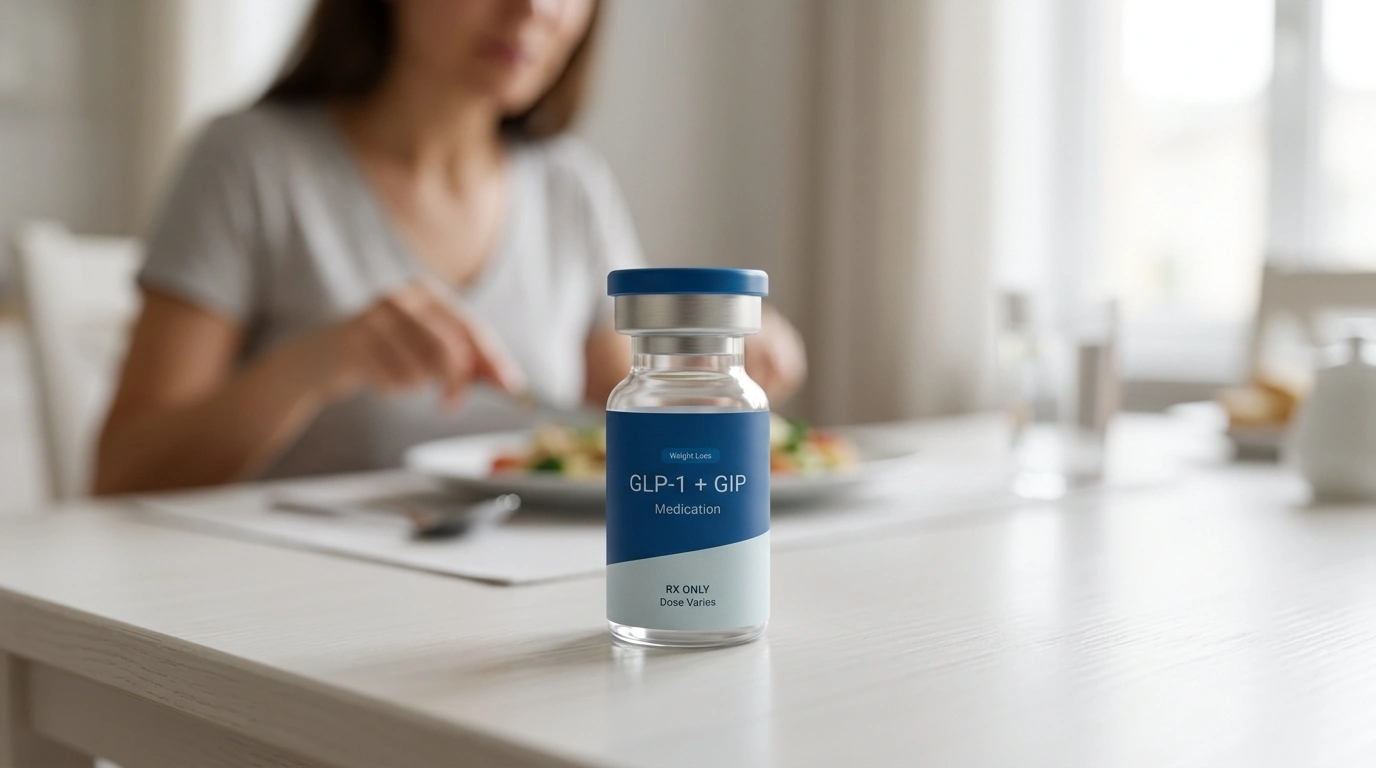
Table of Contents
- Introduction
- Understanding Your Zepbound® Pen
- Why the Stomach is a Preferred Injection Site
- Preparing for Your Injection
- How to Inject Zepbound in Stomach: Step-by-Step
- Choosing and Rotating Injection Sites
- Managing Common Injection Site Reactions
- Troubleshooting Your Zepbound® Pen
- Storage and Travel with Zepbound®
- Maximizing the Benefits of Your Treatment
- When to Consult a Healthcare Professional
- Conclusion
- FAQ
Introduction
Starting a new medication like Zepbound® often comes with a mix of hope and hesitation, especially when it involves self-injection. For many, the first time holding the auto-injector pen can feel intimidating, leading to questions about the best technique to minimize discomfort and ensure the medication works as intended. At TrimRx, we understand that the transition to a medical weight loss journey is a significant step, and having clear, clinical guidance can replace anxiety with confidence. This article covers the essential steps for preparing your injection, selecting the best location on your abdomen, and executing the process safely. By mastering the technique of how to inject Zepbound in stomach, you can focus on your long-term health goals rather than the mechanics of the dose. Proper injection technique is vital for ensuring the medication is absorbed correctly into the subcutaneous fat layer.
If you are still deciding whether prescription treatment is the right fit, you can take the free assessment quiz to see whether a personalized program makes sense for you.
Understanding Your Zepbound® Pen
Before learning the physical steps of the injection, it is important to understand what you are holding. Zepbound® is a branded medication containing tirzepatide, which is a dual GIP (glucose-dependent insulinotropic polypeptide) and GLP-1 (glucagon-like peptide-1) receptor agonist. These are hormones naturally produced by the body that help regulate appetite and blood sugar levels. The medication is delivered via a single-dose prefilled auto-injector pen, which is designed for ease of use and safety.
If you want a deeper science overview before getting started, our guide on how tirzepatide works can help you understand the mechanism behind the treatment.
The pen is a sophisticated piece of medical technology that hides the needle from view, which can be a significant relief for those with needle-related anxiety. Each pen contains one dose and is intended to be used once and then discarded. The mechanism is spring-loaded, meaning it does the work of inserting the needle and delivering the liquid for you. You do not need to manually push a needle into your skin; you simply trigger the device once it is properly positioned.
Key Takeaway: The Zepbound® auto-injector is a single-use device designed to deliver tirzepatide into the fat layer under the skin, with the needle remaining hidden before and after the injection.
Why the Stomach is a Preferred Injection Site
When you are instructed to perform a subcutaneous injection—meaning an injection into the fat layer just beneath the skin—the abdomen is often the primary choice. The stomach provides a large, accessible surface area with a consistent layer of subcutaneous fat. This fat layer is crucial because it allows the medication to be absorbed into the bloodstream at a steady, controlled rate.
For a broader look at placement options, the TrimRx guide to the best injection site for tirzepatide explains why the abdomen, thigh, and upper arm are all commonly used.
If the medication were injected too deeply into a muscle, it would be absorbed too quickly, potentially increasing the risk of side effects or reducing the duration of the drug’s effectiveness. Conversely, injecting into the stomach’s fatty tissue ensures the tirzepatide is released slowly, mirroring the way the body’s natural hormones function.
While Zepbound® can also be injected into the thigh or the back of the upper arm, the stomach remains a favorite for many because it is easy to see and reach without assistance. However, it is important to avoid areas where the skin is tender, bruised, red, or hard. You should also stay at least two inches away from the belly button (umbilicus), as the tissue directly around the navel is more fibrous and may not absorb the medication as efficiently.
Preparing for Your Injection
Preparation is the foundation of a safe injection experience. Taking five minutes to set up your environment can prevent errors and reduce the risk of infection.
Inspect the Medication
Start by taking one pen out of the refrigerator. Check the label to confirm it is the correct medication and the dosage prescribed by your healthcare provider. Look at the expiration date; never use a pen that has expired. Most importantly, look through the clear inspection window on the side of the pen. The liquid should be clear and colorless to slightly yellow. If the liquid is cloudy, contains particles, or looks “frozen,” do not use it.
Let it Reach Room Temperature
While Zepbound® must be stored in the refrigerator, injecting cold liquid can sometimes cause a stinging sensation. Many patients find it more comfortable to let the pen sit at room temperature for about 30 minutes before use. Do not attempt to warm the pen using a microwave, hot water, or direct sunlight, as extreme heat can damage the tirzepatide molecule.
Gather Your Supplies
You will need three basic items for a successful injection:
- Your Zepbound® prefilled pen
- An alcohol swab or a cotton ball soaked in rubbing alcohol
- A sharps disposal container (or a heavy-duty plastic container with a lid)
Clean Your Hands and the Site
Wash your hands thoroughly with soap and water. This is a non-negotiable step to prevent introducing bacteria to the injection site. Once your hands are dry, choose a spot on your stomach. Use the alcohol swab to clean the skin in a circular motion, starting at the center and moving outward. Allow the skin to air-dry completely. Do not blow on the skin to dry it, as this can reintroduce bacteria.
How to Inject Zepbound in Stomach: Step-by-Step
Once you are prepared, follow these five steps to complete the injection.
Step 1: Uncap the Pen. Pull the base cap straight off. Do not twist the cap, as this could damage the needle inside. Once the cap is off, do not touch the needle or the clear base. You should perform the injection immediately after uncapping to maintain sterility.
Step 2: Place the Base. Place the clear base of the pen flat against your skin at the cleaned injection site on your stomach. Ensure the pen is perpendicular to the skin, not at an angle. You do not need to “pinch” the fat on your stomach for this specific auto-injector, though some people find it helps create a firmer surface.
Step 3: Unlock the Device. The pen has a lock ring at the top. Turn the lock ring to the “unlock” position. You will usually see a green icon or a symbol indicating it is ready to fire. Do not press the button until the pen is firmly against your skin and you are ready for the dose.
Step 4: Press and Hold. Press the purple injection button down. You will hear a loud click. This signifies that the needle has been inserted and the injection has started. Continue to hold the pen firmly against your skin. You will hear a second click a few seconds later. This second click indicates that the injection is complete.
Step 5: Verify and Dispose. Look for the gray plunger in the clear window. The appearance of the gray plunger confirms that the full dose has been delivered. Lift the pen away from your skin. You may see a small drop of blood or a tiny bit of liquid at the site; this is normal. Press a cotton ball or gauze against the site if needed, but do not rub the area. Immediately place the used pen into your sharps container.
Bottom line: The “click-hold-click” method is the most reliable way to ensure you receive your full dose. Never lift the pen until you hear the second click and see the gray plunger.
Choosing and Rotating Injection Sites
The stomach is a broad area, but you should never use the exact same spot every week. Repeatedly injecting into the same square inch of skin can lead to a condition called lipohypertrophy, where lumps of firm fat tissue form under the skin. This can be uncomfortable and can interfere with how your body absorbs the medication.
A helpful strategy is to imagine your stomach as a clock face or a four-quadrant grid. If you inject in the “upper right” quadrant this week, move to the “lower left” next week. You can also alternate between the left and right sides of your abdomen, staying at least two inches away from your belly button.
For a deeper look at injection placement and rotation, our article on how to inject compounded tirzepatide safely covers practical site-selection tips.
Myth: You must inject in the stomach for the medication to work. Fact: While the stomach is a common and effective site, Zepbound® is also approved for injection in the thigh and the back of the upper arm. The key is rotating these sites to maintain skin health.
Managing Common Injection Site Reactions
Most people tolerate Zepbound® injections very well, but minor skin reactions can occur. These are usually localized and disappear within a few days.
- Redness or Swelling: A small red circle or slight puffiness at the site is a common immune response. If it is itchy, a cold compress or an over-the-counter antihistamine may help.
- Bruising: This usually happens if a small blood vessel is nicked during the injection. It is not dangerous and will heal like any other bruise. To minimize bruising, avoid rubbing the site after the injection.
- Sting or Burn: As mentioned, letting the medication reach room temperature can reduce this. Also, ensure the alcohol has dried completely before injecting, as wet alcohol can be “carried” into the skin by the needle, causing a sting.
If you notice a rash that spreads, severe swelling, or difficulty breathing, seek medical attention immediately, as these could be signs of a rare allergic reaction. Always discuss persistent skin issues with your healthcare provider.
Troubleshooting Your Zepbound® Pen
Even with the best preparation, you might encounter an issue with the injection process. Here is how to handle common scenarios:
The Pen Didn’t Click
If you press the button and nothing happens, check the lock ring. It is the most common reason for a “failed” start. If it is unlocked and still won’t fire, do not attempt to fix the pen. Contact the manufacturer or your pharmacist for a replacement.
I See a Drop of Liquid on the Needle
It is normal to see a small drop of liquid at the tip of the needle after removing the cap or after the injection is finished. This does not mean you missed your dose. The device is calibrated to account for this.
I Lifted the Pen Too Early
If you hear the first click but lift the pen before the second click, you may have only received a partial dose. Do not attempt to inject another pen to “make up” for it. Instead, contact your healthcare provider or a specialist through our platform for guidance on when to take your next dose.
Storage and Travel with Zepbound®
To maintain the integrity of the medication, proper storage is essential. Zepbound® should be kept in the refrigerator between 36°F and 46°F (2°C to 8°C).
If you are traveling, the pens can be kept at room temperature (up to 86°F or 30°C) for up to 21 days. However, once a pen has reached room temperature, it should not be put back in the refrigerator. If you are on a long trip, use a travel cooler designed for medications, but ensure the pens do not touch ice packs directly, as freezing will ruin the medication.
Maximizing the Benefits of Your Treatment
Proper injection technique is just one part of a successful journey. While Zepbound® is a powerful tool for weight management, it works most effectively when integrated into a comprehensive lifestyle plan. This includes balanced nutrition, regular physical activity, and consistent medical supervision.
Our team at TrimRx emphasizes the importance of a personalized approach. Because everyone’s metabolic health is unique, what works for one person may need adjustment for another. Through our platform, you have access to licensed providers who can help you navigate dosage changes, manage side effects, and optimize your results.
For those looking to support their body’s transition during GLP-1 or GIP therapy, specialized supplements can be beneficial. Products like GLP-1 Daily Support are formulated to provide essential nutrients that may be lacking if your appetite significantly decreases. If you want extra support for energy and metabolism while losing weight, Weight Loss Boost may also be a helpful option. Additionally, maintaining adequate protein intake and hydration is critical to preserving muscle mass while losing fat.
If you are considering whether a prescription program is right for you, another good next step is to complete the free assessment quiz and explore personalized treatment options.
When to Consult a Healthcare Professional
While self-injection becomes routine for most, you should never hesitate to reach out to a professional if you have concerns. Contact your provider if:
- You experience severe abdominal pain or persistent vomiting.
- You notice signs of an infection at the injection site (warmth, pus, or worsening pain).
- You are unsure if you administered the dose correctly.
- You experience symptoms of low blood sugar, such as dizziness, shakiness, or confusion.
If you are still in the decision phase, the GLP-1 medication checklist for getting started is a useful companion read before your consultation.
Your healthcare provider is there to ensure your safety and to help you understand the clinical aspects of your treatment. They can provide personalized advice on site rotation and help you manage any gastrointestinal side effects that may occur as your body adjusts to the medication.
Conclusion
Mastering the process of how to inject Zepbound in stomach is a practical skill that becomes easier with every passing week. By following the “uncap, place, unlock, and press” sequence, you ensure that the medication is delivered safely into the subcutaneous fat for optimal absorption. Remember to prioritize hygiene, rotate your injection sites across your abdomen, and allow your medication to reach room temperature for a more comfortable experience.
At TrimRx, we are committed to being your partner in this process, providing the telehealth support and clinical expertise needed for a sustainable health transformation. Our mission is to combine modern science with empathetic care, ensuring you never feel like you are navigating your weight loss journey alone. If you are ready to take the next step toward a healthier lifestyle, we invite you to take our free assessment quiz to see which personalized program is right for you.
Next Steps for Your Journey:
- Confirm your dosage and schedule with your provider.
- Set a weekly “injection day” and a reminder on your phone.
- Choose a dedicated spot for your sharps container.
- Complete our free assessment quiz to explore personalized treatment options.
FAQ
Does it hurt to inject Zepbound® in the stomach?
Most people report that the injection is relatively painless because the needle is very thin and the auto-injector works quickly. You might feel a slight pinch or pressure, but letting the medication reach room temperature for 30 minutes beforehand can significantly reduce any stinging.
What happens if I inject Zepbound® too close to my belly button?
Injecting too close to the navel can be more painful and may result in poor absorption of the medication. The tissue around the belly button is often tougher and more fibrous; staying at least two inches away ensures the needle reaches the softer subcutaneous fat layer.
Should I massage the area after injecting Zepbound® in my stomach?
No, you should not rub or massage the injection site after the dose is delivered. Massaging the area can change how the medication is absorbed and may increase the risk of skin irritation or bruising. If there is a tiny drop of blood, simply press a cotton ball firmly against the spot without rubbing.
Can I inject Zepbound® in my stomach if I have stretch marks?
It is best to avoid injecting directly into stretch marks, scars, or any areas where the skin is thickened or damaged. These areas may have altered blood flow or tissue density, which can interfere with the consistent absorption of the tirzepatide. Find a clear area of healthy skin on your abdomen for each dose.
Disclaimer: This content is for informational purposes only and does not constitute medical advice. It is not intended to diagnose, treat, cure, or prevent any disease or condition. Individual results may vary. Always consult a qualified healthcare professional before starting any weight loss program or medication.
Transforming Lives, One Step at a Time
Keep reading

GLP-1 Glossary: Every Term From A1C to Zepbound
Introduction GLP-1 stands for glucagon-like peptide-1, a hormone your gut releases after eating that prompts insulin, slows stomach emptying, and dials down appetite. Drugs…

Does Zepbound Cause Hair Loss? What to Know
You finally start seeing progress on the scale, your appetite is calmer, and things feel like they are moving in the right direction. Then…
Is Zepbound the Same as Mounjaro? A Clear Explanation
If you have seen both “Mounjaro” and “Zepbound” come up in conversations about tirzepatide treatment and found yourself wondering which one to ask your…

