How to Inject Zepbound with Syringe: A Clear Step-by-Step Guide
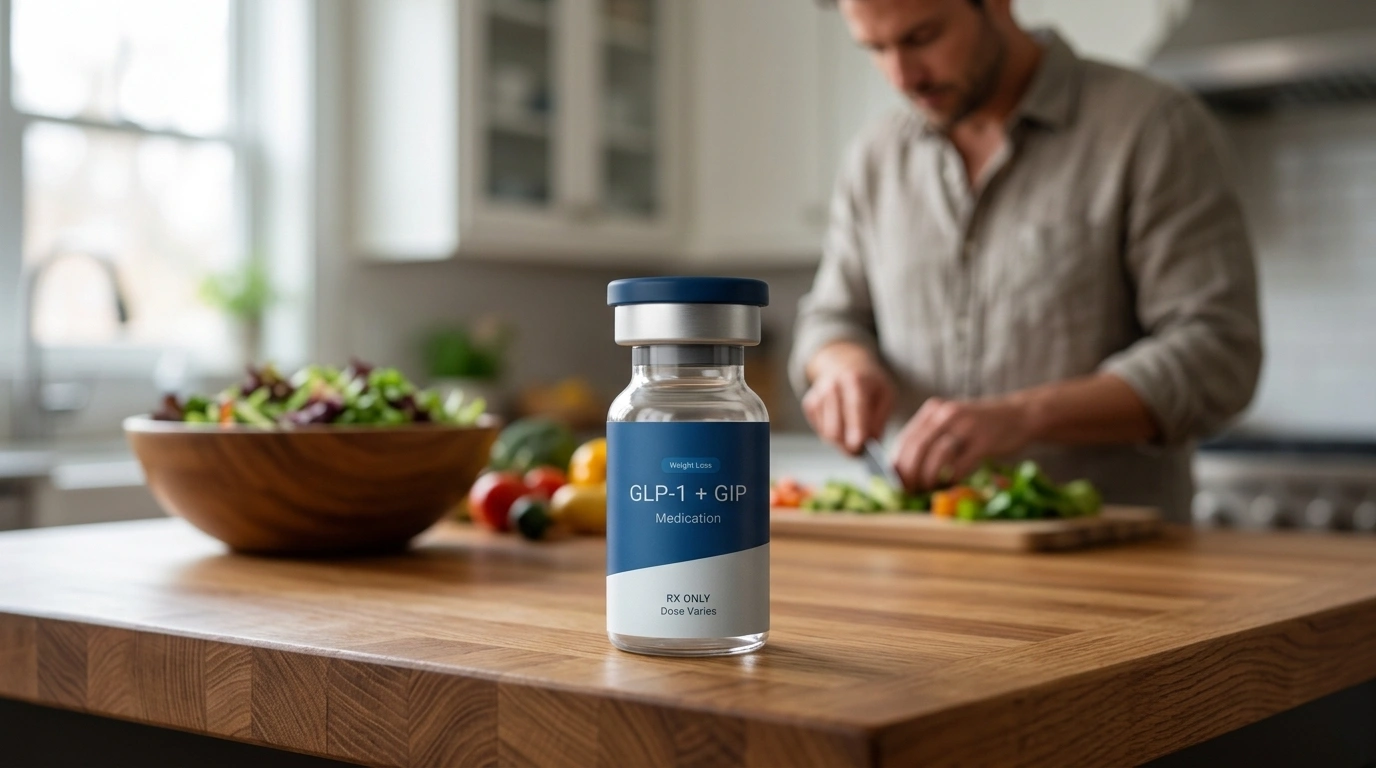
Table of Contents
- Introduction
- The Shift Toward Vials and Syringes
- Understanding the Equipment
- Step-by-Step Guide to the Injection Process
- Selecting and Rotating Injection Sites
- Understanding Your Dosage: Units vs. Milligrams
- Maximizing Comfort and Safety
- Managing Common Side Effects
- The Role of Personalization in Weight Loss
- Troubleshooting Common Injection Issues
- Safety and Storage
- Why a Supervised Program Matters
- Taking the Next Step
- FAQ
Introduction
Moving from a pre-filled, single-use pen to a vial and syringe can feel like a significant hurdle in your weight loss journey. Many people find the clicking mechanism of an auto-injector comforting because it handles the technical details for them. However, learning to manually draw and inject your medication is a valuable skill, especially if you are starting a personalized program and want to understand every step of the process. If you’re considering prescription treatment, you can take the free assessment quiz to see whether a supervised plan may be a fit for you. This guide will walk you through the preparation, safety protocols, and technique required to use a syringe effectively. By the end of this article, you will understand the exact steps to ensure your dose is accurate and your injection is as comfortable as possible.
Quick Answer: To inject Zepbound® with a syringe, you must first clean the vial stopper with alcohol, draw air into the syringe equal to your dose, inject that air into the vial, and then withdraw the liquid medication. The injection is performed subcutaneously—into the fatty tissue of the stomach, thigh, or upper arm—at a 90-degree angle after cleaning the skin.
The Shift Toward Vials and Syringes
For a long time, the primary way to access GLP-1 (glucagon-like peptide-1) and GIP (glucose-dependent insulinotropic polypeptide) medications was through branded auto-injector pens. These devices are designed for convenience, but they can sometimes face supply shortages or be less flexible for specific dosing needs. Tirzepatide is a dual-acting receptor agonist, and if you want a clearer overview of how it works, you can review our tirzepatide guide. This means it mimics two natural hormones in your body to help regulate blood sugar and signal to your brain that you are full.
Choosing a vial and syringe setup often provides more control over the administration process. While the branded Zepbound® vials are relatively new to the market, the process of using a syringe is a standard medical practice used for decades by individuals managing various health conditions. Whether you are using the branded version or a compounded alternative through a personalized program, the fundamental steps of sterile technique remain the same.
Key Takeaway: Using a vial and syringe requires a few extra steps compared to a pen, but it allows for consistent access to medication and precise dose management under the guidance of a healthcare provider.
Understanding the Equipment
Before you begin the injection process, it is essential to familiarize yourself with the tools you will be using. A standard injection setup for subcutaneous medications typically involves four main components.
The Medication Vial
The vial contains the liquid medication. For Zepbound®, these are often single-dose vials, meaning you use the entire contents for one injection. If you are using compounded Tirzepatide, the vial may contain multiple doses. Always check the label to verify the medication name, the expiration date, and the concentration. The liquid should be clear and colorless or slightly yellowish; if it is cloudy or contains particles, do not use it.
The Insulin Syringe
Most Tirzepatide injections use an insulin-style syringe. These are measured in “units” rather than milliliters (mL), which can be confusing at first. It is vital to understand that “units” on a syringe represent a volume of liquid, not the milligrams (mg) of the drug itself.
- The Needle: Usually very short and thin (31-gauge is common) to minimize discomfort.
- The Barrel: The hollow tube that holds the medication.
- The Plunger: The moveable part used to draw medication in and push it out.
- The Flange: The flared part at the end of the barrel where you place your fingers.
If you want a deeper look at needle choices, this tirzepatide needle guide explains the basics in more detail.
Alcohol Prep Pads
Sterility is the most critical part of the process. You will need at least two alcohol pads: one for the top of the vial and one for your skin.
Sharps Disposal Container
You must never throw used needles into the regular trash. A dedicated sharps container is required to safely house used syringes. If you do not have a professional one, a heavy-duty plastic container with a screw-on lid (like an empty laundry detergent bottle) can serve as a temporary solution.
Step-by-Step Guide to the Injection Process
Proper preparation reduces the risk of infection and ensures you receive the full intended dose. Follow these steps carefully to master the manual injection technique.
Step 1: Clean your workspace and hands. / Choose a well-lit area and wipe down the surface. Wash your hands thoroughly with warm water and soap for at least 20 seconds.
Step 2: Prepare the vial. / Remove the plastic cap from the vial if it is new. Wipe the rubber stopper firmly with a fresh alcohol swab and let it air dry for several seconds.
Step 3: Prepare the syringe. / Remove the cap from the needle. Pull the plunger back to fill the syringe with air up to the line that matches your prescribed dose.
Step 4: Equalize the pressure. / Place the vial on a flat surface. Insert the needle through the center of the rubber stopper and push the plunger down to inject the air into the vial.
Step 5: Draw the medication. / Turn the vial and syringe upside down. Ensure the needle tip is submerged in the liquid and slowly pull the plunger back until you reach your dose line.
Step 6: Remove air bubbles. / Tap the side of the syringe with your finger to move any air bubbles to the top. Push the plunger slightly to expel the air, then pull back again if necessary to reach the correct volume.
Step 7: Choose and clean the site. / Select an injection site (stomach, thigh, or back of the arm). Wipe the area with an alcohol pad in a circular motion and let it dry.
Step 8: Perform the injection. / Hold the syringe like a pencil. With your other hand, you may gently pinch a fold of skin. Insert the needle at a 90-degree angle, push the plunger all the way down, and wait five seconds before withdrawing the needle.
Note: Never reuse a needle or syringe. Even a single use dulls the needle and increases the risk of skin irritation or infection.
Selecting and Rotating Injection Sites
The location of your injection can influence how the medication is absorbed and how you feel afterward. Zepbound® and other Tirzepatide medications are designed for subcutaneous injection, which means they go into the fatty layer just beneath the skin, not into a muscle or vein.
The Abdomen
This is the most common site. Choose a spot at least two inches away from your belly button. The abdomen usually has the most subcutaneous fat, making the injection nearly painless for many people.
The Thigh
The front or outer side of the thigh is another excellent option. This site is often easier to reach if you are injecting yourself while sitting down.
The Upper Arm
The back of the upper arm can be used, though this is often easier if you have someone assisting you. It is harder to pinch the skin on your own arm properly.
The Importance of Rotation
You should never inject into the exact same spot two weeks in a row. Site rotation helps prevent “lipohypertrophy,” which is a buildup of fatty tissue under the skin that can interfere with how the medication is absorbed. Rotate your sites by moving at least one inch away from your last injection point or by switching from the left side of the body to the right side each week.
If you want a companion article focused on site choice, this injection-site guide for tirzepatide covers the practical details.
| Injection Site | Ease of Use | Best For |
|---|---|---|
| Abdomen | High | Self-administration; consistent absorption |
| Outer Thigh | Moderate | Stability; easy to see while sitting |
| Back of Arm | Low | Assistance; good for rotating away from the belly |
Bottom line: Rotating your injection sites between the stomach, thighs, and arms reduces skin irritation and ensures the medication works effectively over time.
Understanding Your Dosage: Units vs. Milligrams
One of the most common points of confusion when using a syringe is the difference between the dose in milligrams (mg) and the volume in units. Because Tirzepatide comes in different concentrations, the amount of liquid you draw can vary.
For example, a 2.5 mg dose might be 25 units in one concentration but only 12.5 units in another. Always follow the specific instructions provided by your healthcare professional or the pharmacy label. Do not assume your dose volume will stay the same if your medication source or concentration changes.
Myth: “I should just fill the whole syringe.”
Fact: You must only draw the medication to the specific unit line prescribed by your provider. Injecting more than prescribed increases the risk of severe side effects like nausea and vomiting.
Maximizing Comfort and Safety
While the idea of a needle can be intimidating, the syringes used for GLP-1 medications are extremely thin. Most people report feeling nothing more than a tiny pinch. However, if you are nervous, there are ways to make the experience more comfortable.
- Temperature Matters: Injecting cold medication directly from the refrigerator can sometimes sting. You can let the syringe sit at room temperature for about 15 to 30 minutes before injecting. Do not use a microwave or hot water to warm it; simply letting it sit on the counter is sufficient.
- Dry Skin is Key: Ensure the alcohol on your skin has completely evaporated before you insert the needle. If the skin is still wet, the alcohol can be “carried” into the injection site, causing a stinging sensation.
- The 90-Degree Angle: Modern short needles are designed to be inserted straight in (perpendicular to the skin). You do not need to aim at an angle unless you have very little body fat, in which case your provider might suggest a 45-degree angle.
If you want a broader overview of the medication itself, this tirzepatide mechanism guide is a helpful companion.
Important: If you accidentally stick yourself with a needle before the injection, discard the syringe and start over with a fresh one to maintain sterility.
Managing Common Side Effects
Since Zepbound® and its compounded counterparts affect the digestive system, it is normal to experience some side effects as your body adjusts. The way you inject can sometimes influence local reactions, but systemic side effects are usually related to the medication’s mechanism of action.
Common side effects include:
- Nausea or upset stomach
- Mild redness or itching at the injection site
- Constipation or diarrhea
- Fatigue
Most site reactions, such as mild redness, go away within a day or two. If you notice a “welt” that is hot to the touch, extremely painful, or accompanied by a fever, contact a healthcare provider, as this could indicate a skin infection.
To help manage systemic side effects like nausea, many people find it helpful to stay hydrated and eat smaller, more frequent meals. Some individuals also prefer to take their injection in the evening so they can sleep through the initial period when side effects might be most noticeable. For more detailed support around GI issues, this GLP-1 side effects guide is a useful read.
If you’re looking for nutritional support while appetite is lower, the GLP-1 Daily Support supplement is designed for those moments.
The Role of Personalization in Weight Loss
The transition to using a syringe is often part of a broader shift toward a more personalized approach to health. At TrimRx, we recognize that every weight loss journey is unique. Some individuals thrive with the simplicity of a pen, while others find that a vial and syringe program offers the flexibility and consistency they need to reach their goals.
We provide a platform that connects you with licensed healthcare providers who can evaluate your medical history and determine if a GLP-1 or GIP medication is right for you. Our process is designed to be supportive and transparent, moving away from “one-size-fits-all” solutions. By using a telehealth-first model, we ensure you have access to expert guidance without the need for in-person waiting rooms. If you are ready to see whether prescription treatment may be appropriate, you can complete the free assessment quiz at any point.
Key Takeaway: Success with GLP-1 therapy depends on more than just the medication; it requires a supportive environment, clear instructions, and a plan tailored to your body’s specific needs.
Troubleshooting Common Injection Issues
Even with practice, you might encounter small issues during your weekly routine. Knowing how to handle them calmly is part of becoming a confident self-injector.
Air Bubbles in the Syringe
A small air bubble is usually not a medical emergency when injecting subcutaneously, but it can mean you aren’t getting your full dose of medication. To fix this, while the needle is still in the vial, tap the barrel until the bubble rises to the top, then push the plunger to send the air back into the vial.
The Plunger is Hard to Push
If you find the plunger is difficult to move, you might be hitting a firm area of tissue. Ensure you are relaxed and that you aren’t injecting into a scar, a mole, or a bruise. If the needle feels blocked, do not force it; withdraw and use a new syringe in a different spot.
Medication Leaking from the Site
If a tiny drop of liquid appears on your skin after you pull the needle out, don’t worry. This is called “tracking” and is very common. To minimize this, wait a full five to ten seconds after pushing the plunger before you pull the needle out. Do not rub the site afterward; just blot it gently with a tissue if needed.
Forgetting a Dose
If you miss a dose, check the specific instructions provided with your medication. Generally, if it has been four days or less since your scheduled day, you can take the dose as soon as you remember. If more than four days have passed, skip that dose and wait until your next regularly scheduled day. Never take two doses at once to make up for a missed one.
Safety and Storage
Proper storage is vital for maintaining the potency of Tirzepatide. Most of these medications should be kept in the refrigerator between 36°F and 46°F (2°C to 8°C).
- Avoid the Freezer: Never freeze your medication. If a vial has been frozen, it is no longer safe to use and should be discarded.
- Light Sensitivity: Keep the vials in their original carton to protect them from light.
- Travel Tips: If you are traveling, use a small insulated cooler bag with a cold pack. Ensure the vial does not touch the ice pack directly to prevent accidental freezing.
- Room Temperature: Many GLP-1 medications can stay at room temperature (up to 86°F) for a limited number of days (often 21 to 28 days). Check your specific pharmacy label for the exact timeframe for your medication.
Why a Supervised Program Matters
Self-injecting can feel like a solo task, but it should always be done under the supervision of a clinical team. A structured program ensures that your dosage is titrated (adjusted) correctly. Most patients start on a low “loading dose” to allow their digestive system to adapt, gradually increasing the dose over several months.
Our platform focuses on this long-term strategy. We provide 24/7 access to a dedicated team, ensuring that if you have a question about your injection technique or a side effect, you have a professional to turn to. This level of support is designed to remove the guesswork and help you focus on the lifestyle changes that lead to sustainable results.
If you want added support while managing appetite changes or reduced intake, the Weight Loss Boost supplement is intended for that kind of use.
Taking the Next Step
Learning how to inject Zepbound® or compounded Tirzepatide with a syringe is a practical skill that opens the door to more consistent weight management. While the steps require focus, they quickly become second nature. The key is to maintain a sterile environment, be precise with your measurements, and always listen to your body.
At TrimRx, our mission is to help you navigate this process with science-backed information and empathetic support. We merge clinical expertise with modern technology to deliver a program that is both accessible and effective. If you are ready to explore a personalized weight loss journey, you can take the free assessment quiz to get started.
Bottom line: Mastering the syringe injection technique is an empowering part of taking control of your metabolic health. With the right supplies and a clear plan, you can safely and effectively administer your medication at home.
FAQ
Is it painful to inject with a syringe?
Most people find that injecting with a syringe is much less painful than they expected because the needles are extremely thin and short. The sensation is often described as a minor pinch or a mosquito bite. Ensuring the skin is dry and the medication is not ice-cold can further improve comfort.
How do I know if I injected the medication correctly?
If you inserted the needle into a fatty area, pushed the plunger all the way down, and held it for a few seconds, you likely received the dose correctly. A small drop of blood or a tiny bead of liquid on the skin afterward is normal and does not mean the injection failed.
Can I use the same syringe more than once?
No, you must never reuse a syringe. Reusing a needle dulls the tip, making the injection more painful, and significantly increases the risk of introducing bacteria into your body or the medication vial. Always dispose of your syringe in a sharps container immediately after one use.
What should I do if I draw too much medication into the syringe?
If you pull back too much liquid, simply push the plunger slowly while the needle is still inside the vial (and the vial is upside down) to return the excess medication. Continue until the top of the black plunger line sits exactly on the mark for your prescribed dose.
What if constipation or nausea makes treatment harder?
If side effects become harder to manage, it can help to review a dedicated side-effect guide and, if appropriate, consider a supportive product option while you stay in touch with your care team. You can also take the free assessment quiz to discuss a personalized plan.
Disclaimer: This content is for informational purposes only and does not constitute medical advice. It is not intended to diagnose, treat, cure, or prevent any disease or condition. Individual results may vary. Always consult a qualified healthcare professional before starting any weight loss program or medication.
Transforming Lives, One Step at a Time
Keep reading

GLP-1 Glossary: Every Term From A1C to Zepbound
Introduction GLP-1 stands for glucagon-like peptide-1, a hormone your gut releases after eating that prompts insulin, slows stomach emptying, and dials down appetite. Drugs…

Does Zepbound Cause Hair Loss? What to Know
You finally start seeing progress on the scale, your appetite is calmer, and things feel like they are moving in the right direction. Then…
Is Zepbound the Same as Mounjaro? A Clear Explanation
If you have seen both “Mounjaro” and “Zepbound” come up in conversations about tirzepatide treatment and found yourself wondering which one to ask your…

