Where Is the Best Place to Put the Ozempic Shot?
Introduction
Standing in your kitchen with a new prescription pen in hand, you might feel a mix of excitement and sudden hesitation. The prospect of starting a journey toward better metabolic health is empowering, but the actual act of self-injection often brings up a flurry of questions. You are not alone in wondering where is the best place to put the Ozempic shot or if the location you choose will impact your results. At TrimRx, we believe that clarity is the best remedy for injection-day nerves.
This guide covers the three primary injection sites recommended by medical professionals: the abdomen, the thigh, and the upper arm. We will walk you through the biological reasons for these specific locations, how to properly rotate your sites to maintain skin health, and the step-by-step process for a comfortable experience. Our goal is to ensure you feel like an expert in your own care, whether you are using a branded medication or a personalized program through our platform. Success with GLP-1 therapy begins with a confident first step and the right technique. If you want help deciding whether treatment is right for you, take the free assessment quiz.
The Three Primary Injection Sites
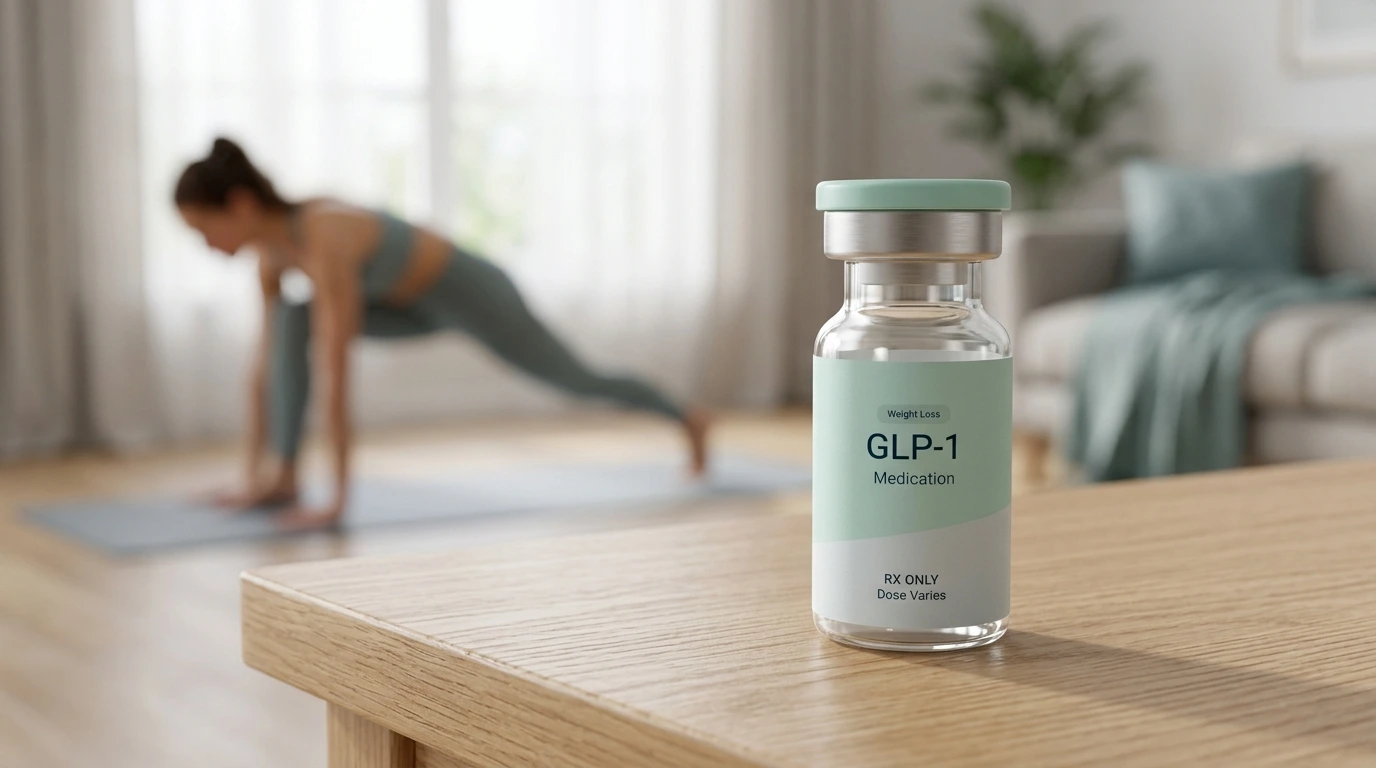
When you are prescribed a GLP-1 (glucagon-like peptide-1) receptor agonist like Ozempic® (semaglutide), the medication must be delivered into the subcutaneous tissue. This is the layer of fat located just beneath the skin but above the muscle. Because this fat layer has fewer pain receptors than muscle and allows for a slow, steady release of the medication into the bloodstream, choosing the right “cushion” is essential. For a broader overview of the approved sites, read our where to inject semaglutide guide.
The Abdomen
The abdomen is widely considered the most popular and accessible site for self-injection. Most people find the stomach area easiest to reach because it provides a wide, flat surface that is easy to see. To inject here, you should target the area between your ribs and your pelvic bone.
It is critical to stay at least two inches away from your navel (belly button). The tissue directly around the belly button is often tougher and less consistent for absorption. You should also avoid the waistline, where clothing might rub against the injection site and cause irritation later in the day.
The Thigh
The front or outer part of the thigh is an excellent alternative, especially for those who are lean or have sensitive abdominal skin. When using the thigh, you should focus on the middle third of the leg, halfway between the hip and the knee.
Many patients prefer the thigh because they can sit down comfortably during the process, which can help stabilize the hands if they feel a bit shaky. Ensure you are injecting into the “fleshy” part of the leg rather than the inner thigh, where the skin is thinner and more sensitive, or the very top of the leg where there is more muscle.
The Upper Arm
The back of the upper arm—specifically the triceps area—is the third recommended location. This site has a good amount of fatty tissue, which is ideal for subcutaneous delivery. However, the upper arm can be the most challenging site for self-injection because it often requires a bit of reaching or the help of a partner.
If you choose the arm, aim for the outer back portion. If you are doing this yourself, standing in front of a large mirror can help you see exactly where the needle is going. Because it is harder to “pinch” the skin on your own arm, some find this site more difficult to master than the stomach or thigh.
Key Takeaway: The best place to put the Ozempic shot is in the fatty tissue of the abdomen, thigh, or upper arm. Rotating between these sites is more important than which one you choose first.
Why Subcutaneous Tissue Matters
The effectiveness of your treatment depends on the medication reaching the fat layer rather than the muscle. GLP-1 medications are designed for slow absorption. Fat tissue has limited blood flow compared to muscle, which allows the semaglutide to seep into your system gradually over the course of a week.
If the medication is accidentally injected into a muscle, it may be absorbed too quickly. This doesn’t necessarily mean the dose is “wasted,” but it can lead to a higher peak of the medication in your bloodstream shortly after the shot. This sudden spike might increase the likelihood of temporary side effects like nausea or lightheadedness. By sticking to the abdomen, thigh, and outer arm, you ensure the needle stays in the “slow-release” zone intended by the manufacturer.
Comparison of Injection Locations
| Site | Accessibility | Ease of Self-Injection | Visibility |
|---|---|---|---|
| Abdomen | High | Very Easy | Excellent |
| Thigh | High | Easy (Seated) | Good |
| Upper Arm | Moderate | Challenging | Limited |
The Art of Rotation
Rotating your injection site is the single most important habit for maintaining long-term comfort and skin health. If you inject into the exact same square inch of skin every week, you run the risk of developing a condition called lipohypertrophy. This is a fancy term for the development of small, firm lumps of fatty tissue under the skin. For a deeper look, see our how to rotate injection sites for semaglutide and tirzepatide guide.
These lumps are not usually dangerous, but they can become unsightly and, more importantly, they change how your body absorbs the medication. Medication injected into a fatty lump may not be absorbed consistently, which can lead to fluctuations in how well the drug manages your appetite or blood sugar levels.
The Clock Method
One simple way to manage rotation is to imagine a clock face on your abdomen. For your first week, you might inject at the “12 o’clock” position. The following week, move to “2 o’clock,” and so on. By the time you come back around to the top, the first site has had weeks to fully heal and recover.
The Switch Method
Another strategy is to switch body parts entirely. You might use your right thigh one week, your left thigh the next, then your right abdomen, then your left abdomen.
Note: Always move at least one inch away from your previous injection spot. Keeping a small log or using a calendar app can help you remember which “quadrant” you used last.
Step-by-Step Guide to a Perfect Injection
Proper preparation turns a stressful moment into a simple, two-minute routine. Following a consistent sequence reduces the risk of minor site reactions and ensures you receive the full dose.
Step 1: Prepare the Pen and Needle
Wash your hands thoroughly and check your medication. The liquid inside the pen should be clear and colorless. If it looks cloudy, contains particles, or has changed color, do not use it. If you are using a new pen from the refrigerator, let it sit at room temperature for about 30 minutes. Cold medication can sometimes cause a slight stinging sensation upon injection.
Step 2: Clean the Site
Use an alcohol swab to clean your chosen area. Wipe in a circular motion and let the skin air-dry completely. Do not blow on the skin to dry it, as this can introduce bacteria. Injecting through wet alcohol is a common cause of a temporary “sting,” so patience is key here.
Step 3: Attach the Needle and Prime
Remove the paper tab from a new needle and screw it onto the pen. If it is a brand-new pen, you must perform a “flow check” or prime the needle to remove air bubbles. Turn the dose selector to the flow check symbol (usually a small dash or droplet icon) and press the button until a drop of liquid appears at the needle tip.
Step 4: Dial Your Dose and Inject
Turn the selector to your prescribed dose. Gently pinch a fold of skin if you are injecting into a leaner area like the thigh. Insert the needle straight into the skin at a 90-degree angle. Press the injection button all the way down and watch the dose counter return to zero.
Step 5: The “Slow Six” Count
Do not pull the needle out immediately after the counter hits zero. Keep the button pressed and count slowly to six. This ensures that every drop of the medication has cleared the needle and entered the subcutaneous tissue. If you pull it out too fast, you might see a small stream of medicine escape, meaning you didn’t get your full dose.
Step 6: Dispose and Store
Pull the needle straight out and dispose of it in a sharps container. Do not throw needles in the regular trash. If you have a small drop of blood at the site, you can press a cotton ball or tissue against it, but avoid rubbing the area. Rubbing can cause bruising or irritation.
Managing Common Site Reactions
It is normal to experience minor changes at the injection site from time to time. Most people will eventually see a small bruise, a tiny red dot, or feel a slight itch. These are rarely a cause for alarm.
- Bruising: This usually happens if the needle nicks a tiny capillary. It doesn’t affect the medication’s performance. To minimize this, ensure you are injecting straight in and out rather than at an angle.
- Itching or Redness: This is often a mild reaction to the alcohol or the mechanical act of the needle. A cold compress can help soothe the area.
- Small Bumps: As long as the bump is soft and disappears within a day or two, it is likely just the volume of the liquid sitting under the skin before it is fully absorbed.
Bottom line: Minor site reactions like redness or a small bruise are common and usually resolve quickly with site rotation and gentle care.
Does Location Affect Side Effects?
While the manufacturer states that all three sites are effective, some patients report differences in how they feel based on where they inject. There is anecdotal evidence suggesting that some people experience fewer gastrointestinal side effects, such as nausea, when they inject in the thigh rather than the abdomen. If you want a fuller discussion of tolerability, our GLP-1 Side Effects in 2026 guide covers the common patterns we see.
Scientifically, the absorption rate is very similar across all three sites. However, every body is unique. If you find that you are struggling with significant nausea after abdominal injections, it may be worth discussing a trial of thigh injections with your healthcare provider. Personal preference and comfort play a large role in staying consistent with your treatment.
Safety and Compliance in Your Program
While Ozempic® and Wegovy® (semaglutide), or Mounjaro® and Zepbound® (tirzepatide) are well-known branded options, many patients access these medications through different channels. These branded products are FDA-approved for specific conditions like type 2 diabetes or chronic weight management.
At TrimRx, we connect you with licensed providers who evaluate your health profile to determine the best course of action. If you’d like help figuring out whether you qualify, complete the free assessment quiz. This may include prescriptions for branded medications or compounded alternatives. Compounded semaglutide and compounded tirzepatide are not FDA-approved. However, they are prepared and shipped by FDA-registered and inspected compounding pharmacies. This ensures that the medication meets strict quality and safety standards even if it does not carry a specific brand name.
Regardless of whether you are using a branded pen or a syringe from a compounding pharmacy, the principles of where is the best place to put the shot remain the same. The goal is always safe, subcutaneous delivery and consistent rotation.
Storage and Handling Tips
Proper storage is just as important as proper injection technique. Before its first use, your medication should stay in the refrigerator. Once you have started a pen, most can be kept at room temperature for up to 56 days, though you should always check the specific instructions provided with your prescription.
- Avoid Extreme Heat: Never leave your pen in a hot car or in direct sunlight. Heat can break down the protein structure of the medication, making it ineffective.
- Never Freeze: If your medication accidentally freezes in the back of the fridge, it must be discarded. Freezing destroys the active molecules.
- Keep the Cap On: Always store the pen with the cap on to protect the medication from light.
Overcoming Needle Anxiety
If you are nervous about the needle, remember that the needles used for GLP-1 pens are incredibly thin and short. They are often described as being about the width of two human hairs. Most people find that the “anticipation” of the shot is much worse than the actual sensation, which is usually nothing more than a tiny pinch.
If you are struggling with anxiety, try “box breathing” before you start: inhale for four seconds, hold for four, exhale for four, and hold for four. Making the injection part of a positive routine—such as doing it right before you watch your favorite show—can also help reframe the experience from a chore into a simple act of self-care.
The TrimRx Approach to Your Success
Our mission is to help individuals embrace healthier lifestyles through science, empathy, and a transparent, personalized approach to sustainable weight loss. We understand that weight management is about more than just a weekly shot; it is about the support system around it.
Through our platform, you gain access to 24/7 specialist support and a program tailored to your medical history and goals. We handle the complexities of telehealth and pharmacy coordination so you can focus on your progress. Whether you are using our supplements like GLP-1 Daily Support supplement to manage your journey or are part of our full prescription program, we are here to ensure every step—including that weekly injection—is handled with confidence.
Key Takeaway: Success in your weight loss journey is a marathon, not a sprint. Mastering your injection technique is a fundamental skill that ensures your body gets the most out of every dose.
Conclusion
Finding the best place to put the Ozempic shot is about balancing convenience, comfort, and proper biological absorption. By choosing the abdomen, thigh, or upper arm and committing to a consistent rotation schedule, you protect your skin and ensure your medication works effectively. For a broader look at how these medications work, our How GLP-1 Actually Works for Weight Loss guide can help.
Remember to prep your site carefully, count to six before withdrawing the needle, and store your medication correctly.
- Select a site: Abdomen, thigh, or upper arm.
- Rotate weekly: Move at least one inch from the last spot.
- Prep correctly: Clean skin and prime the pen.
- Count to six: Ensure the full dose is delivered.
If you are ready to take the next step toward a healthier you, we invite you to begin your journey with our free assessment quiz. This helps us understand your unique needs and determine if a personalized program is right for you.
FAQ
Does one injection site work better for weight loss than the others?
Clinical research indicates that the abdomen, thigh, and upper arm all provide similar levels of medication absorption. There is no evidence that injecting in one specific spot leads to faster weight loss, though some individuals find they tolerate side effects better when using the thigh.
Can I inject Ozempic into my buttocks?
While some medications allow for buttocks injections, the manufacturers of Ozempic® specifically recommend the abdomen, thigh, or upper arm. These areas have been extensively tested for consistent subcutaneous absorption of semaglutide. It is best to stick to the three approved sites unless otherwise directed by your healthcare provider.
What should I do if I see a drop of liquid on the needle after I inject?
A tiny drop of liquid on the needle tip is normal and does not mean you missed your dose. However, if a large amount of liquid or a stream comes out of the needle when you pull it away, you likely removed it too quickly. Ensure you count to at least six while the needle is still in your skin to prevent this.
Can I inject into a stretch mark, scar, or bruise?
You should avoid injecting directly into scars, stretch marks, or bruised skin. These areas may have tougher tissue or altered blood flow, which can interfere with how the medication is absorbed. Always choose a “clear” area of healthy skin for your weekly dose to ensure the best results.
Disclaimer: This content is for informational purposes only and does not constitute medical advice. It is not intended to diagnose, treat, cure, or prevent any disease or condition. Individual results may vary. Always consult a qualified healthcare professional before starting any weight loss program or medication.
Transforming Lives, One Step at a Time
Keep reading

Gas and Bloating on Ozempic or Semaglutide: Why It Happens and How to Manage It
Yes, gas, bloating, and belching are common on Ozempic and semaglutide, and for most people they’re a manageable part of the adjustment period. The…

Dizziness on Ozempic or Semaglutide: Why It Happens and What to Do
If you feel dizzy or lightheaded on Ozempic or semaglutide, you’re not alone, and in most cases the cause is manageable. The usual culprits…

Ozempic and Tylenol (Acetaminophen): Is It Safe?
Acetaminophen (the active ingredient in Tylenol) is generally considered safe to take with Ozempic or semaglutide, and there’s no dangerous direct interaction between them….

