Where to Inject Zepbound in Arm: A Step-by-Step Guide
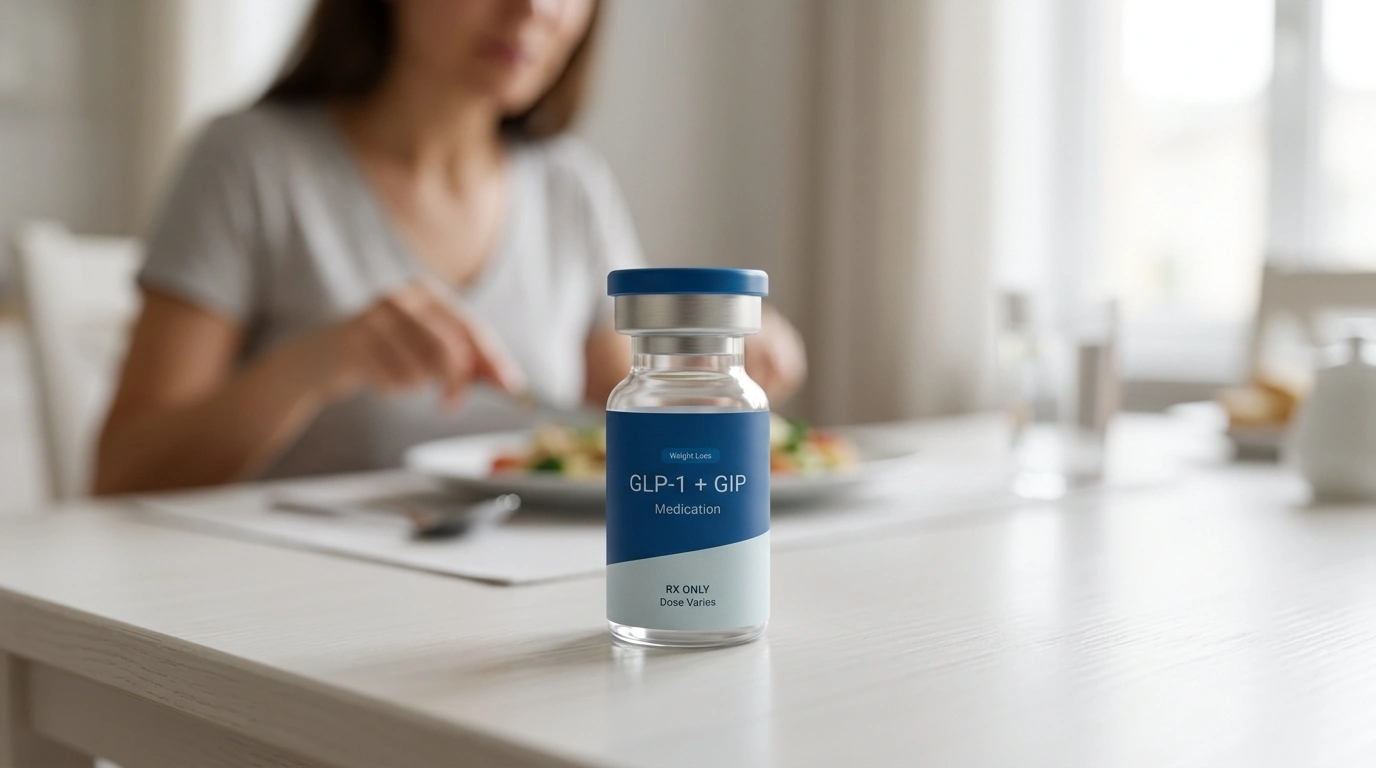
Table of Contents
- Introduction
- Identifying the Correct Arm Injection Site
- Why the Back of the Upper Arm?
- Step-by-Step Instructions for Arm Injections
- Can You Inject Your Own Arm?
- Comparing Injection Sites: Arm vs. Abdomen vs. Thigh
- The Importance of Injection Site Rotation
- Managing Injection Site Reactions
- Understanding Your Medication: Zepbound® and Beyond
- The Role of Personalized Support
- Proper Storage and Disposal
- Common Mistakes to Avoid
- Maximizing Your Results
- Conclusion
- FAQ
Introduction
Starting a new weight loss journey often involves learning new skills, and for many, the most daunting step is the first injection. Whether you are using Zepbound® or a compounded alternative, understanding the mechanics of your treatment is essential for success. At TrimRx, we believe that clarity and confidence are the foundations of a sustainable health transformation. For a broader overview of where to inject GLP-1 medications, knowing exactly where to inject Zepbound in the arm can help reduce anxiety and ensure the medication is absorbed correctly by your body. This guide provides a detailed look at the arm injection site, the proper technique for administration, and how to choose the best location for your needs. By the end of this article, you will feel equipped to manage your weekly routine with ease and precision.
Identifying the Correct Arm Injection Site
When a healthcare provider suggests the arm as an injection site, they are referring specifically to the back of the upper arm. This area is chosen because it contains a sufficient layer of subcutaneous fat. Subcutaneous fat is the layer of tissue located directly between the skin and the muscle. Medications like Zepbound® (tirzepatide) are designed to be absorbed slowly through this fatty tissue rather than directly into the bloodstream or muscle.
To find the correct spot, you should focus on the outer, fleshy part of the back of your arm, roughly halfway between your shoulder and your elbow. This is the area where fat tends to accumulate, providing a safe and effective “pocket” for the medication. It is important to avoid the bicep muscle at the front of the arm or the bony areas of the shoulder and elbow.
Quick Answer: The correct location for an arm injection is the back of the upper arm, specifically the fleshy area between the shoulder and the elbow. This site allows the medication to enter the subcutaneous fat layer for proper absorption.
Why the Back of the Upper Arm?
The human body absorbs medication differently depending on where it is administered. For GLP-1 (glucagon-like peptide-1) and GIP (glucose-dependent insulinotropic polypeptide) receptor agonists like tirzepatide, the goal is a steady, controlled release.
The back of the upper arm is a primary site because it is less likely to be disturbed by daily movement compared to a muscle. If the medication were accidentally injected into a muscle, it would be absorbed much too quickly, which could increase the intensity of side effects and decrease the duration of the medication’s effectiveness throughout the week.
Furthermore, some individuals find that rotating their injection to the arm helps manage systemic side effects. For a deeper dive into the reasons rotation matters, see how to rotate injection sites for semaglutide and tirzepatide. While clinical data shows that the medication is effective regardless of the site, some patients report that they experience fewer gastrointestinal issues, such as nausea, when they move away from the abdominal area.
Step-by-Step Instructions for Arm Injections
Administering an injection in the arm can be slightly more challenging than the stomach or thigh because of the reach required. If you are doing this yourself, you may need a mirror or the assistance of a partner.
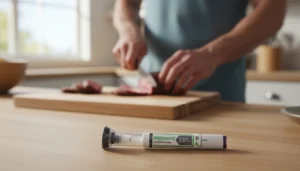
Step 1: Prepare your supplies. / Gather your medication pen, an alcohol swab, and a sharps container. Ensure the medication is clear and colorless (or slightly yellow) and has not expired.
Step 2: Clean the site. / Use an alcohol swab to wipe the back of the upper arm. Allow the skin to air dry completely to prevent stinging during the injection.
Step 3: Position the pen. / Remove the base cap. Place the clear base of the pen flat against the skin in the center of the cleaned area on the back of your arm.
Step 4: Unlock and inject. / Turn the lock ring to the “unlock” position. Press and hold the purple injection button. You will hear a loud click, signifying the start of the injection.
Step 5: Wait for the second click. / Continue holding the pen against your skin until you hear a second click or see the gray plunger in the window. This usually takes about 10 seconds.
Step 6: Proper disposal. / Remove the pen from your skin and dispose of it immediately in a sturdy sharps container. Do not throw the pen into the regular household trash.
Can You Inject Your Own Arm?
Injecting yourself in the back of the arm requires a certain level of flexibility. For many, reaching around to the back of the tricep while maintaining a steady hand and pressing a button is difficult. If you cannot comfortably reach the site while keeping the pen flat against the skin, it is best to have a caregiver or family member assist you.
If you are alone and cannot reach the back of your arm, it is safer to choose the abdomen or the front of the thigh. Maintaining a 90-degree angle between the pen and the skin is vital for the auto-injector to work correctly. If the pen is tilted because you are overextending your reach, the needle may not deploy at the correct depth.
Key Takeaway: If you choose the arm as your injection site, ensure you can hold the pen flat against the skin. If your reach is limited, ask for assistance or use the thigh or abdomen instead.
Comparing Injection Sites: Arm vs. Abdomen vs. Thigh
While the medication is effective at any of the three approved sites, there are subtle differences in how patients experience them.
| Injection Site | Ease of Access | Common Feedback |
|---|---|---|
| Abdomen | Very High | Easiest for self-administration; most common site. |
| Thigh | High | Good for those who want to avoid the stomach; easy to see. |
| Arm | Low (if solo) | Often used to break a weight loss plateau or reduce nausea. |
If you are comparing locations and want more context, where to inject tirzepatide for best results is a helpful companion guide. Clinical studies for tirzepatide generally show that the abdomen has a slightly higher absorption rate, but the difference is not usually significant enough to change clinical outcomes. However, anecdotal evidence from the patient community suggests that “switching it up” can help if you feel the medication’s effects are waning or if you are struggling with site-specific discomfort.
The Importance of Injection Site Rotation
Regardless of whether you prefer the arm, the thigh, or the stomach, you must rotate your injection site every week. This does not mean you have to switch from the arm to the leg every time. You can stay with the arm, but you should move the injection point at least one inch away from the previous week’s spot.
Failure to rotate sites can lead to a condition called lipohypertrophy. This is a buildup of fatty lumps under the skin caused by repeated trauma to the same area. These lumps can feel hard or rubbery and, more importantly, they can interfere with how the medication is absorbed. If you inject into a area with lipohypertrophy, the medication may not work as intended.
Bottom line: Change your specific injection point every week to keep the skin healthy and ensure the medication absorbs consistently.
Managing Injection Site Reactions
It is not uncommon to experience a mild reaction at the site of the injection. This is often referred to as a “site reaction” and can include redness, itching, or a small amount of swelling.
To minimize these issues:
- Temperature check: If you store your medication in the refrigerator, let the pen sit at room temperature for about 30 minutes before injecting. Cold liquid can sometimes cause more stinging or irritation.
- Don’t rub: After the injection, you may see a tiny drop of blood or clear liquid. You can press a cotton ball firmly on the spot, but do not rub it, as rubbing can irritate the subcutaneous tissue.
- Keep it clean: Ensure the skin is thoroughly cleaned with alcohol and that you do not touch the needle or the cleaned skin before the injection.
If you notice a rash that spreads, severe swelling, or hives, contact a healthcare provider immediately, as these could be signs of an allergic reaction.
Understanding Your Medication: Zepbound® and Beyond
Zepbound® is a branded medication that contains the active ingredient tirzepatide. Tirzepatide is a unique molecule known as a dual agonist. It works by mimicking two natural hormones in the body: glucagon-like peptide-1 (GLP-1) and glucose-dependent insulinotropic polypeptide (GIP).
The GLP-1 component helps slow down stomach emptying and signals the brain that you are full. The GIP component is thought to improve how the body breaks down sugar and fat. Together, they provide a powerful tool for weight management when combined with diet and exercise.
While Zepbound® is the branded version approved by the FDA for chronic weight management, some patients may be prescribed compounded tirzepatide. Compounded medications are prepared by specialized pharmacies to meet specific patient needs or to address supply shortages. It is important to remember that while these pharmacies are FDA-registered and inspected, compounded medications themselves do not go through the same FDA approval process as branded drugs.
The Role of Personalized Support
Navigating the world of GLP-1 and GIP medications can be complex. Between understanding dosing schedules and perfecting your injection technique, having a dedicated team makes a significant difference. At TrimRx, we focus on a telehealth-first approach that connects you with licensed providers who supervise your journey.
Our program is designed to be a comprehensive resource. From the initial health assessment to the delivery of your medication from an FDA-registered compounding pharmacy, we prioritize transparency and safety. If you want to see whether a personalized plan fits your goals, you can take the free assessment quiz and learn what the next step looks like. We understand that weight loss is not a “one size fits all” process. That is why we provide 24/7 access to specialists who can answer questions about where to inject, how to manage side effects, and how to optimize your results through nutrition and lifestyle changes.
Proper Storage and Disposal
The efficacy of your medication depends heavily on how it is handled. Tirzepatide should generally be stored in the refrigerator between 36°F and 46°F (2°C to 8°C). While a pen can often stay at room temperature for up to 21 days, it is best to keep it chilled until you are ready to use it. Never freeze the medication; if a pen becomes frozen, it must be discarded as the extreme cold can destroy the protein structure of the drug.
Safety does not end once the injection is complete. Because the pens contain needles, they are considered biohazardous waste.
- Use a dedicated sharps container or a heavy-duty plastic household container with a screw-on lid (like a laundry detergent bottle).
- Never put needles or pens in the recycling bin.
- When the container is full, follow local guidelines for hazardous waste disposal.
Common Mistakes to Avoid
Even with instructions, it is easy to make a mistake during the first few weeks. Being aware of these common pitfalls can save you from wasting a dose or experiencing unnecessary discomfort.
- Removing the pen too early: The most common mistake is pulling the pen away from the skin before the second click. This results in the medication spraying onto the skin rather than entering the body.
- Forgetting to unlock: The injection button will not press if the ring is in the “lock” position. Pushing too hard on a locked button can damage the mechanism.
- Injecting into bruised skin: Never inject into a site that is currently bruised, scarred, or tender. Seek out “clear” skin for the best experience.
- Pinching the skin: While some older types of injections required “pinching an inch” of fat, modern auto-injectors like the Zepbound® pen are designed to be pressed flat against the skin. Pinching can actually change the depth of the needle and lead to an intramuscular injection.
Note: Always consult with your healthcare provider if you are unsure about your technique or if you experience persistent pain at the injection site.
Maximizing Your Results
While the injection site and technique are important, they are parts of a much larger picture. The goal of using tirzepatide is to support a healthier lifestyle. Many patients find that adding specific nutrients to their routine helps them feel their best while on a GLP-1 program.
For instance, products like GLP-1 Daily Support can provide the essential vitamins and minerals that might be lacking if your appetite is significantly reduced. If you are also dealing with a plateau, what to do when weight loss stalls on tirzepatide can help you think through the bigger picture.
Sustainable weight loss is a marathon, not a sprint. By mastering the small details—like where to inject Zepbound in the arm—you build the confidence necessary to stay the course.
Conclusion
The journey toward better metabolic health is built on consistent, informed choices. Whether you are using the back of your arm for your weekly dose or rotating between the thigh and abdomen, the key is proper technique and regular rotation. We are committed to being your partner in this process, providing the clinical expertise and personalized care you need to thrive. Our mission at TrimRx is to simplify the complexities of modern weight loss treatments, ensuring that every patient feels supported, heard, and empowered. If you are ready to take the next step in your health journey, complete the free assessment quiz and let our team guide you through every click of the pen and every milestone on the scale.
Key Takeaway: Success with Zepbound® involves more than just the medication; it requires proper injection habits, site rotation, and a comprehensive support system to ensure long-term health.
FAQ
Can I inject Zepbound into the front of my arm?
No, you should not inject into the front of your arm or the bicep muscle. The medication must be delivered into the subcutaneous fat, which is most abundant on the back of the upper arm. Injecting into a muscle can lead to faster absorption and increased side effects.
Does the arm injection hurt more than the stomach?
Pain is subjective, but many people find that the arm has fewer nerve endings than the sensitive skin of the abdomen. However, because the skin on the arm can be thinner, you might feel the needle slightly more if you do not have a significant fat layer there. Allowing the medication to reach room temperature before injecting can help minimize any stinging sensation.
Do I need to use an alcohol swab if my arm looks clean?
Yes, you should always use an alcohol swab to clean the injection site. Even if the skin looks clean, microscopic bacteria are present. Cleaning the area reduces the risk of infection or skin irritation at the site of the needle entry.
What should I do if I see a drop of blood after the arm injection?
Seeing a small drop of blood or a tiny amount of clear liquid at the injection site is normal and does not mean the injection failed. Simply press a clean cotton ball or gauze pad firmly against the site for a few seconds. Do not rub the area, as this can irritate the tissue.
Disclaimer: This content is for informational purposes only and does not constitute medical advice. It is not intended to diagnose, treat, cure, or prevent any disease or condition. Individual results may vary. Always consult a qualified healthcare professional before starting any weight loss program or medication.
Transforming Lives, One Step at a Time
Keep reading

GLP-1 Glossary: Every Term From A1C to Zepbound
Introduction GLP-1 stands for glucagon-like peptide-1, a hormone your gut releases after eating that prompts insulin, slows stomach emptying, and dials down appetite. Drugs…

Does Zepbound Cause Hair Loss? What to Know
You finally start seeing progress on the scale, your appetite is calmer, and things feel like they are moving in the right direction. Then…
Is Zepbound the Same as Mounjaro? A Clear Explanation
If you have seen both “Mounjaro” and “Zepbound” come up in conversations about tirzepatide treatment and found yourself wondering which one to ask your…

